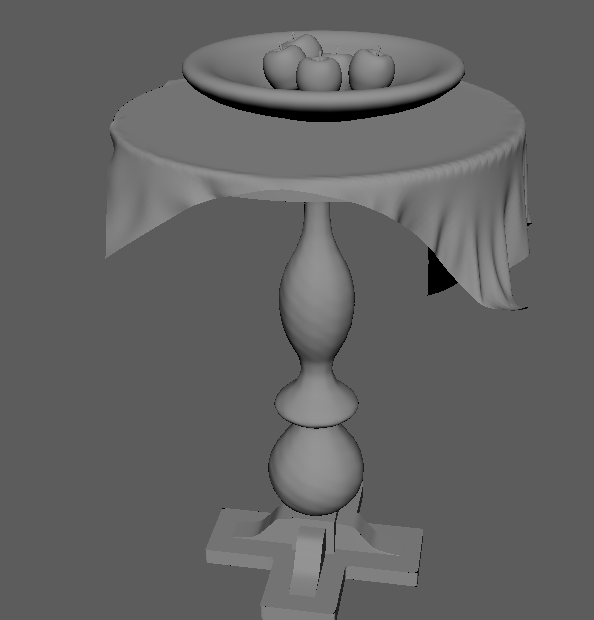
Before creating my table and fruit bowl, I familiarised myself with the various tools in the NURBS curves section of Maya. After which, I gathered reference for the table I was going to create.
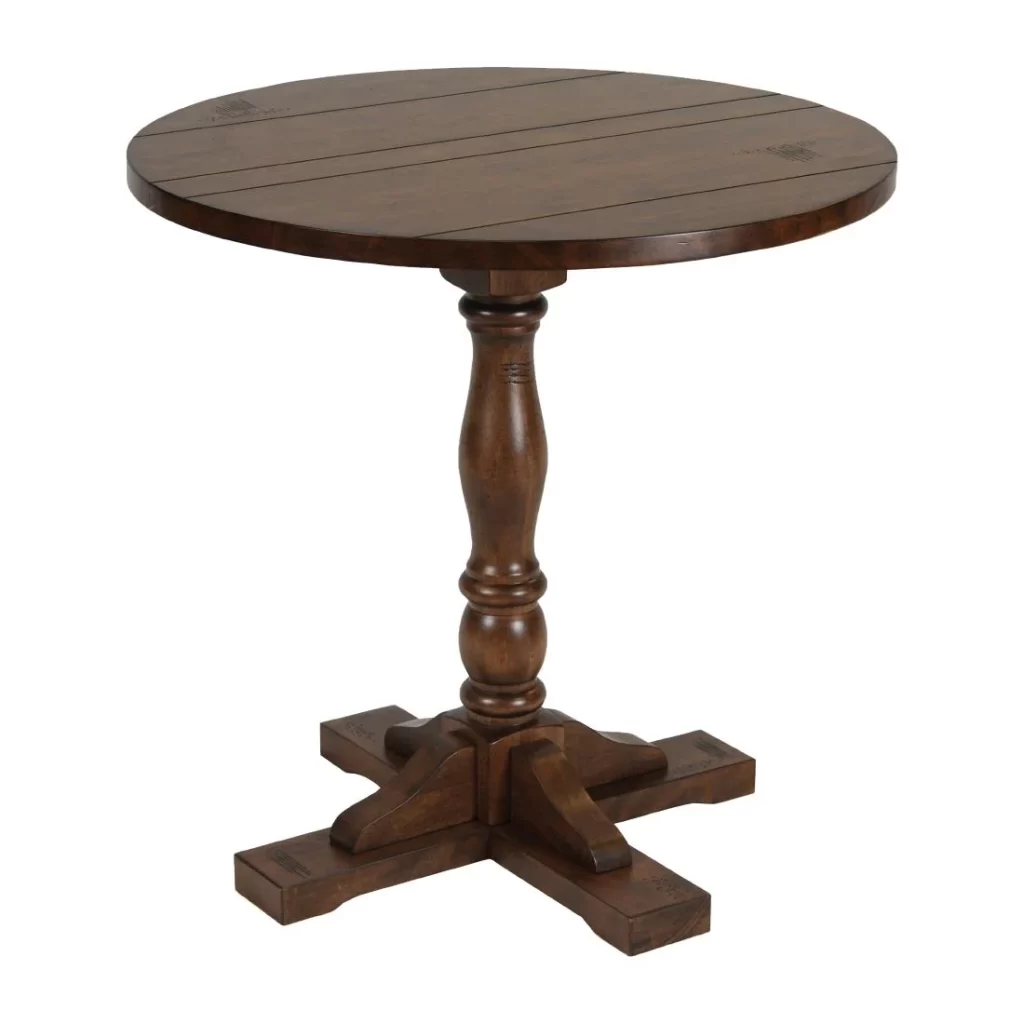
I felt that this table would be a good challenge to recreate using NURBS as it had various parts which curve such as the shaft and the legs attached to the base.
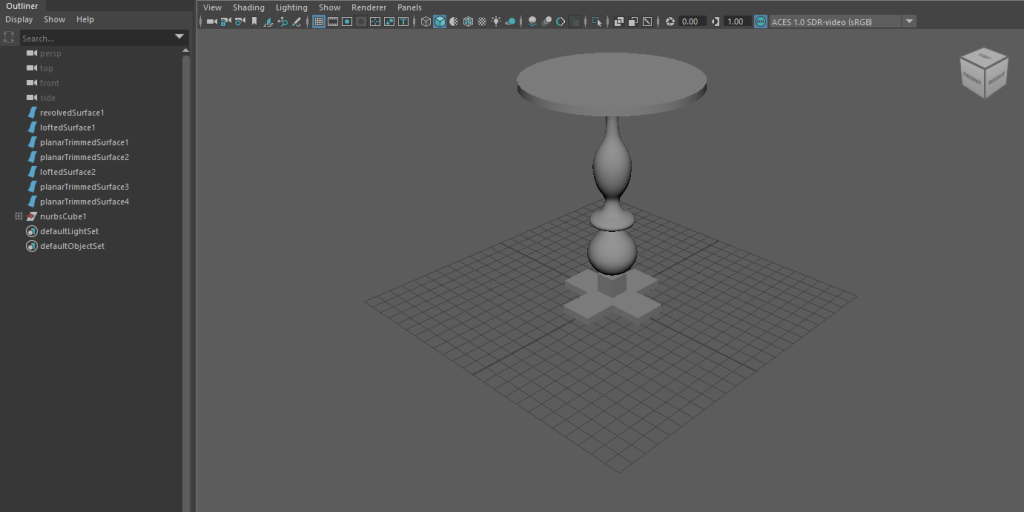
I started by drawing a curve for the shaft. To make it a 3D object, I then used the revolve tool.
The hardest part for me was figuring out how to make the base, since it has straight edges and we are using curves for this task. To achieve this, I discovered that on the settings of the CV curve tool, you can change it to linear – meaning it will only produce straight lines. The next hurdle was how to make the base even on all sides. The solution was the grid snap function in which I could use the grid to make sure the base was completely the same on each side.
I duplicated the base I made and put it above the original, using the loft tool to join them both and create the 3D base. The same process was used for the table top.
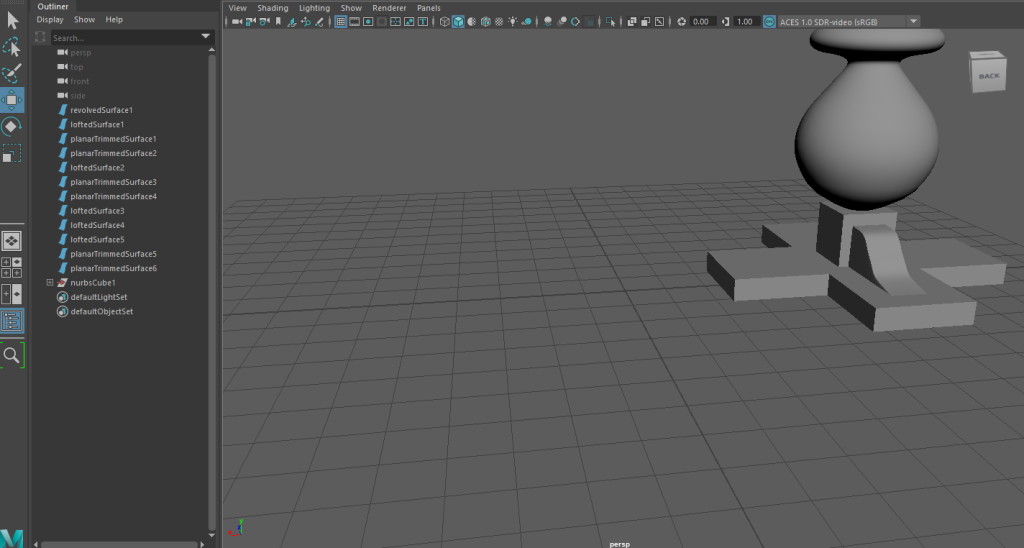
The next step was to create the legs that attached to the base. To do this I started by drawing a curve and then duplicating it, moving it next to original. The loft tool filled in the space between them. I then drew another curve that was a straight line, using the previously mentioned linear option, and placed it below the two previous curves. Again, the loft tool joined these two curves to create the desired shape.
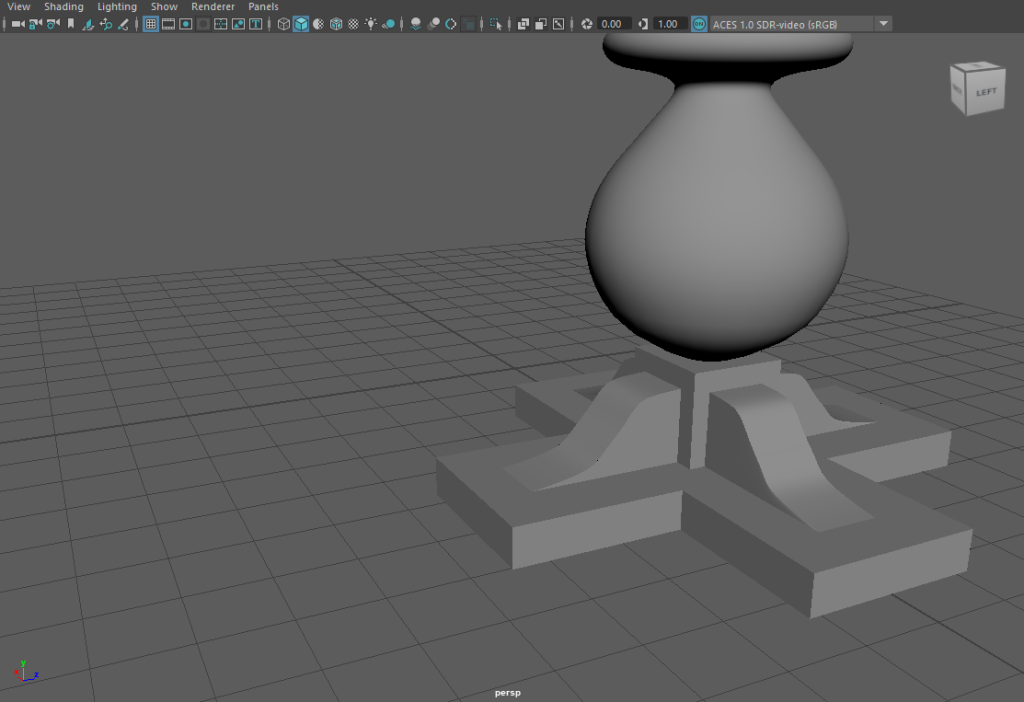
I then duplicated this shape for each of the four sides of the base.
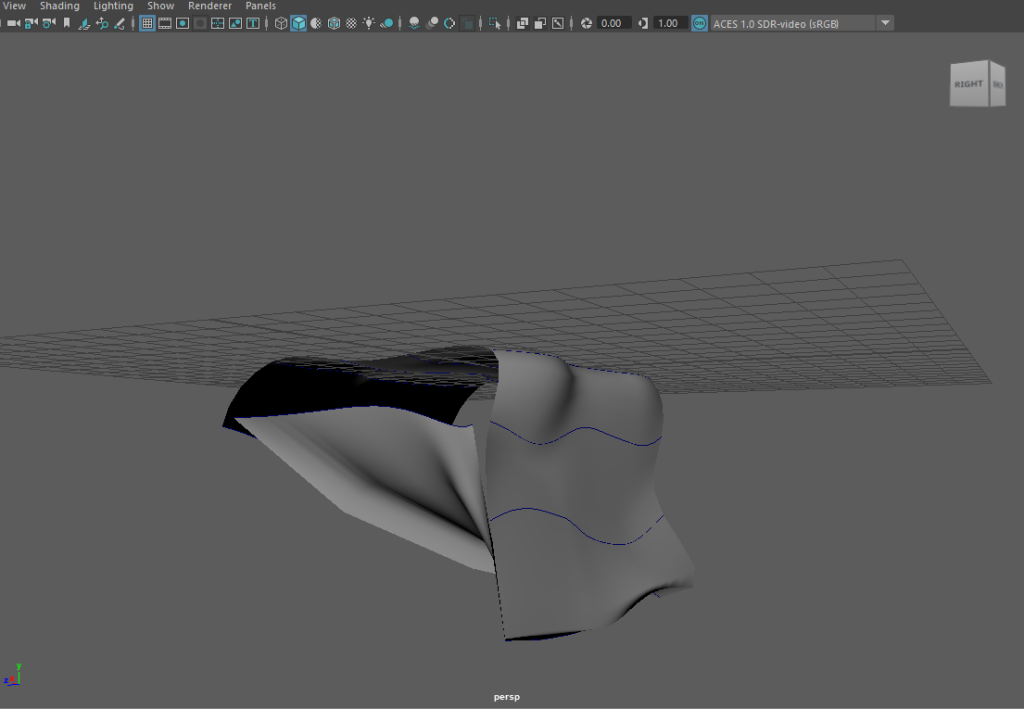
Next was the cloth, which I’m sure you can tell didn’t go quite as smoothly. I tried the method that was taught to us in the tutorial videos, however because I wanted the cloth to go around all of the table I needed four sides of the cloth. The order in which you select the curves is very important and with two sides the order is relatively simple. On the contrary, with four sides of curves to choose from things became complicated quick, the above image being evidence of that.
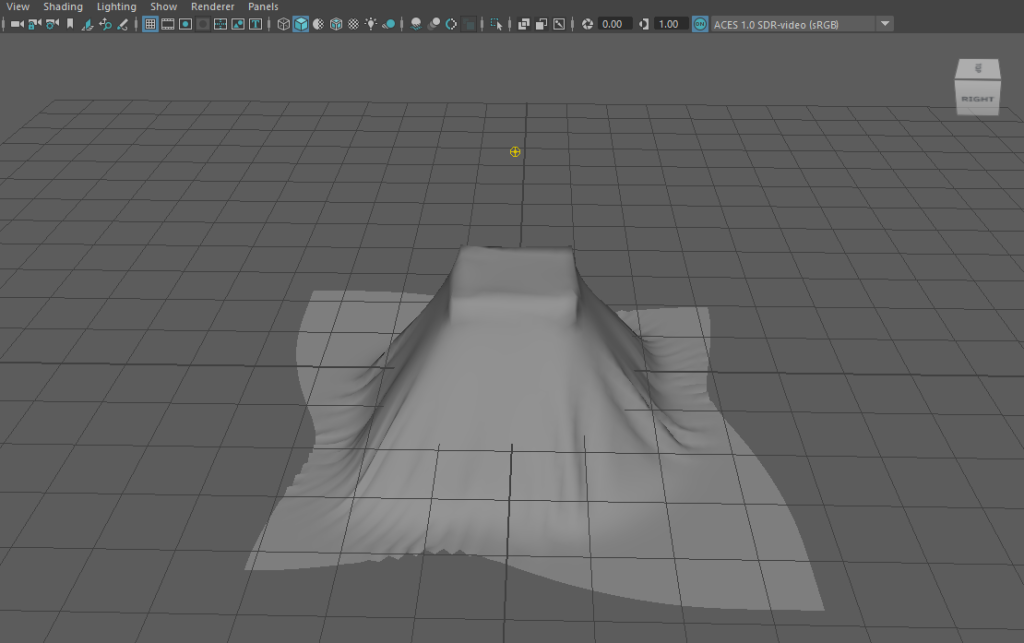
As a result, I experimented with nCloth. This magical feature built into Maya simulates cloth physics. I had to watch a tutorial on how to set it up, but I practiced on a cube and I was very happy with the results. It looked much more realistic than my previous attempt as it behaves like real cloth.
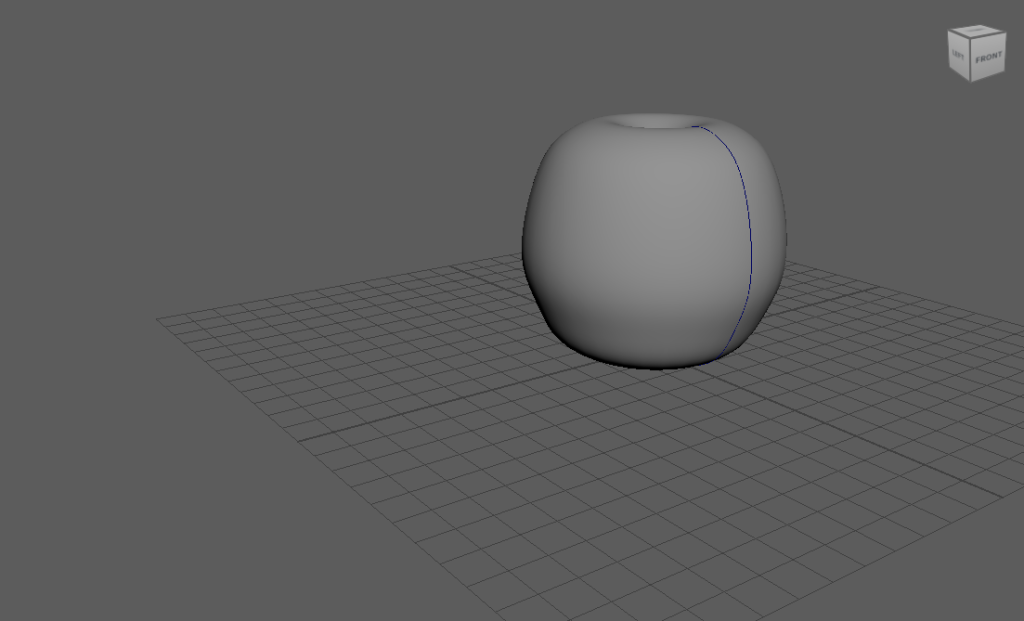
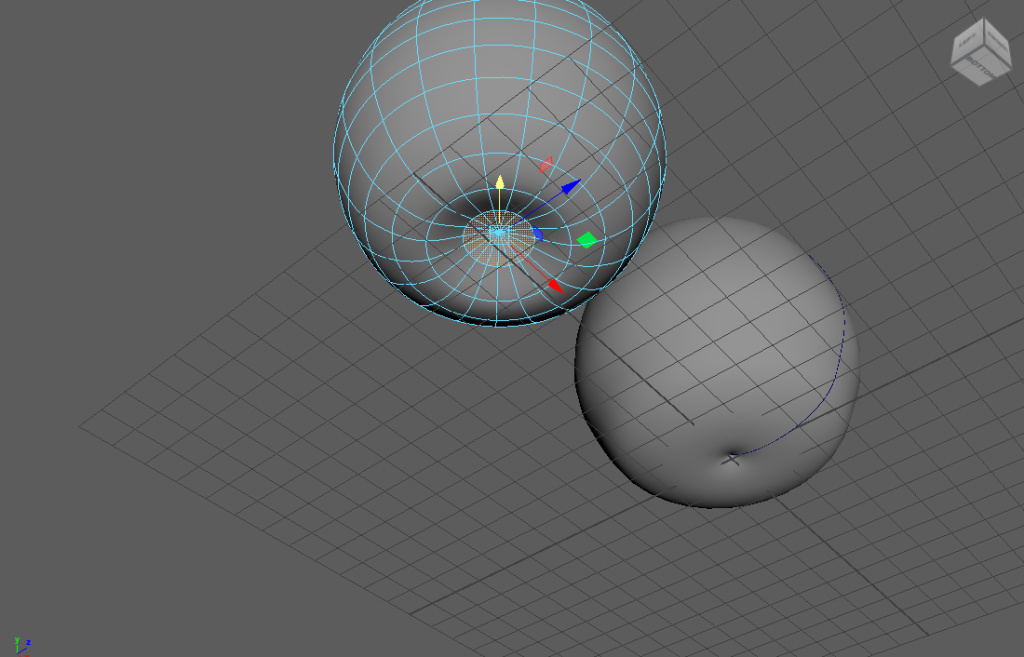
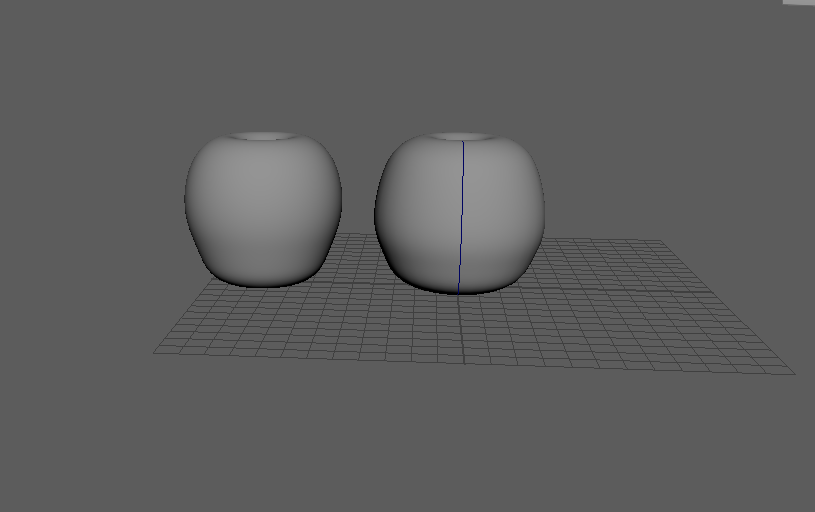
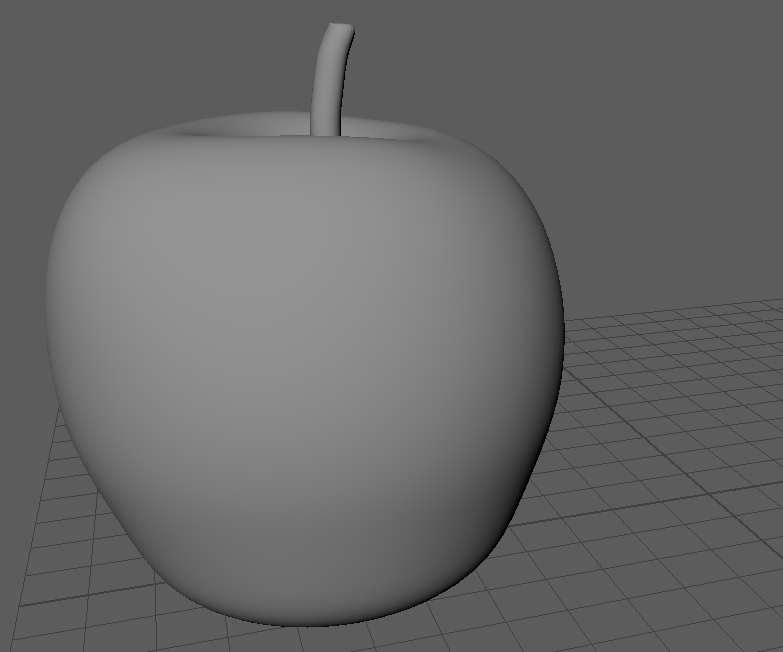
The next part of this task asked us to create a fruit of our choice and place it in a bowl. I chose an apple as I thought it would be a nice fruit to model using curves. I started by using a curve to get the basic shape of the apple, then adding more detail by manipulating the vertices. The final step was the stalk, for which I extruded a cylinder and gave it a bit of a curve. If I were to remake the stalk I would add an edge loop at the top to stop the pinching.
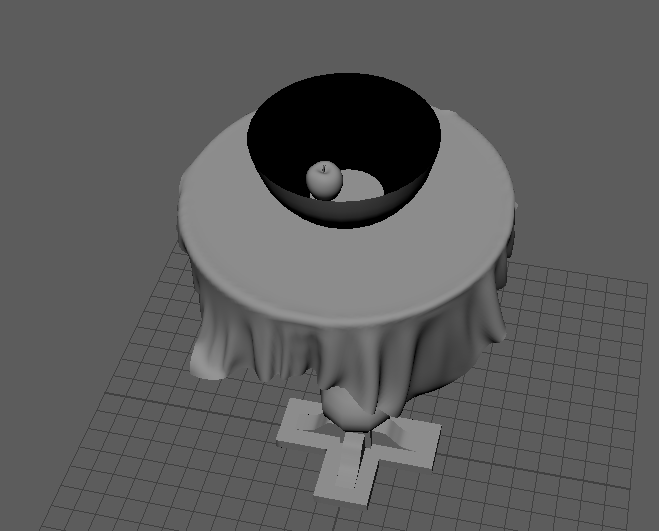
I created the bowl using a NURBS curve, however I did not take the curve back around to the centre. This caused the mesh to be black on one side as it didn’t have two outside faces.
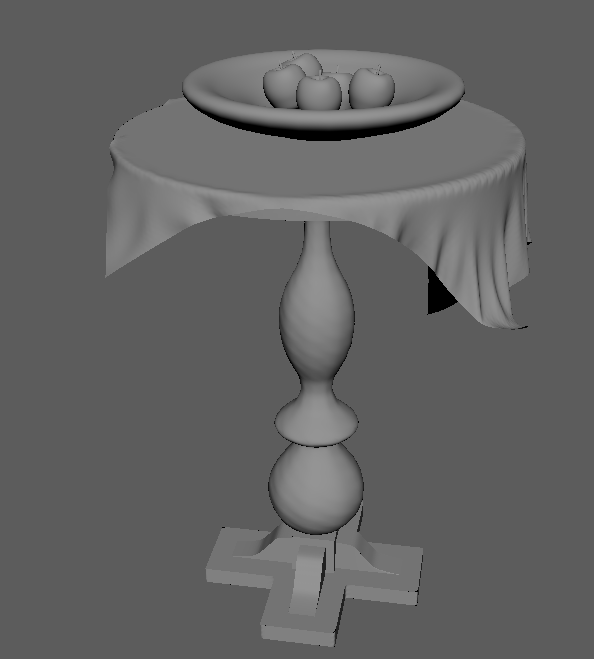
I quickly fixed this by creating a new bowl with two sides. Finally, I then used vert snap to snap the apples to the bowl.
Overall, this exercise was very helpful in help understand curves in Maya. Not only its positives but also its limitations, such as the cloth. Nonetheless, NURBS curves was useful to learn and will potentially aid me in my final project.
References:
DeRosa AP ART CHANNEL (2020) nCloth Maya 2020 [Video]. Available online: https://www.youtube.com/watch?v=TOKiVtJdH44&t=162s (Accessed 03/03/2022).
