Before this task, I had no idea what a UV map was.
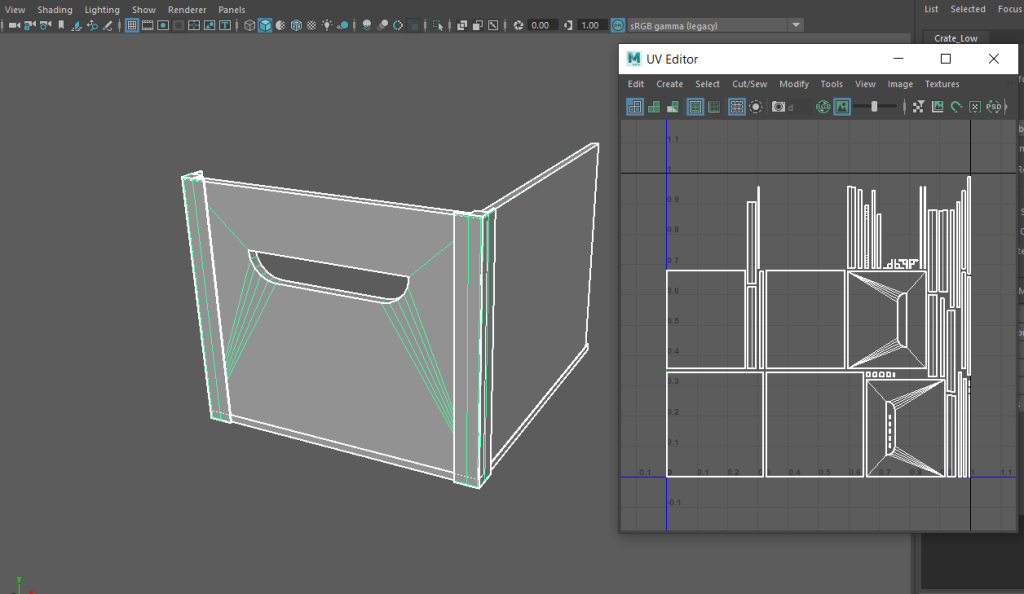
I now know that UV mapping is almost like skinning an object – creating a 2D representation of a 3D object.

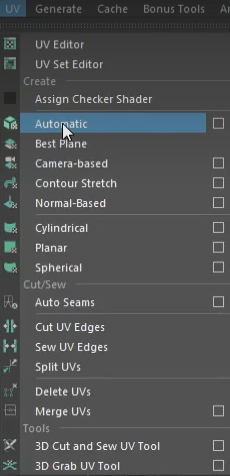
For this task, we were asked to create a UV map of the crate we had made previously. The most useful feature I learnt was the automatic UV tool. This causes Maya to automatically create the UV map to the best of its ability, saving a lot of time as only small tweaks will be needed afterwards.

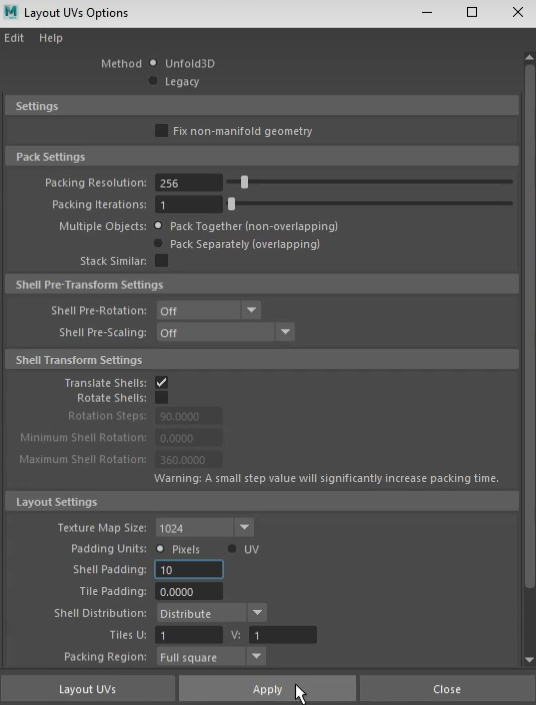
One of those small tweaks is the layout. You can change the distance between each separate piece in the UV map, which is very useful in achieving UVs that don’t overlap.

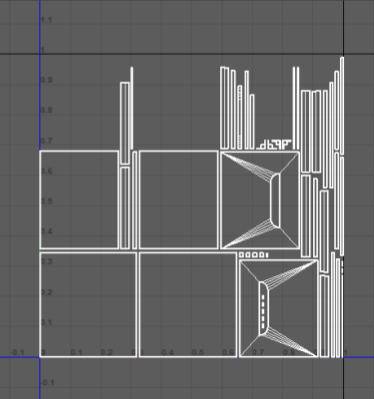
This was the final result of the UV map after making the necessary changes. None of them overlap whilst still being neat and compact.
