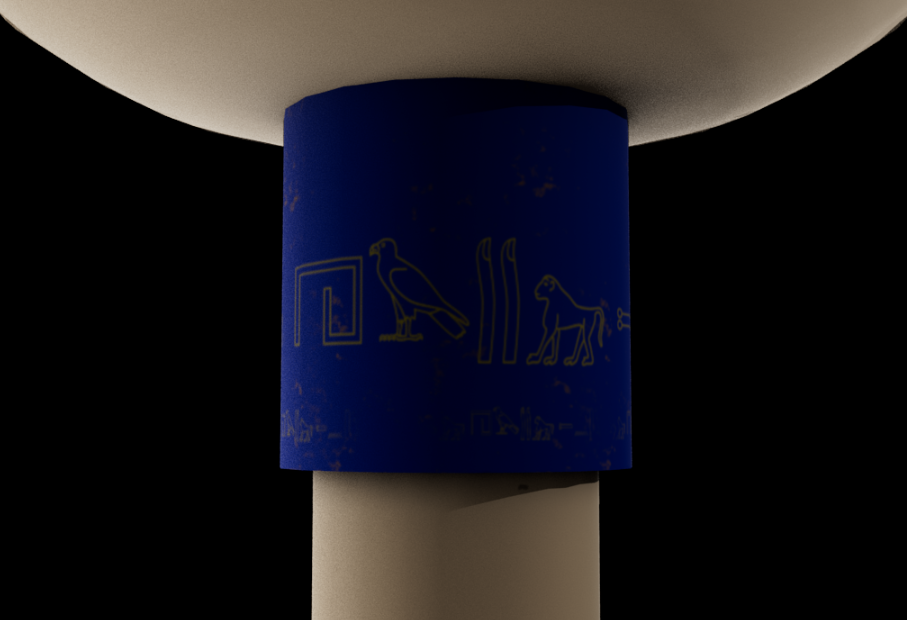
This turned out to be a lot more complicated than I had first anticipated. I watched the video on how to use Viper and FileZilla, however the first hurdle was actually gaining access to it. To access Viper, you need Hull University’s VPN. I requested access to this on Saturday 7th May, however I was doubtful I would get a response as it was the weekend. And so, I set out to render on my own computer.
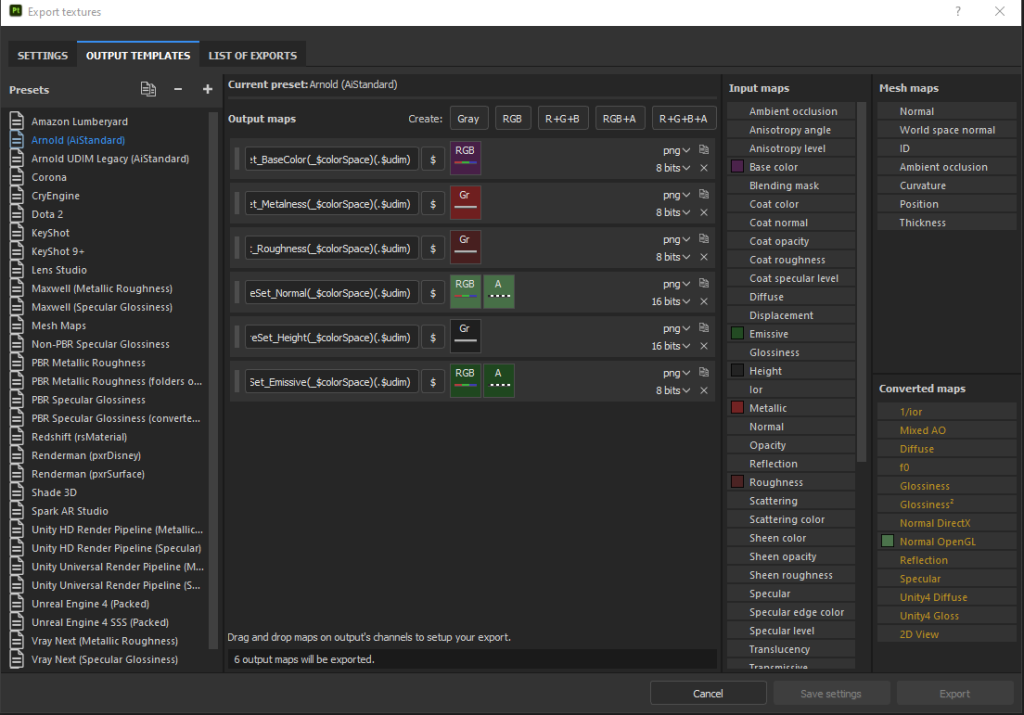
In order to render my 3D model, I needed to export my texture maps that I had created in Substance Painter. In order to do so, I needed to add ambient occlusion to the output maps.

However, whenever I tried to do so, this message came up. This confused me as in the tutorial, this error message did not occur. So, I looked it up and tried multiple different things people suggested such as moving files around etc. But then I actually read the message and realised what it was saying.
It did not like the fact that I was updating a preset, which makes sense as they are meant to be used as they are and not modified. So, I copied the content of the Arnold preset and created my own output template. Then, I could add ambient occlusion with no errors.
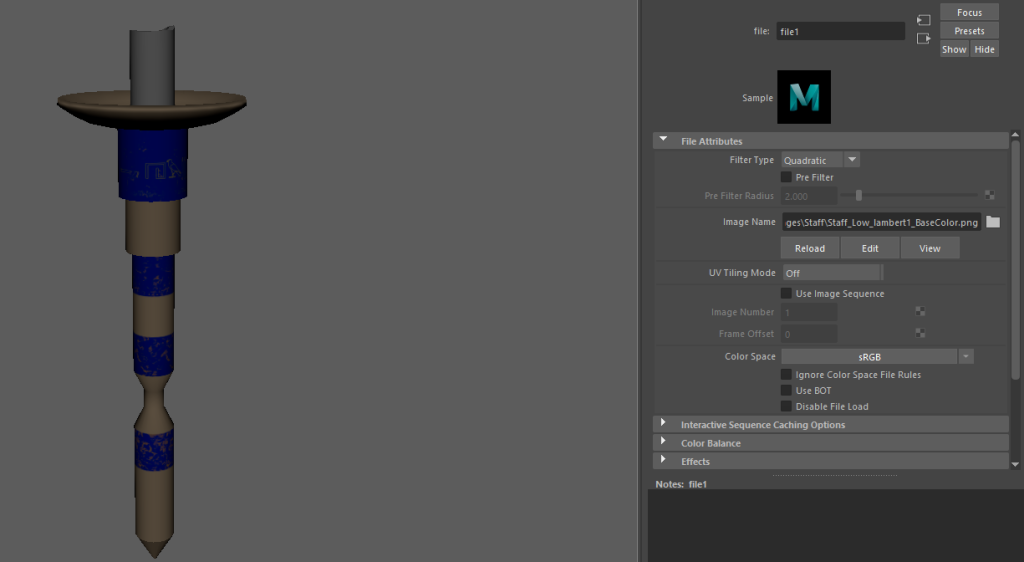
Now that my texture maps were all exported, it was time to input them into Maya. The first one was the base colour, which surprisingly worked.
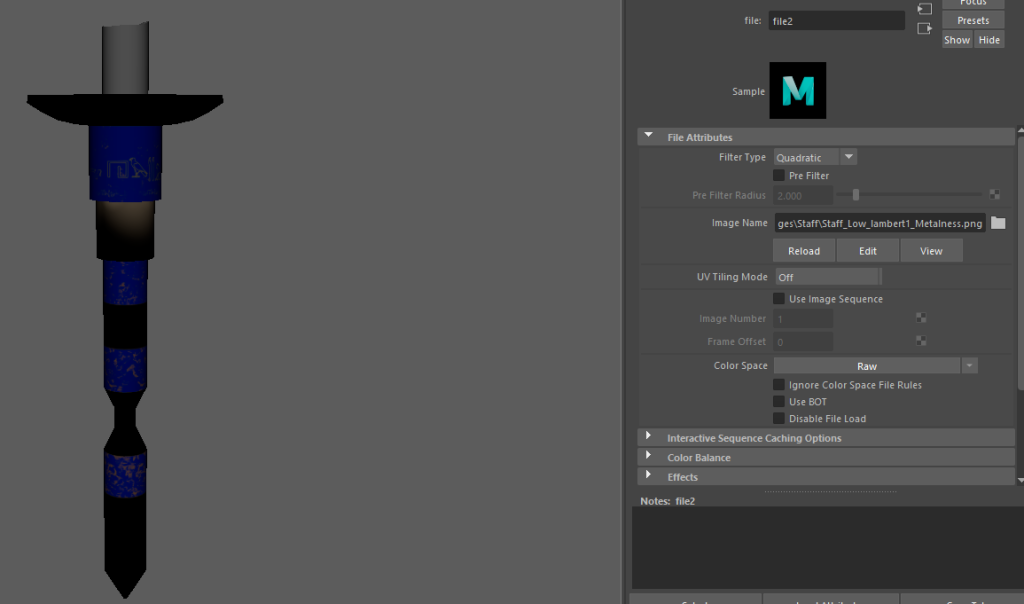
When I added the metallic value however, I started to panic as my model turned black. I now know that metal does appear black in the viewport, but at the time I thought something was seriously wrong.
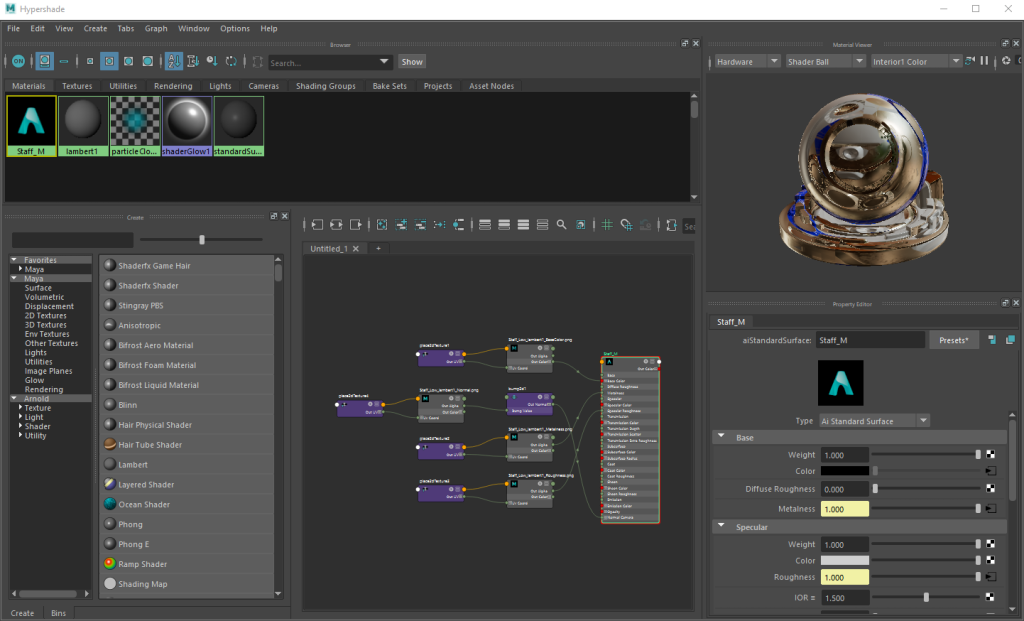
I added a few others such as roughness and then finally ambient occlusion using the Hypershade window.
I decided to render it to see how it looked, and then my worst fear came true of it not working properly. The gold parts of the staff were completely white. I apologise for not taking a screenshot of it but I was just so shocked and panicked.
After a couple hours of redoing the maps and trying various things, I decided to turn the lighting exposure down. If it sounds dumb, that’s because it is. After all of those hours spent looking at various solutions, it was the exposure being too high and causing the lighter parts of my object (such as the gold) to turn white.
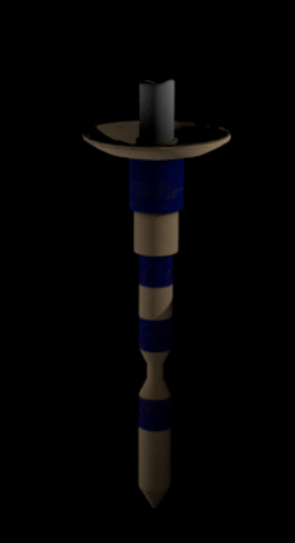
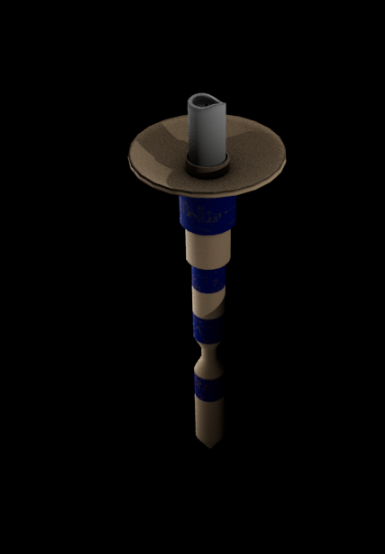
This was the first time the render had produced something that actually resembles my staff. Obviously the lighting was awful as it was just a test trying to get it to work, but it was a start.
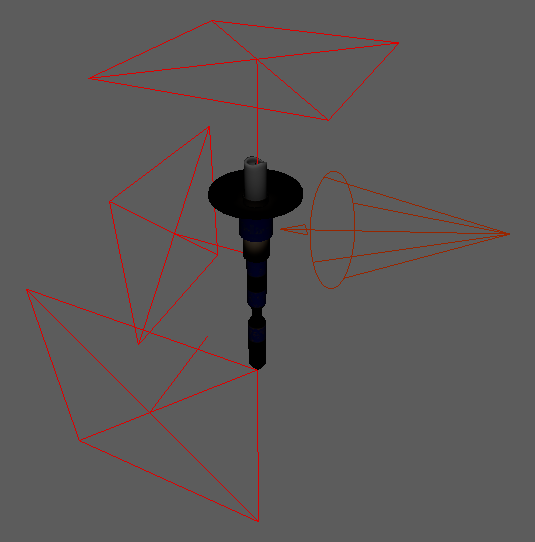
I experimented with the lighting after the relief of my staff being able to be rendered. I tried moving certain lights closer and increasing the intensity, whilst others were dim and just used to slightly light up an area of the staff.
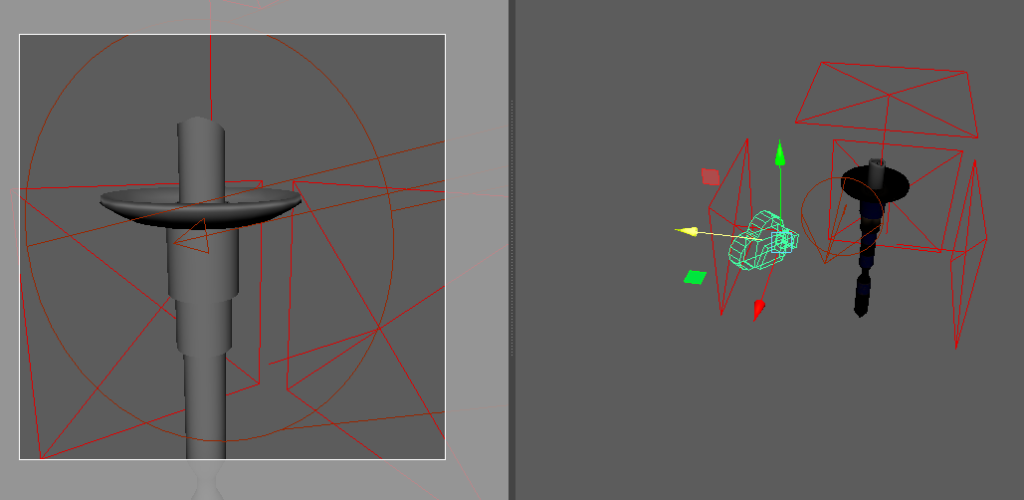
I also added a camera, using the camera’s view on the left to correctly position it.
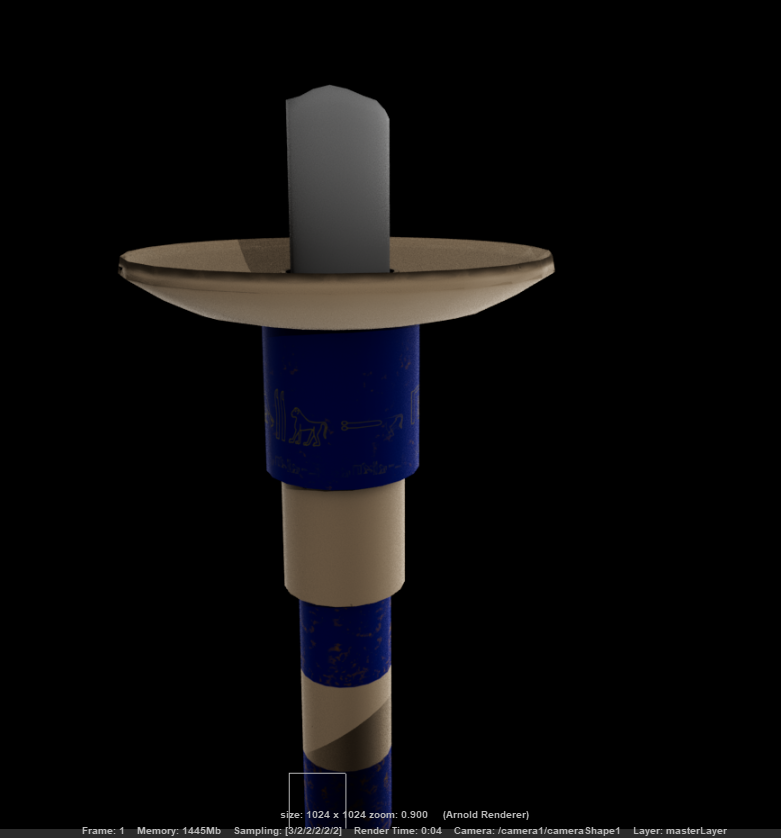
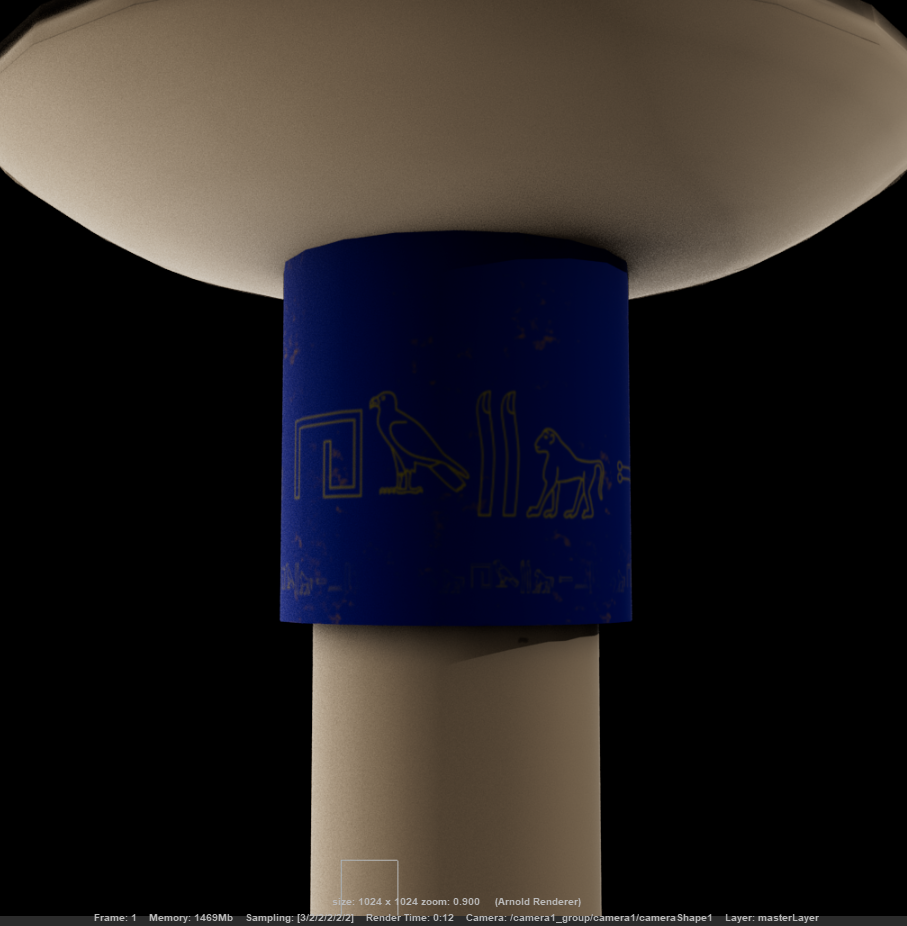
I really like the look of these final renders. The quality is high enough that you can see the hieroglyphics clearly and all of the detail on the lapis lazuli.

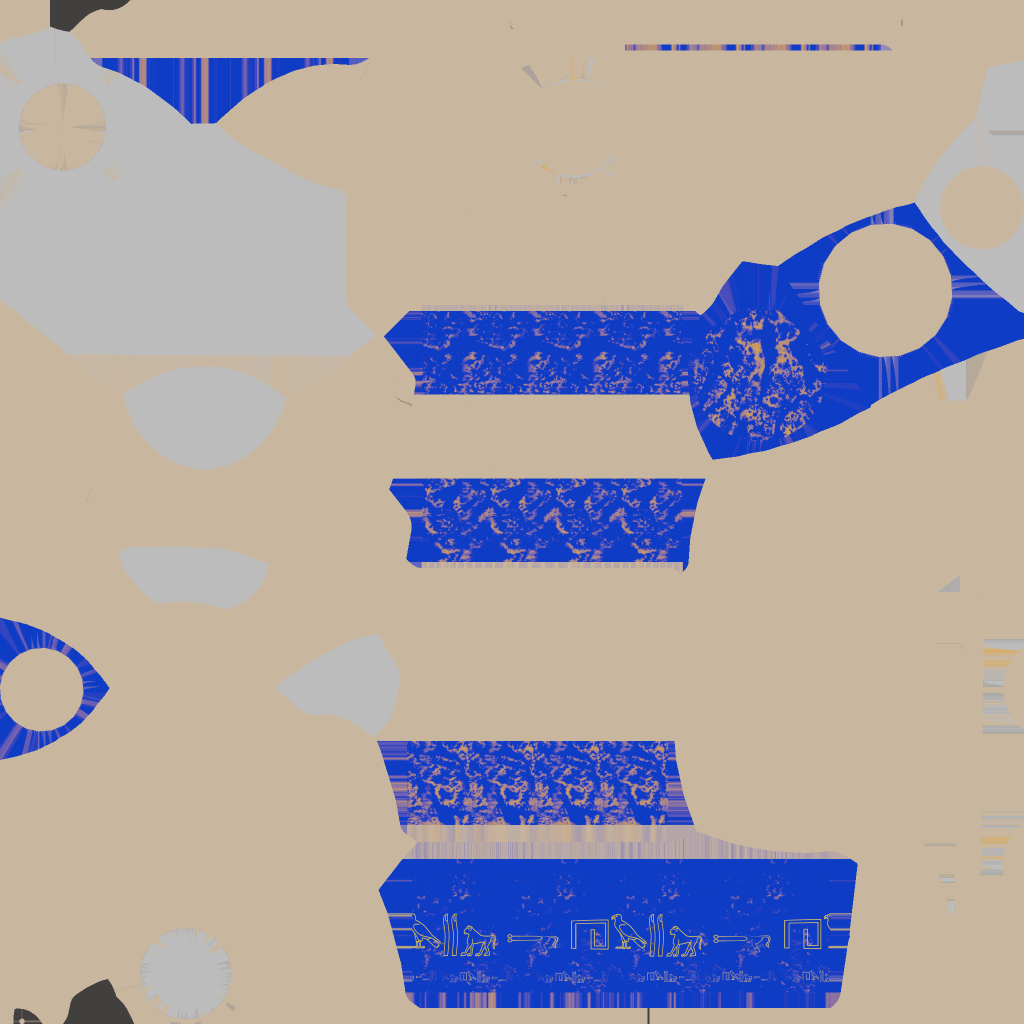



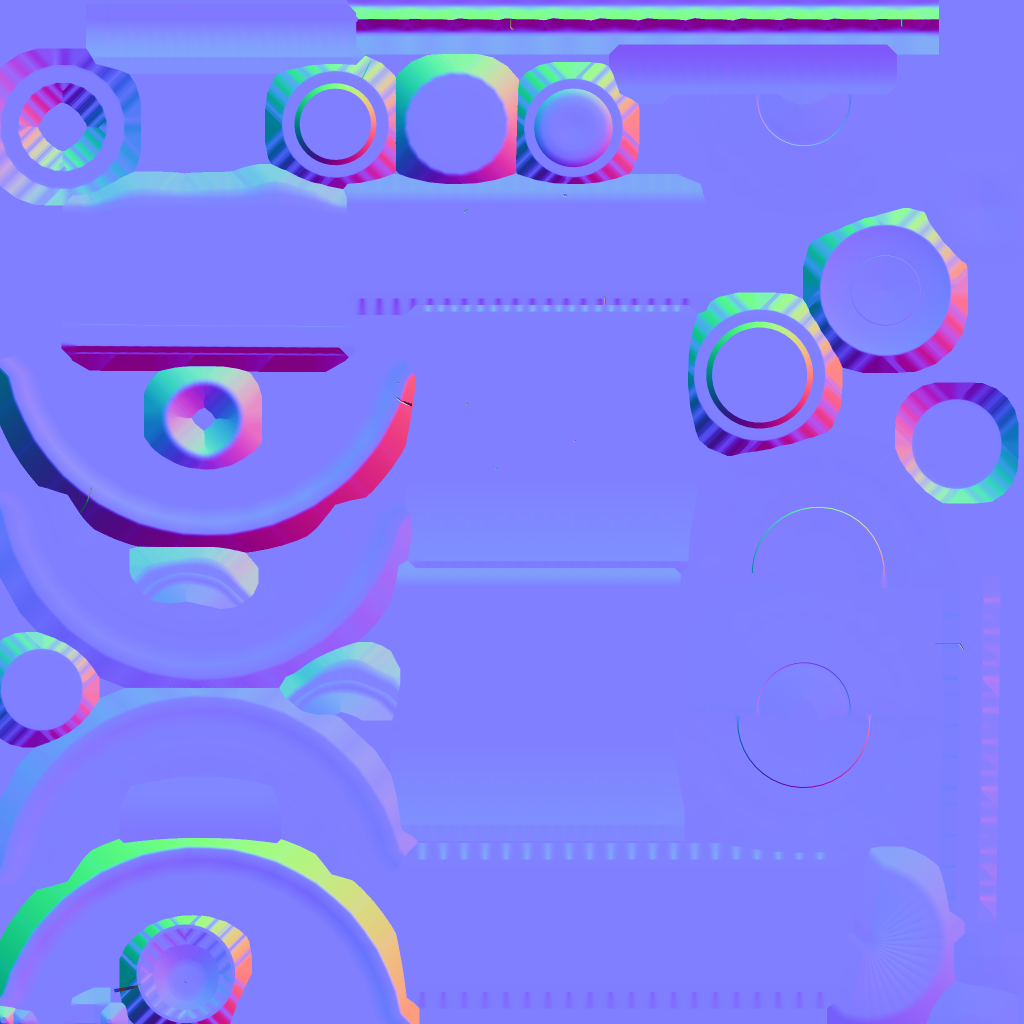
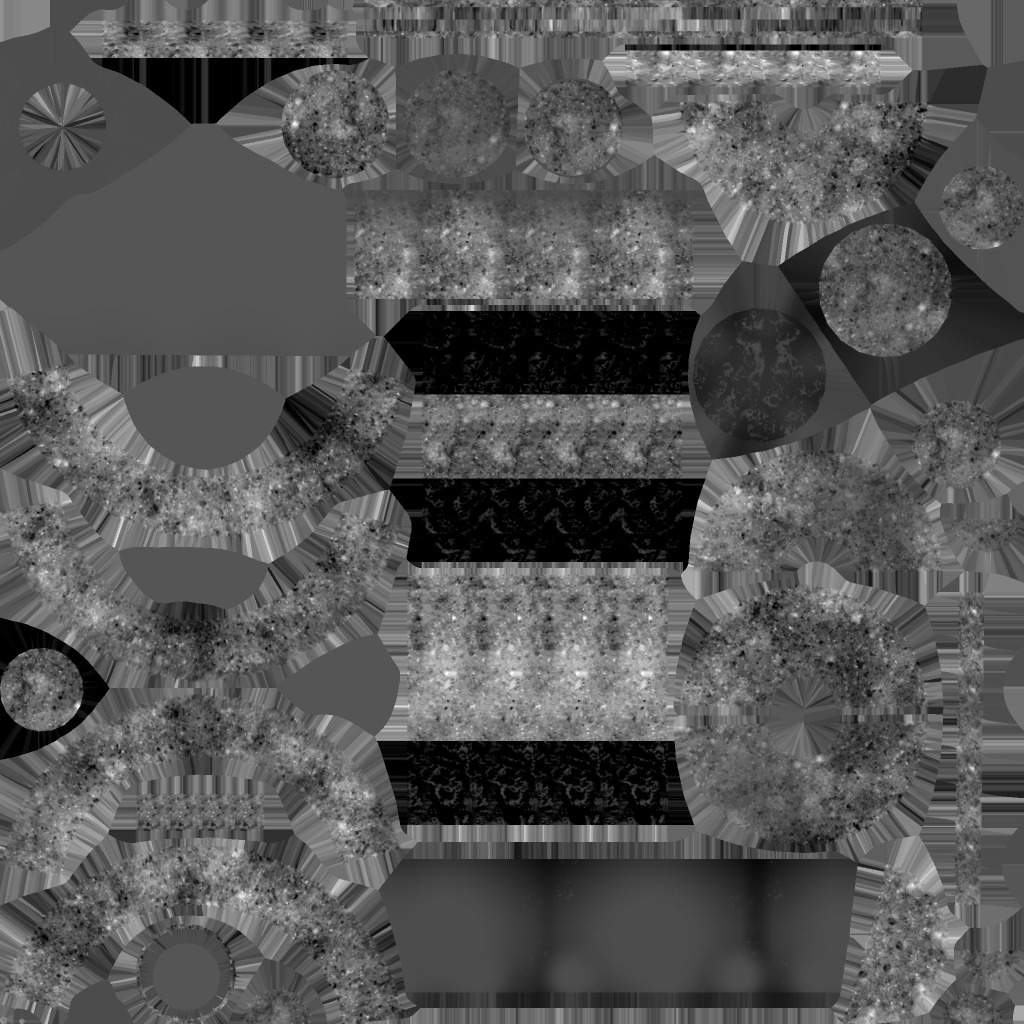
Above are all of the different texture maps that I used to create my 3D model.
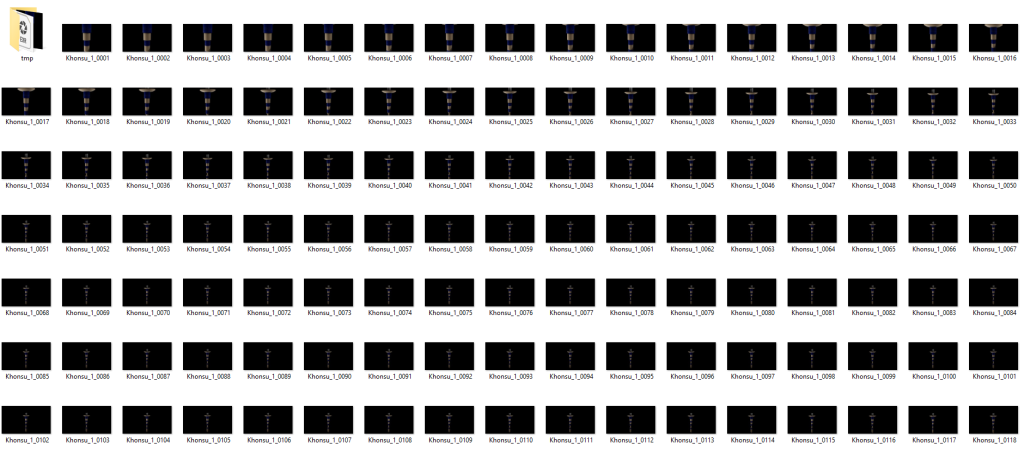
As mentioned previously, I did not have access to viper and so I had to render each frame on my own computer. I worked out that for a 20 second video at 24 fps, it would take 480 separate frames. Surprisingly, this only took a little over an hour to render.
I watched a video on how to animate the camera and create keyframes. One problem I did have was that when I moved the camera, the camera’s view didn’t move as well. I then discovered that you have to move the camera through the camera’s view for it to work. I experimented with the aim option on a camera as well, but for such a simple video I deemed it unnecessary and stuck with the standard camera.
I imported the first frame into Premiere Pro and made sure to check the sequence box so it automatically imported all 480 frames. From there, I could export the video as an MP4. One downside of Maya is that you cannot directly export your render as an MP4 video and instead, you have to go through this process.
Here is my fully rendered video:
I am extremely happy that I could get the video finished at a high quality with lots of camera movement to show off my model. One downside is that the metallic look of the gold has gone for some reason. I could spend hours trying to figure out how to fix it, but due to time constraints I simply cannot. Besides, the matte look actually works just as well in my opinion.
Overall, using Maya and Substance Painter has been a great experience. They both have their issues but they are very powerful programs that make 3D modelling a possibility. One major annoyance with Maya is having an issue and not being able to find any help on the internet. This is because Maya is very expensive and so less people have access to it, leading to a much smaller community than Blender or other free programs.
If you cannot access the video above, here is a box link to download it:
https://universityofhull.box.com/s/cbijmchec6w9zjmqwdxz0665xwqpdjda
References:
Uhr (2018) Maya: 4 Ways to Animate a Camera [Video]. Available online: https://www.youtube.com/watch?v=Vx3Ht2M0WeA [Accessed 08/05/2022].
Mike Hermes (2020) How to render out your Animation sequence in Maya 2020 using Arnold [Video]. Available online: https://www.youtube.com/watch?v=_F0klwCw2m8 [Accessed 08/05/2022].
