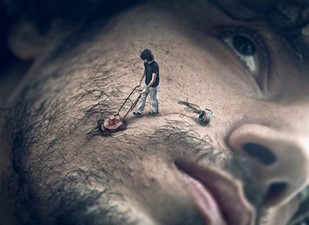
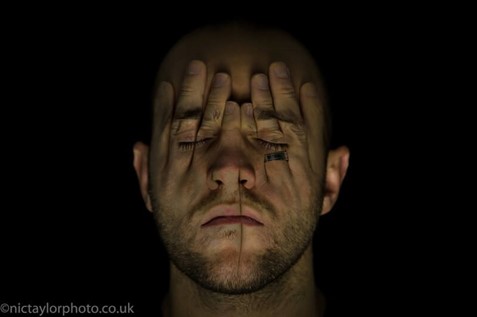
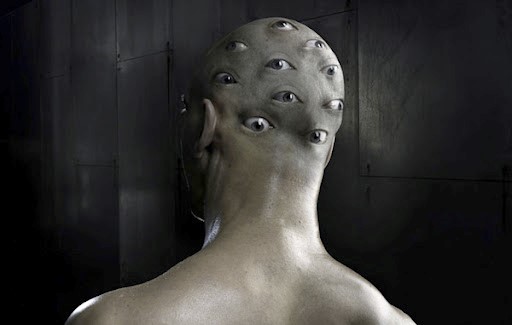
I started my photo manipulation process by creating a mood board of examples to refer to and gain inspiration for my own piece.


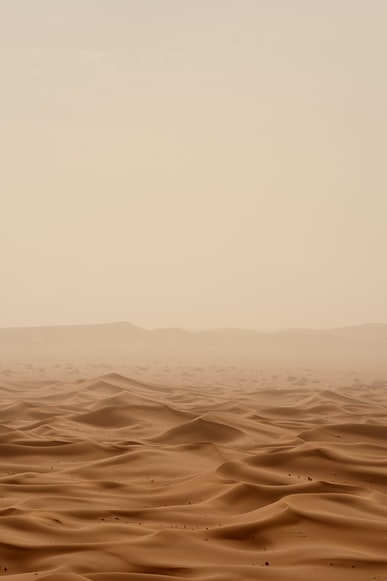
I then gathered pictures from websites such as Unsplash and Pexels to use in my own photo manipulation piece.


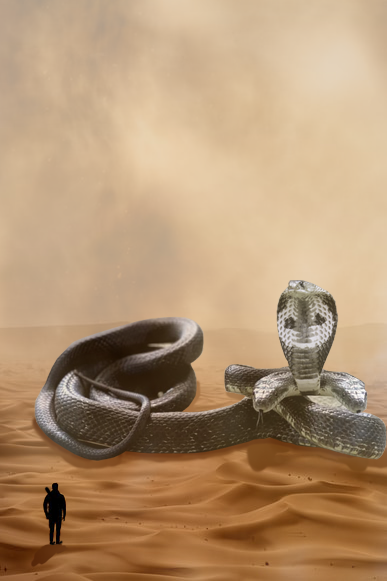
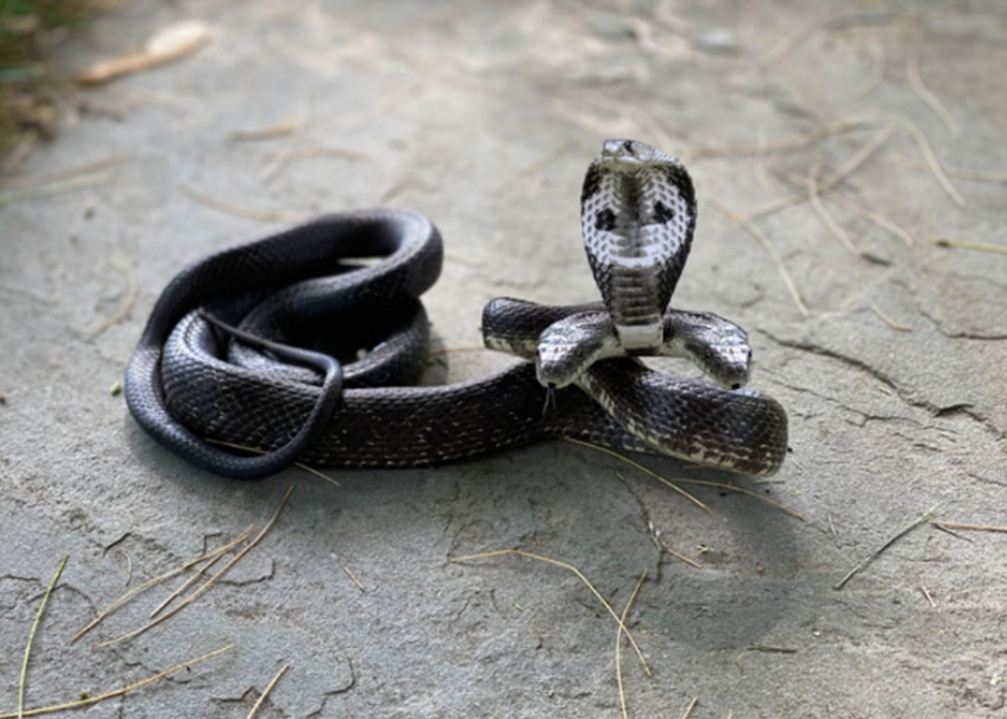
I knew I wanted to create a three headed snake. To do this, I first used the polygonal lasso tool to cut around the head of the first snake. I then copied it to a new layer and flipped it horizontally. The next step was to use the polygonal lasso on the second snake’s head and to copy that onto another layer. The third head did not match the colour of the previous two, however, and so to fix this issue I used the match colour feature in photoshop. This made the third head have similar colours to the other two.
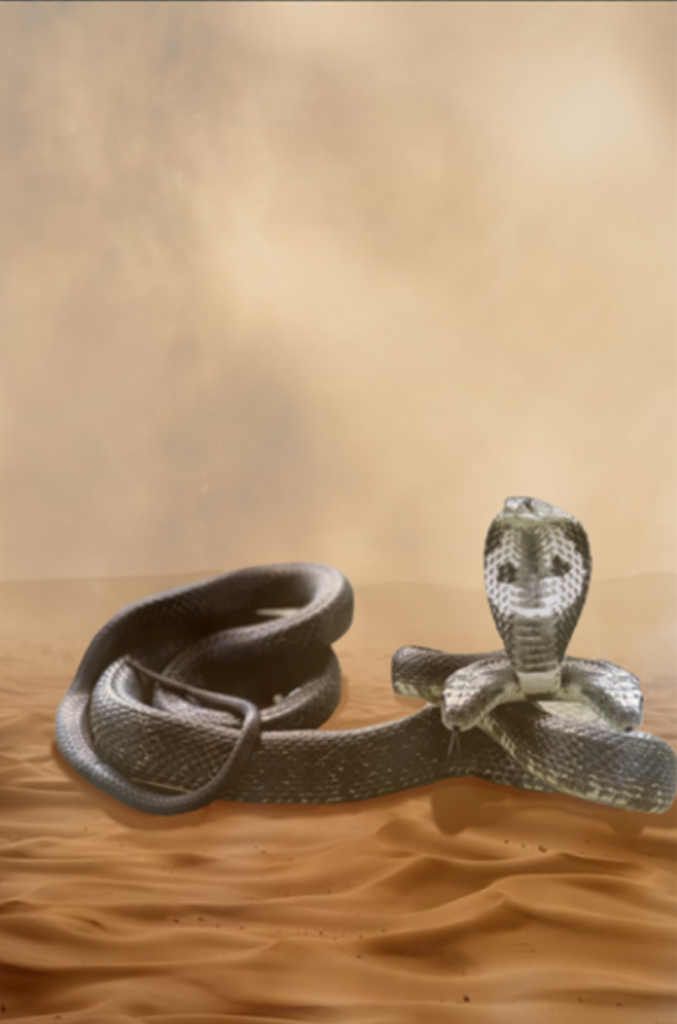
I then used the polygonal lasso tool to cut around the outside of the snake. However, when I pasted it onto the desert background, only part of the snake appeared. This problem occurred due to not merging the layers. So, I merged the layers and copy and pasted the snake onto the desert background.

The next step was to make the snake look like it was actually there in the desert and not just placed there randomly. To do this I used the colour picker and on a new layer, painted shadows around the snakes body.

To stop the image looking so artificial, I then added a sandstorm effect over the image on a new layer. I then turned it down to 25% opacity to make it blend with the image better.

The final step was to add a silhouette of a man to the piece. I decided to do this to emphasise the scale of the snake. I cut the silhouette out using the polygonal lasso tool and added a shadow to him using the colour picker and brush. I also added a sword on his back to infer that he is going to fight the three headed snake.
