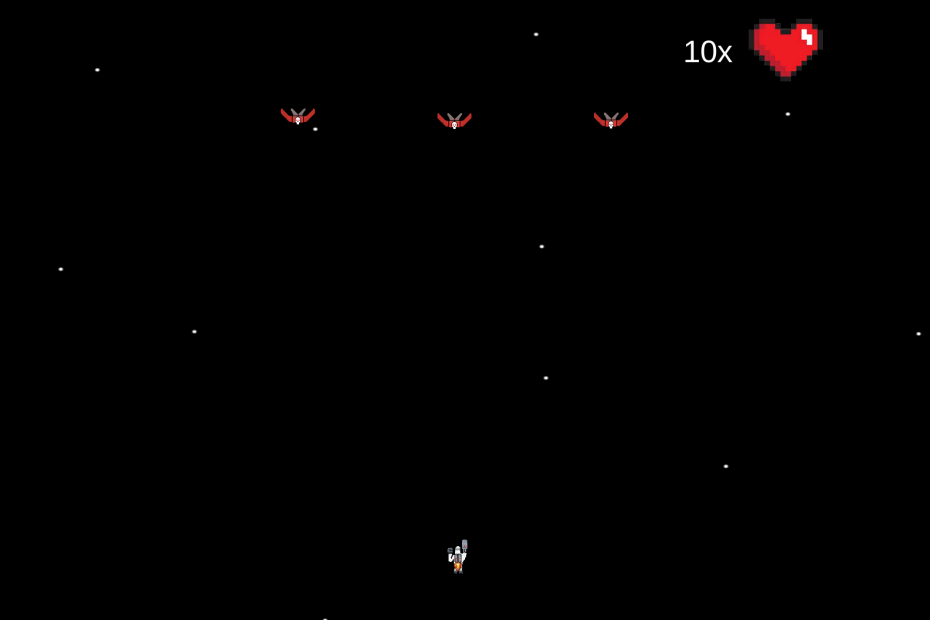
For my Space Invaders prototype, I set out to create a challenging and addictive version of the classic game – Space Invaders.
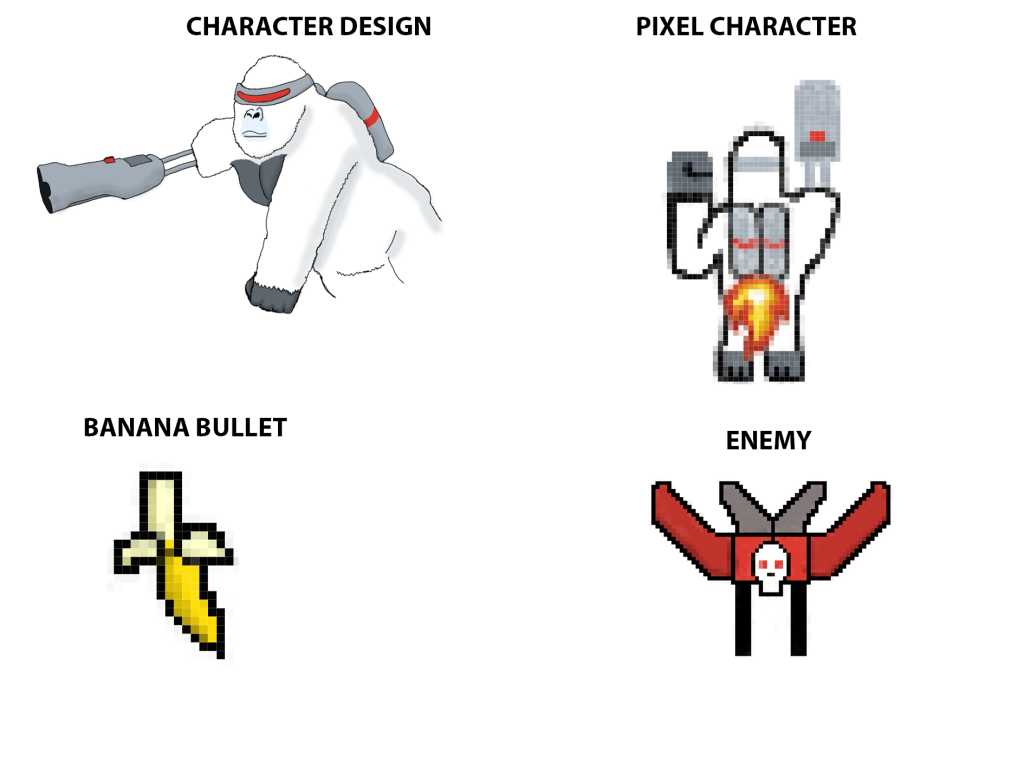
The first step to achieving this was creating my own assets for the game. I used 64×64 pixels for the enemy ship and the ape character, and 16×32 pixels for the bullet.
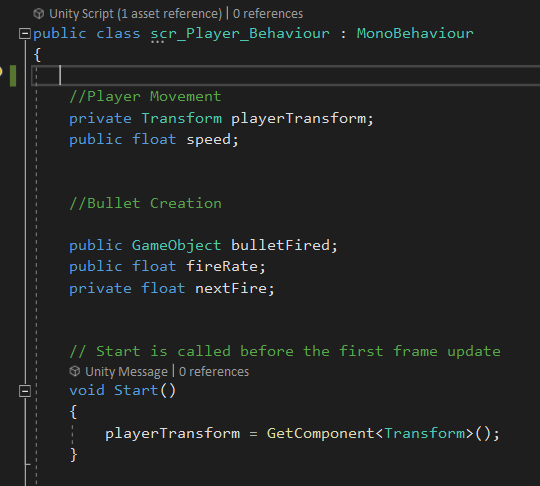
In the PlayerBehaviour script, I have created a transform called playerTransform. A transform controls the position and rotation of an object in Unity. Therefore, this will control the players’ movement on the screen.
I have also created a reference to the bullet in the script. I can then drag the bullet sprite into this reference in Unity itself.
In the Start function, I have got the transform of whatever game object the script is attached to and assigned it to playerTransform. This means at the start of every game, the player will be assigned its own transform. This is useful as it means I did not have to manually drag the players’ transform component into the reference.
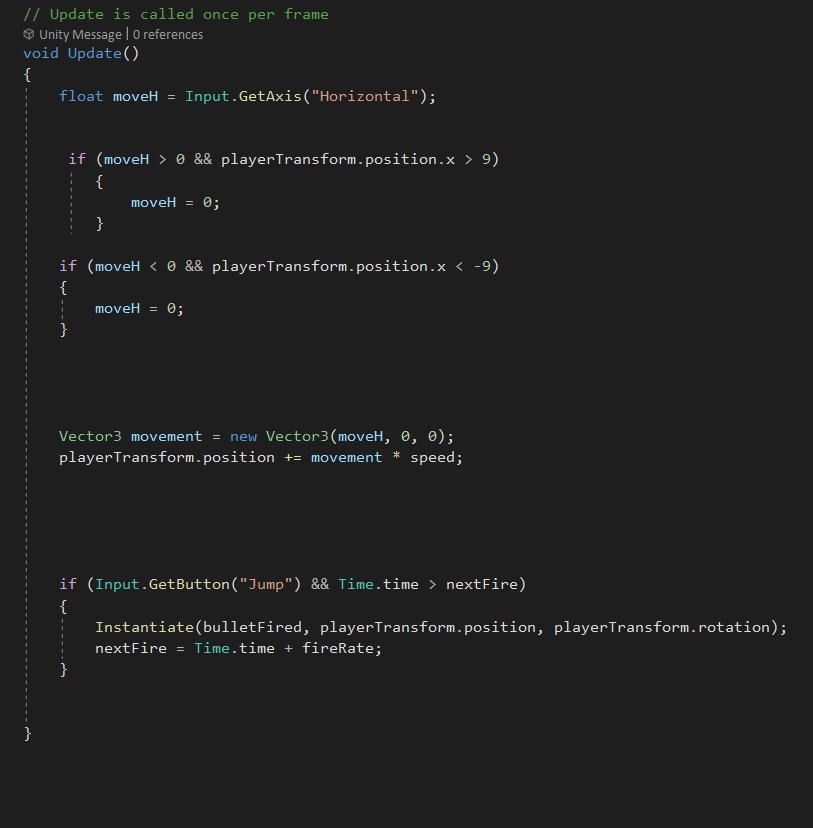
The first two if statements stop the player moving off the screen. Setting moveH to 0 when at the edge of the screen stops the player being able to go any further.
Instantiating an object creates another object with the exact same properties as the previous one.
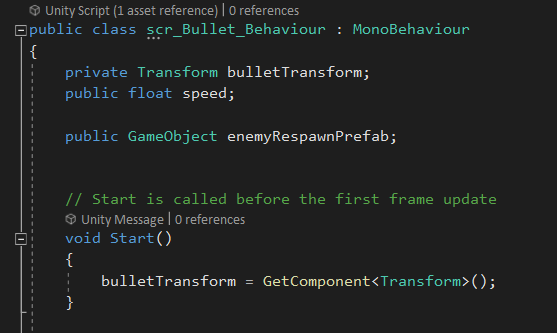
At the start of the BulletBehaviour script, I created a game object for the enemy respawn prefab. A prefab acts as a template, meaning each enemy will have the exact same properties.
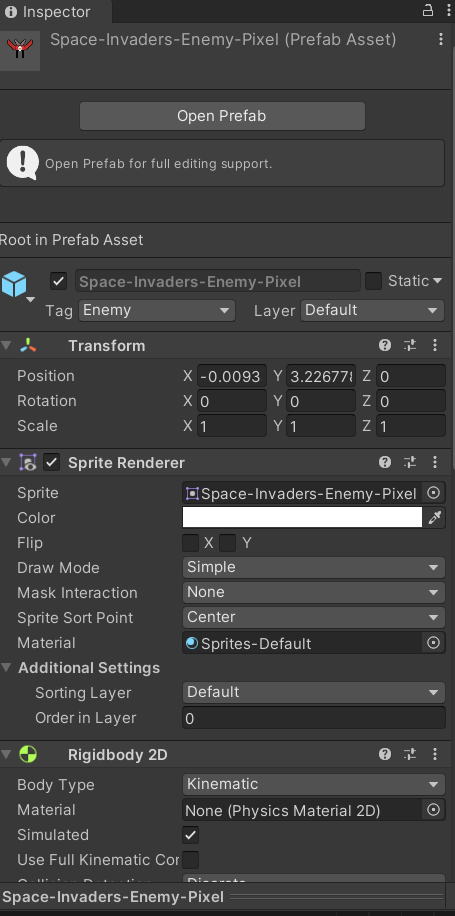
This enemy prefab can then be dragged into the enemyRespawnPrefab reference in Unity. Prefabs are a great feature in Unity as it allows for enemies or characters to respawn with the exact same properties.
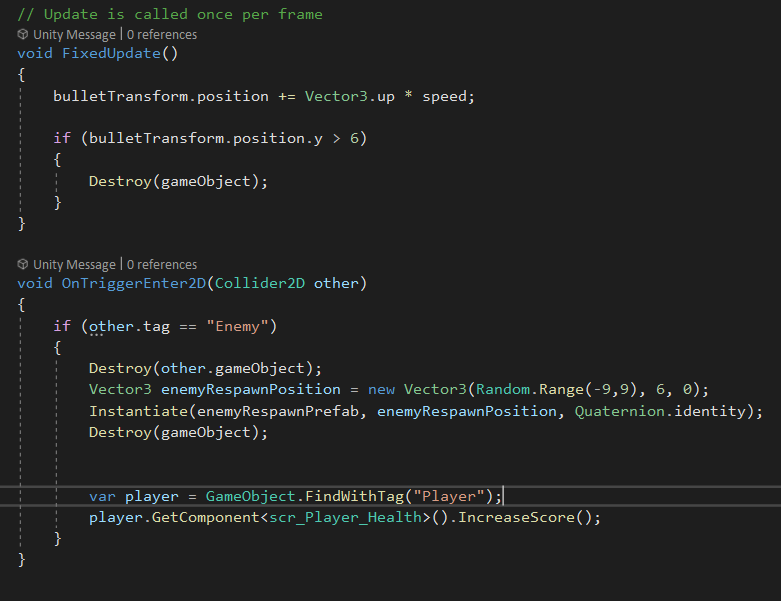
The built in function FixedUpdate is used for physics related code in Unity. In the BulletBehaviour script, it controls where the bullet fires as well as destroying the bullet once it is off the screen.
Another built in function is OnTriggerEnter2D. This allows two objects with colliders attached to them to interact with each other. In this script, if the bullet collides with an enemy, the enemy is destroyed and respawns at a random location across the top of the screen with the same properties. This occurs because the enemy prefab has been instantiated with the enemy respawn position.
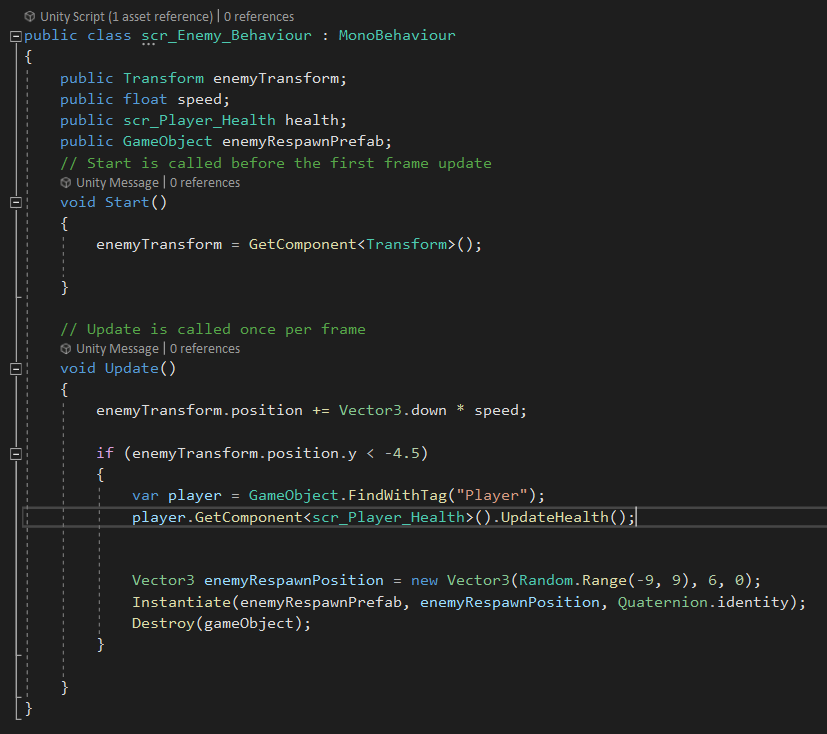
In the EnemyBehaviour script, when the enemy is past a certain point on the screen, the UpdateHealth function is called from another script which decreases the player’s health. The enemy also respawns using prefabs and by instantiating it.
To improve my game, I should add another enemy type that moves in a different manner. It could be slower than the other enemy but fire bullets at the player to add another element to the game and make it an even bigger challenge.
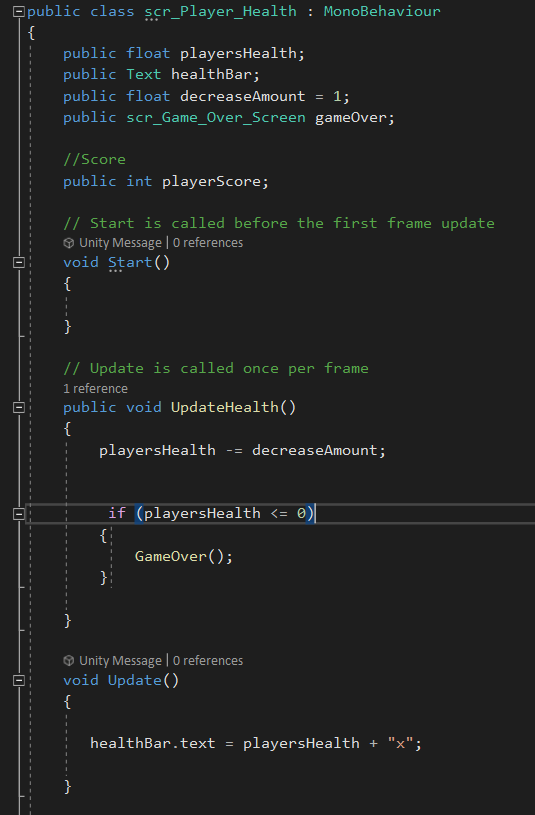
The PlayerHealth script controls the player’s health and what happens when it reaches zero. I had to incorporate my knowledge of UI from the Cookie Clicker clone to link to health with a text box.

The GameOver function references the Setup function in the GameOverScreen script and passes the player’s score through it.
The IncreaseScore function increases the player’s score and is referenced in the BulletBehaviour script, increasing the score when the enemy is hit by the bullet.
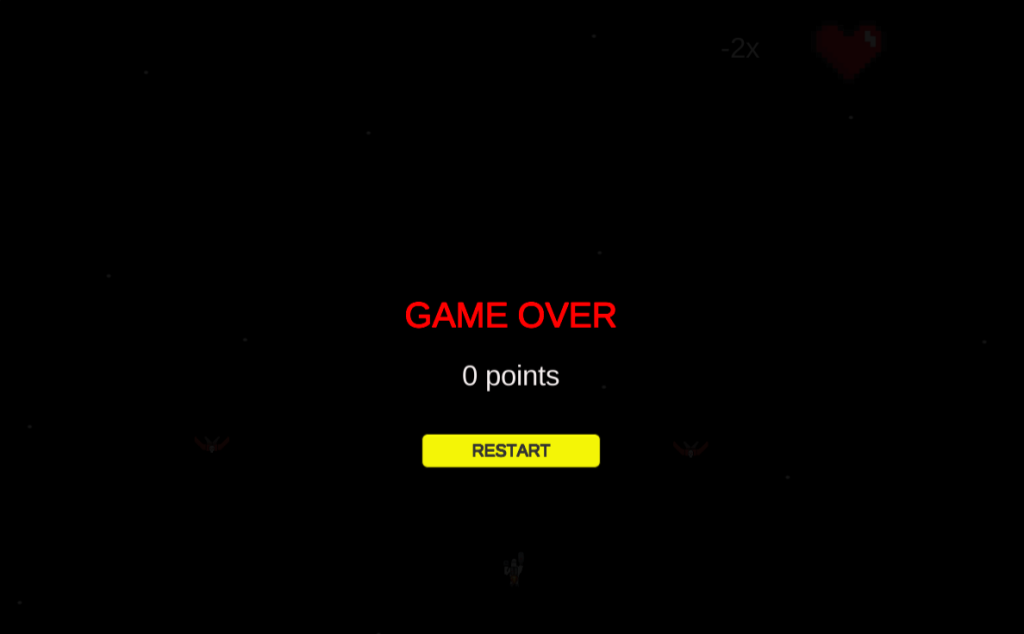
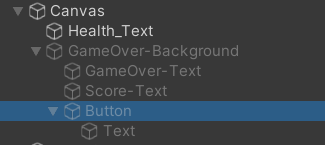
To create the game over screen I first created a UI image and made it the size of the screen. I added game over text and a points text as well as a restart button.
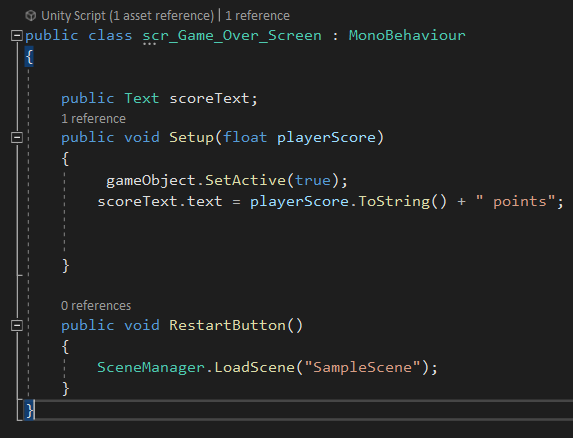
In the Setup function, I used SetActive to activate the game over scene I had created previously when the players score (which is passed through the Setup function) reaches zero.
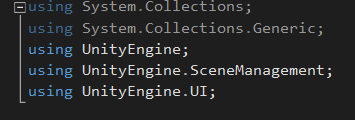
For this script, I had to use UnityEngine.SceneManagement. This allowed me to use SceneManager.LoadScene. When the restart button is pressed, the SampleScene (the name of the scene my game is in) is loaded.
The SceneManager is an extremely useful part of Unity as it allows me to access a number of methods which can be used to create not only a game over screen and a restart button, but multiple levels for a more detailed game.
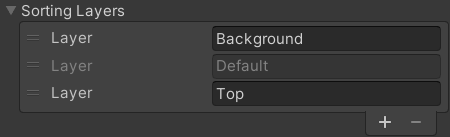
The final issue I had was that sometimes my character was behind the background and so he could not be seen. To fix this, I used sorting layers and assigned the background layer to the space background. This way, the character and enemies are always in front of the background.
Additional Research :
Coco Code (2020) Create great GAME OVER screen in Unity UI – Unity tutorial [Video]. Available online: https://www.youtube.com/watch?v=K4uOjb5p3Io [Accessed 28/10/2021].
Code Monkey (2020) Sorting Layers and Sorting Order Explained (Unity 2D) [Video]. Available online: https://www.youtube.com/watch?v=5_BwFB-1dAo [Accessed 28/10/2021].
LINK TO MY GAME : https://ethanconyers.itch.io/space-ape