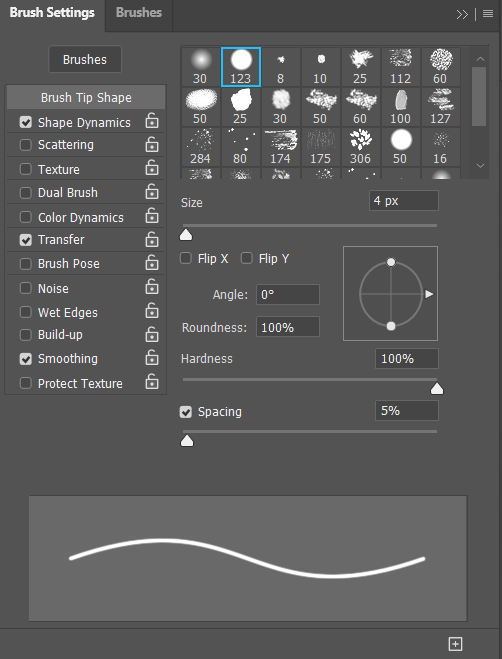
Before I began my study, I wanted to experiment with my brush settings. I used a video by the photoshopCAFE to help me get proper use out of my drawing tablet. I turned on shape dynamics and transfer which led to much more varied brushstrokes and a less blocky outcome in my paintings.
I began my study of shading and lighting by researching how to paint skin. I wanted to demonstrate light and shadow on a face – rather than a ball.
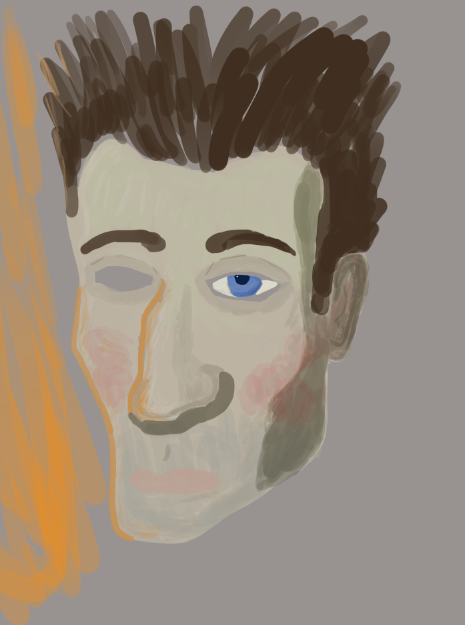
My first attempt did not go so well. I tried following a skin tutorial by Marco Bucci. I started with an average base tone, then made a shift towards ochre for the top part, a shift towards red for the cheek area and a cooler tone for the lower area of the face.
I think the issue I had was my base tone. It wasn’t a stereotypical skin tone to begin with and so even though I chose the correct tone to paint on top of it, I didn’t like the outcome.
I then tried experimenting with an orange rim light, which I think is a redeeming factor in this piece.
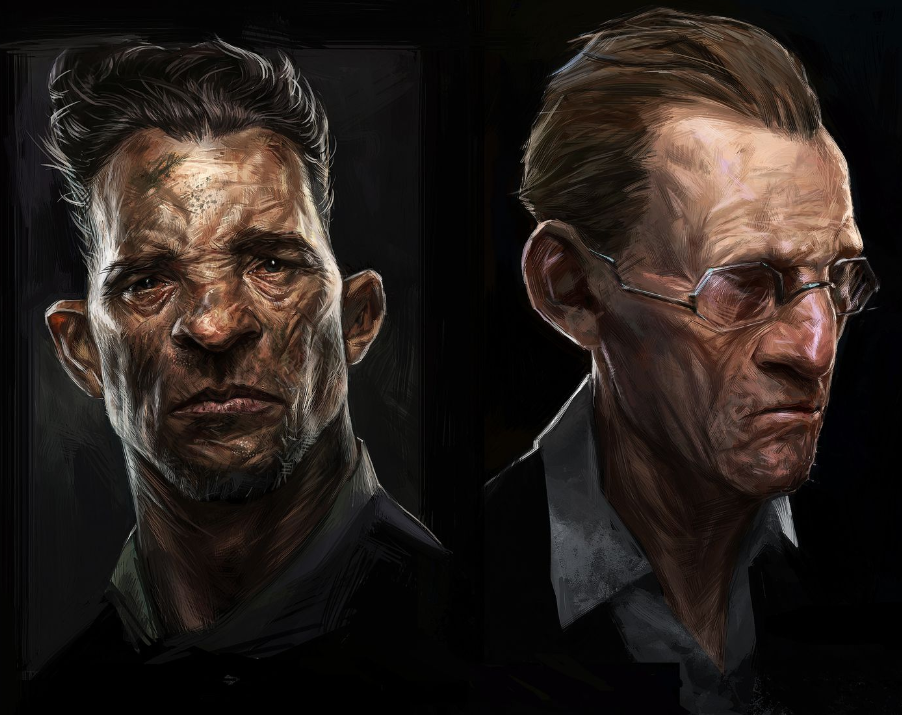
It did not take long for me to scrap the previous piece. I then decided to look at skin tones in video games and came across this Dishonored concept art. I loved the way they looked and more specifically their skin tone and how it reacted to shadow and light.
So, I colour picked a base skin tone from this reference and started my piece again.
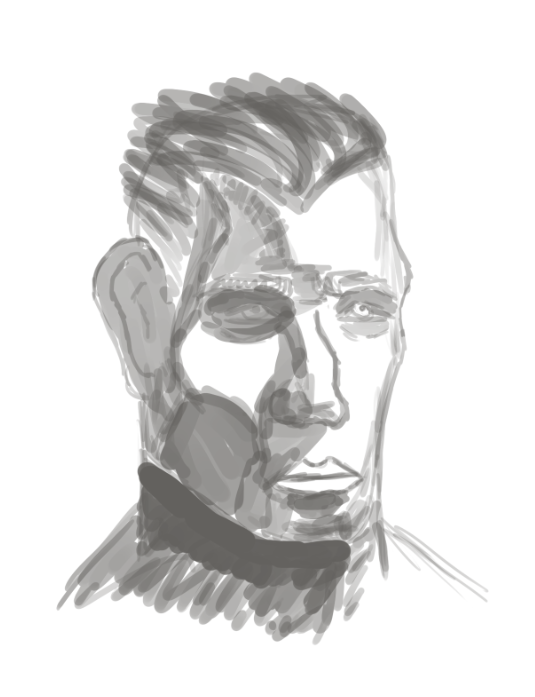
Before I began painting skin tones, I sketched out my character and the shadow and light areas on him.
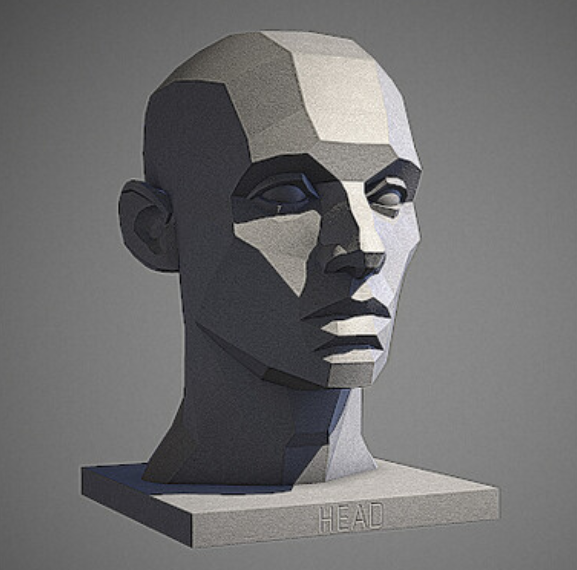
My reference for this piece was an Asaro head. I studied the way the shadow forms on the face when the light is coming from this angle. This was by far the most useful reference, as it demonstrated half tones, light areas, cast shadows etc.

To start with, I picked a much better base tone to work on. It looked fleshier and much more realistic for human skin.
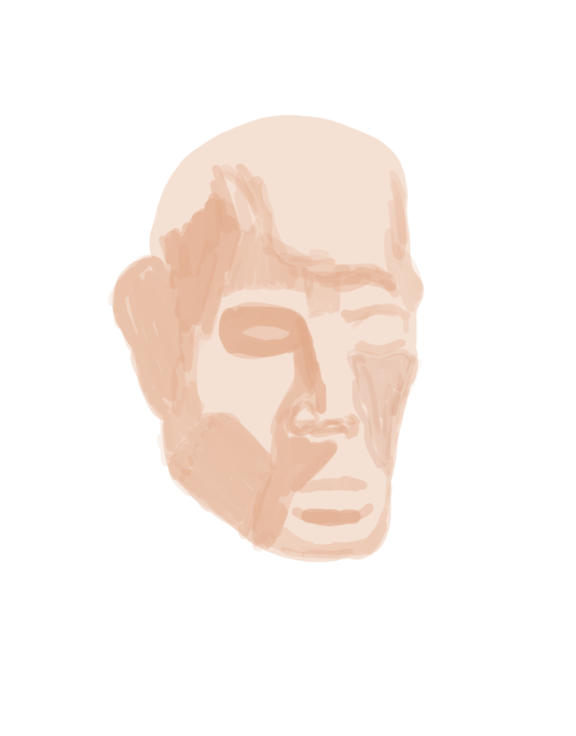
After researching how to paint shadows digitally, most artists use a multiply layer. So, for my shading, I used a multiply layer for the first time. It was extremely effective in getting a natural darker tone for my shadows.
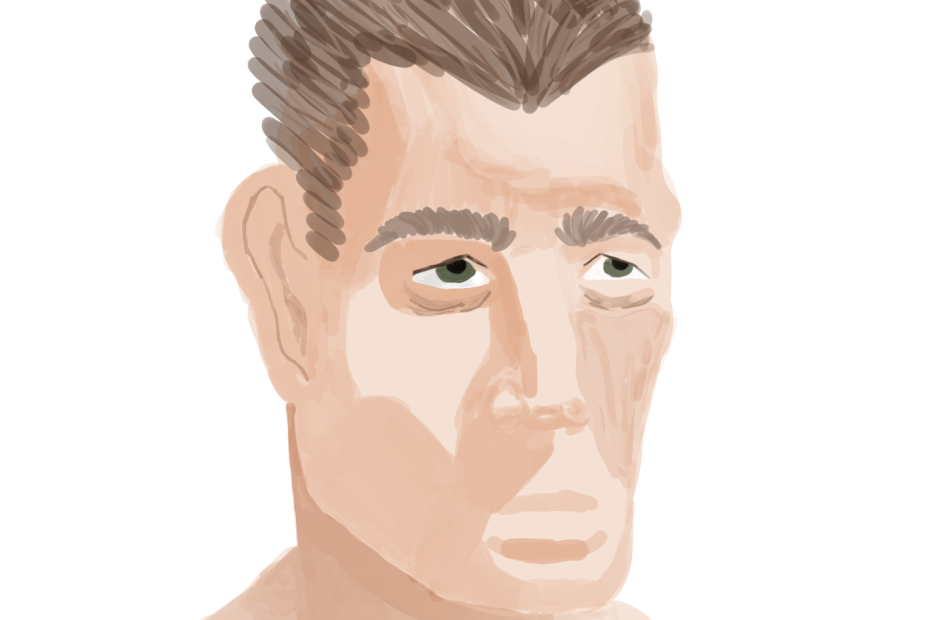
This stage was a huge success for me, as this was the first time I had used just light and shadow to define forms such as the nose and eyes etc. In this stage already, you can tell it is a face and you can see the structure of it.
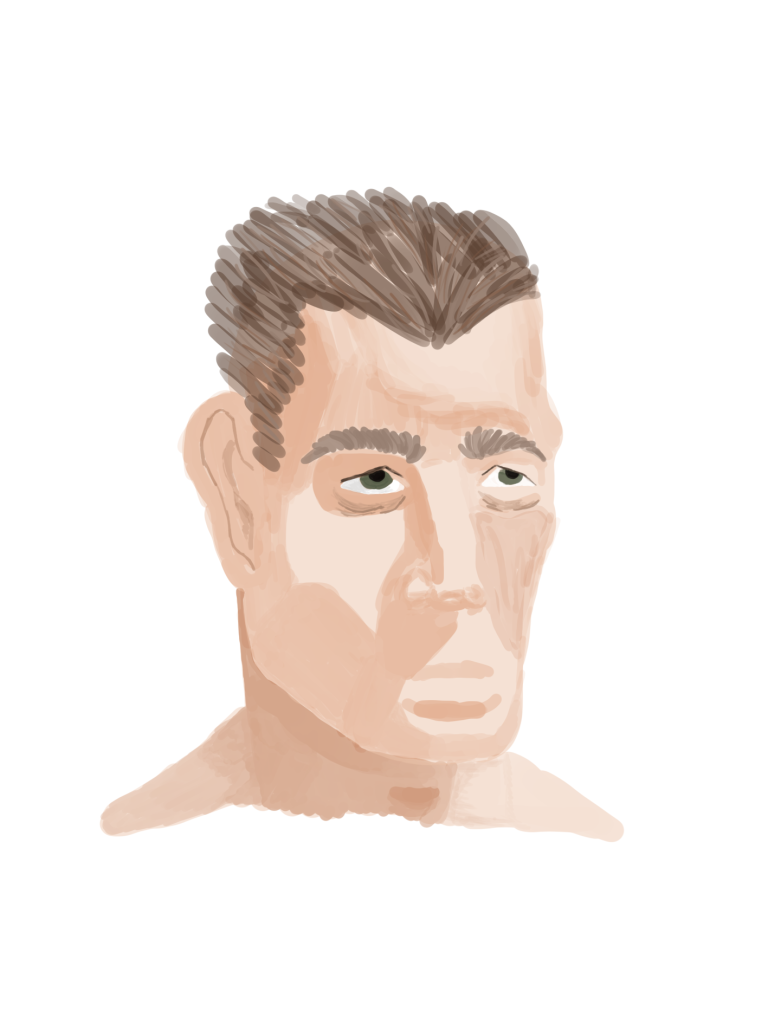
I added eyes and hair, among other details until I reached the final piece. If I had to improve my piece, I would use a different layer type for the really light parts of his face – like I did for the shadow parts.
I feel I succeeded in understanding the different types of shadow such as form shadows (like around the cheek) and cast shadows (like under the nose) and executing them to a decent standard.
REFERENCES:
Proko (2020) Painting Skin Tones and How Light Affects Color – Marco Bucci [Video]. Available online : https://www.youtube.com/watch?v=kYtGh2xTAlg [Accessed 02/12/2021].
PhotoshopCAFE (2016) Customize Wacom pen and pressure settings in Photoshop tutorial [Video]. Available online : https://www.youtube.com/watch?v=NBbiTxX3qgo [Accessed 01/12/2021].
Marco Bucci (2018) Light and Shadow – 10 Minutes To Better Painting – Episode 6 [Video]. Available online : https://www.youtube.com/watch?v=xcCJ2CU-bFw [Accessed 02/12/2021].