Before this course, I had never taken an interest in animation. I thought it looked great but I never looked deep into it and how animations are made. This exercise changed that for me.
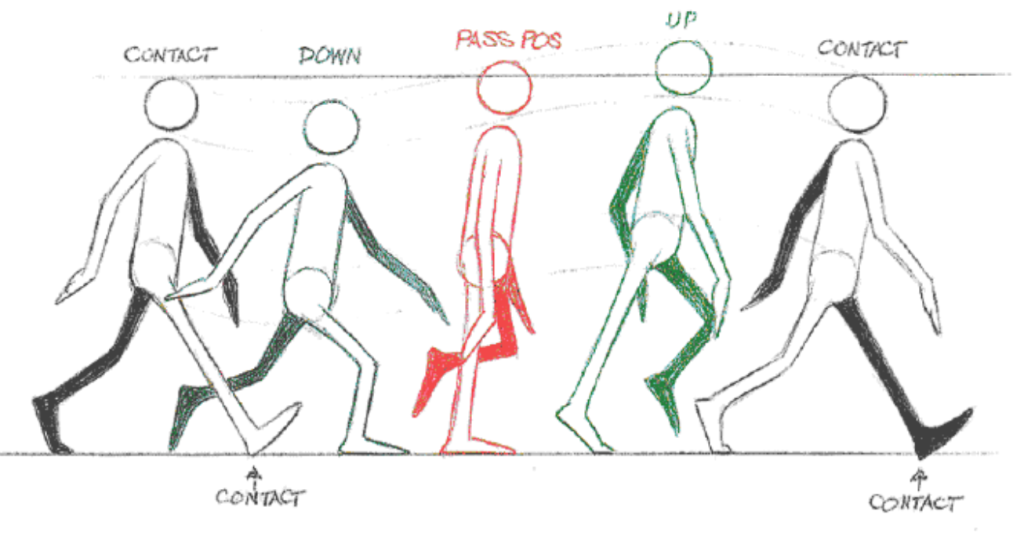
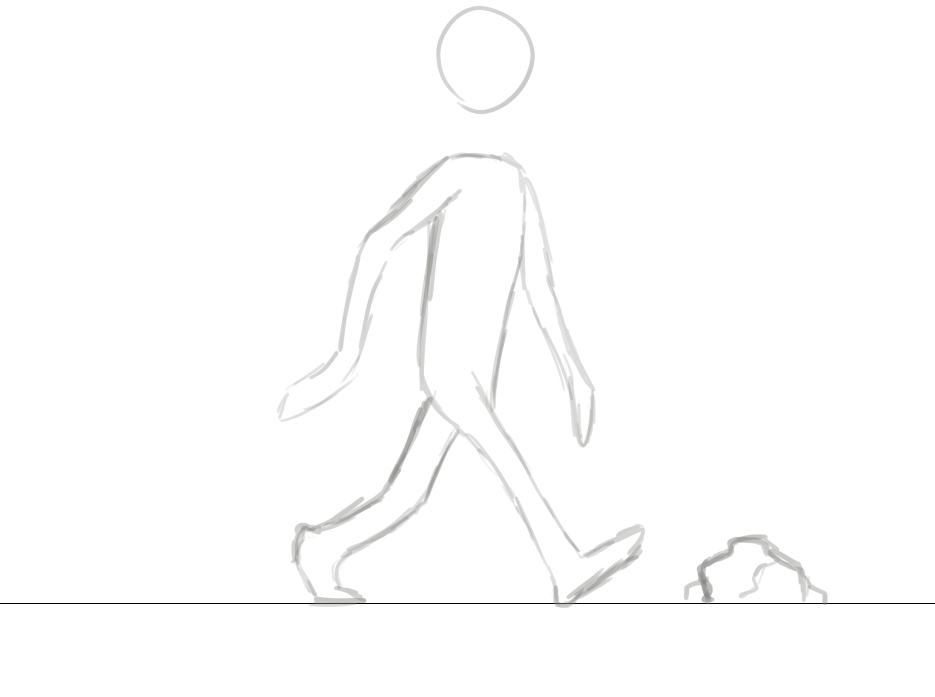
To begin with, I looked up how to draw a simple walk cycle. I found this image, which inspired me for my own animation. I used this as a base to build upon.

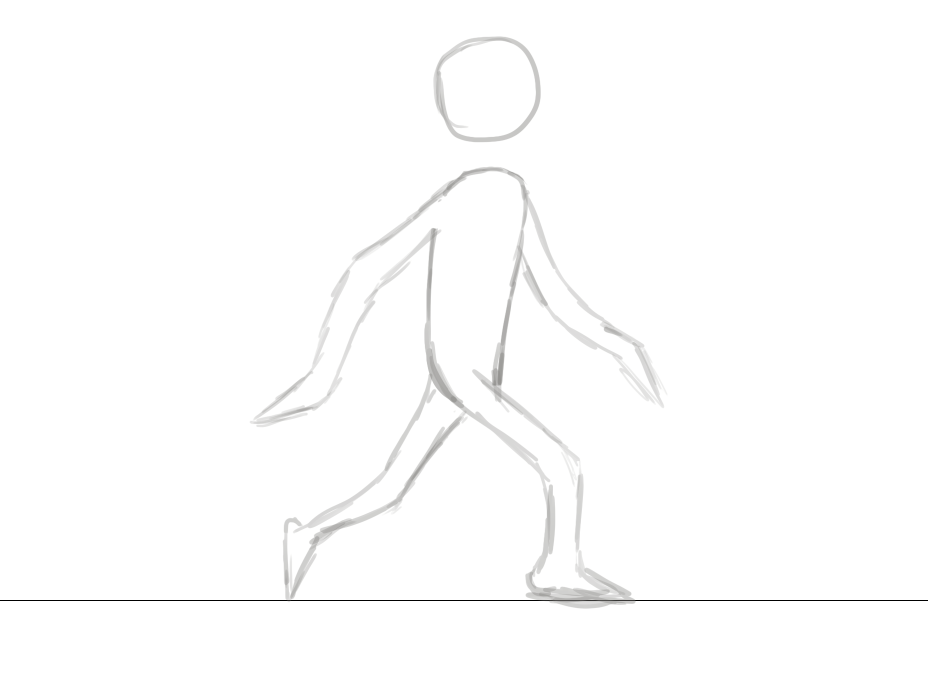
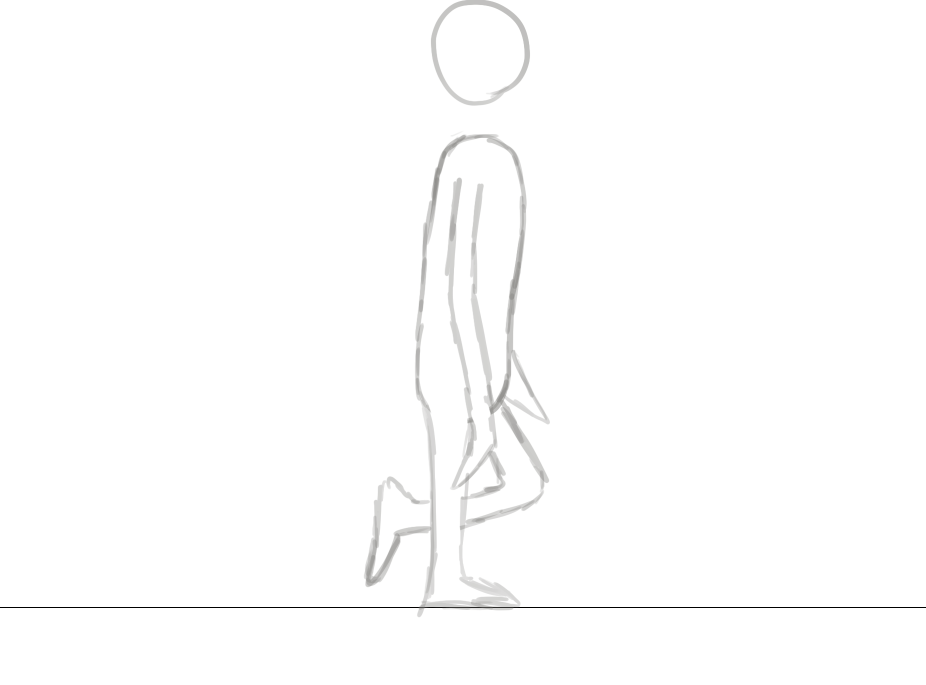


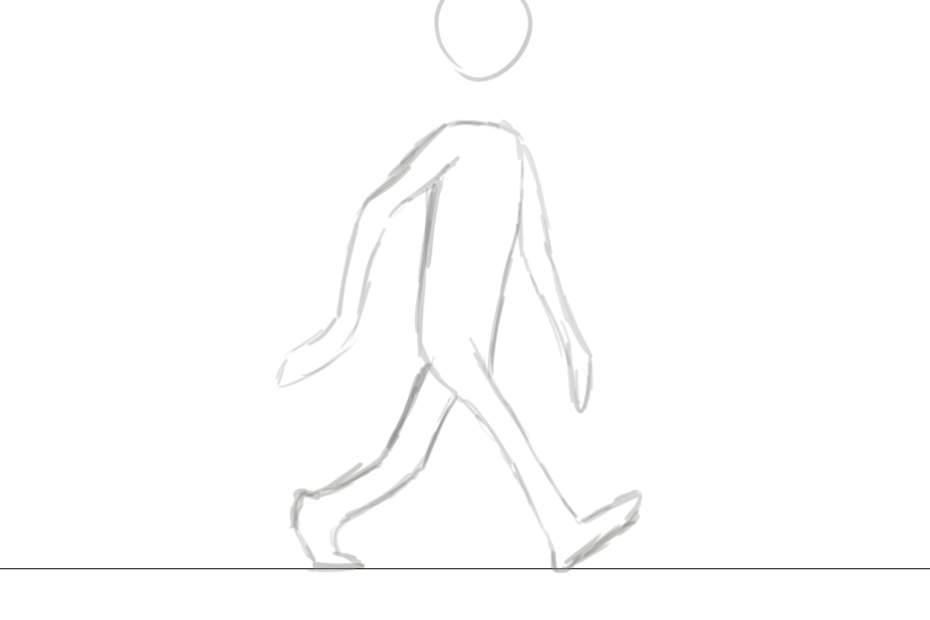
The first five frames of my animation were identical to the reference. When I first clicked play and saw how it actually looked like my character was walking, I was amazed.
I wondered what I could do to expand upon my walk cycle. I first tried adding frames in between the key frames, to make the animation smoother. However, this didn’t have the outcome I wanted, and it ended up being too much work to make the animation smooth. When doing just one frame in between each keyframe, the animation is in a weird state of limbo – not being intentionally choppy and not being smooth either.
Therefore, I decided to expand upon my animation by adding a rock in which my character would trip, get back up, and start walking again.

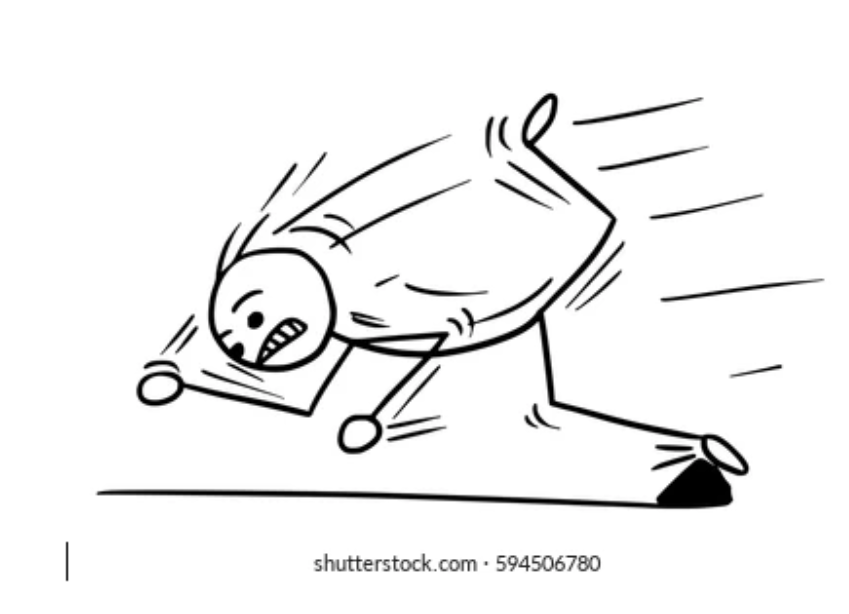
I used these two images as reference and inspiration for the falling animation. However, as these images would only make up two frames, it was very challenging to imagine the rest of the fall animation and how to make it look realistic.

One technique I used to achieve this effect was squash and stretch. The squash on the characters head as he hits the ground from his fall really makes it more dynamic and less stiff and boring for the viewer to watch.
This is my favourite part of the animation as it demonstrates one of the fundamentals of animation in a fun and interesting way.
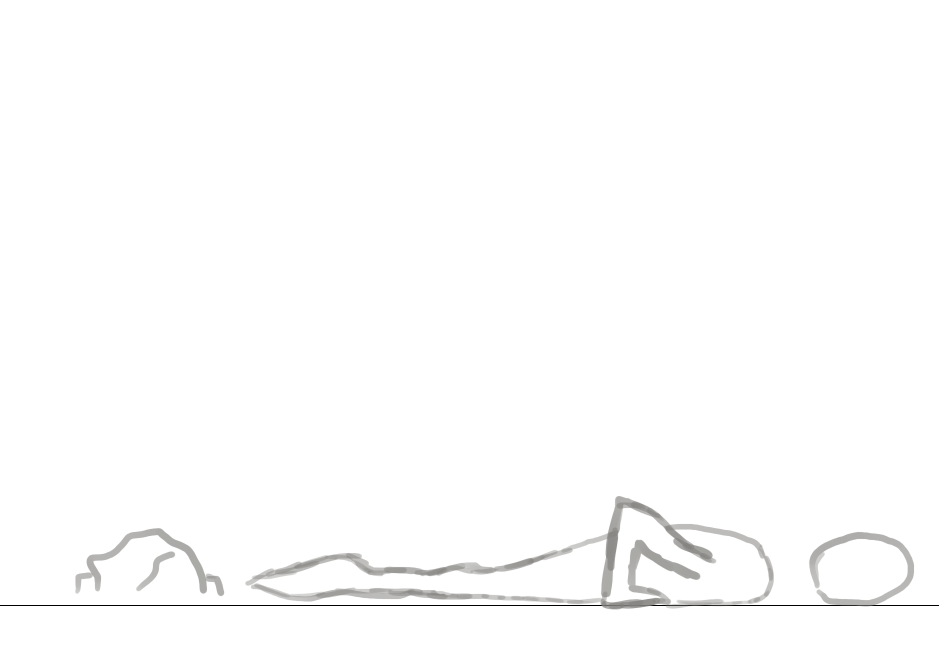
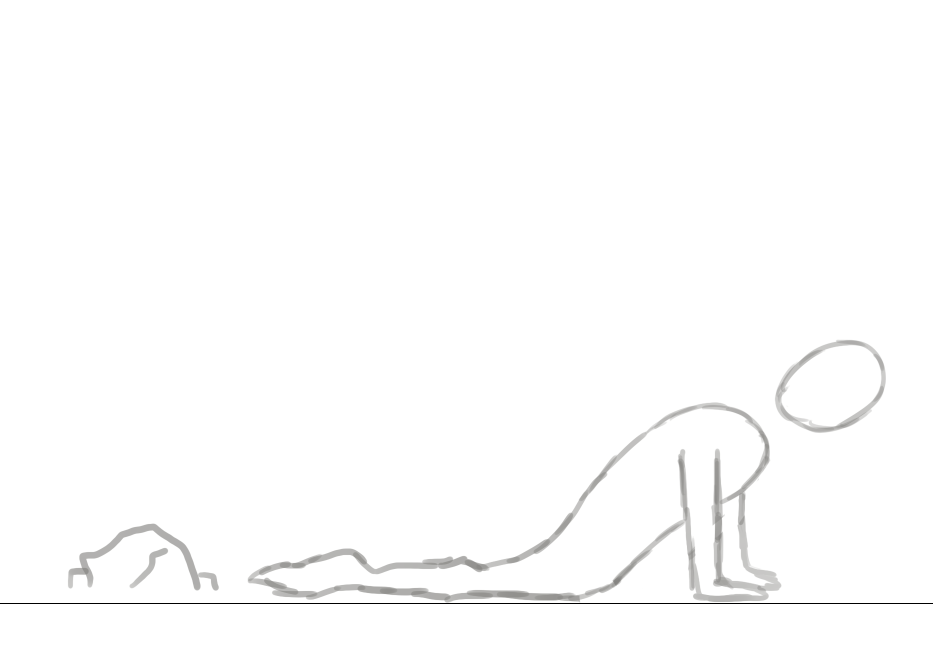
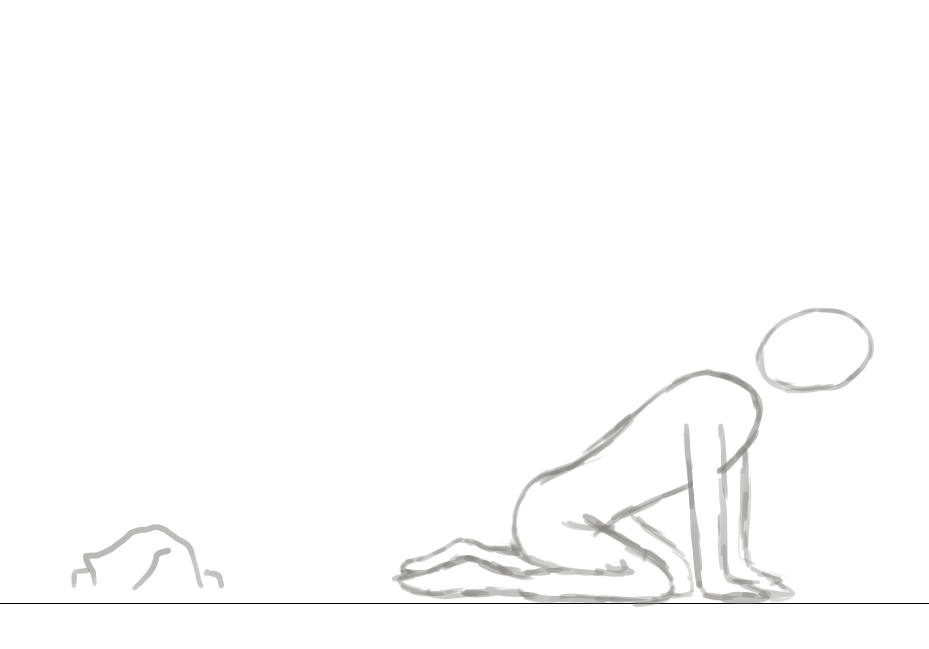

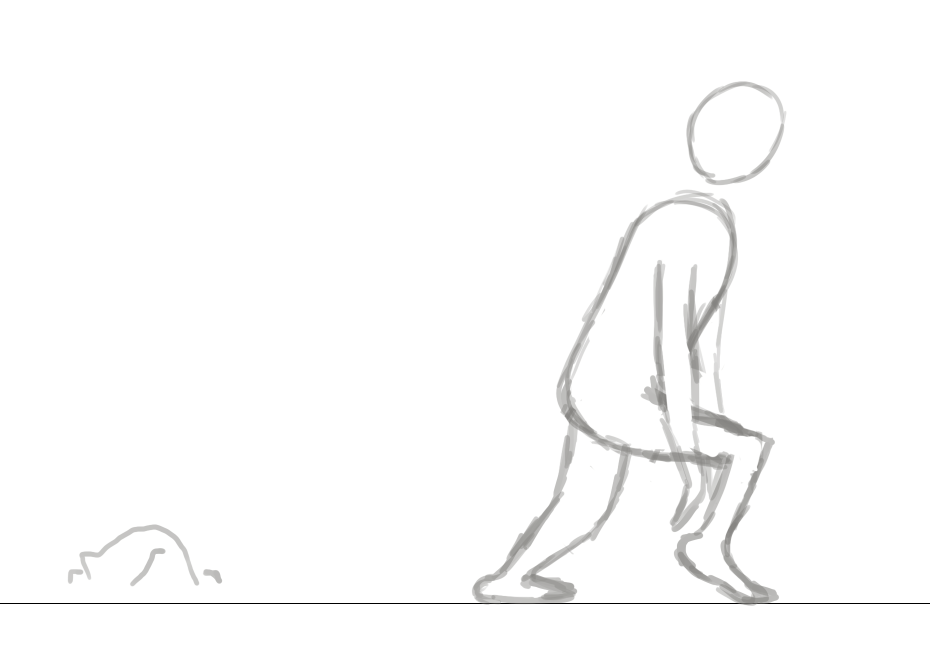
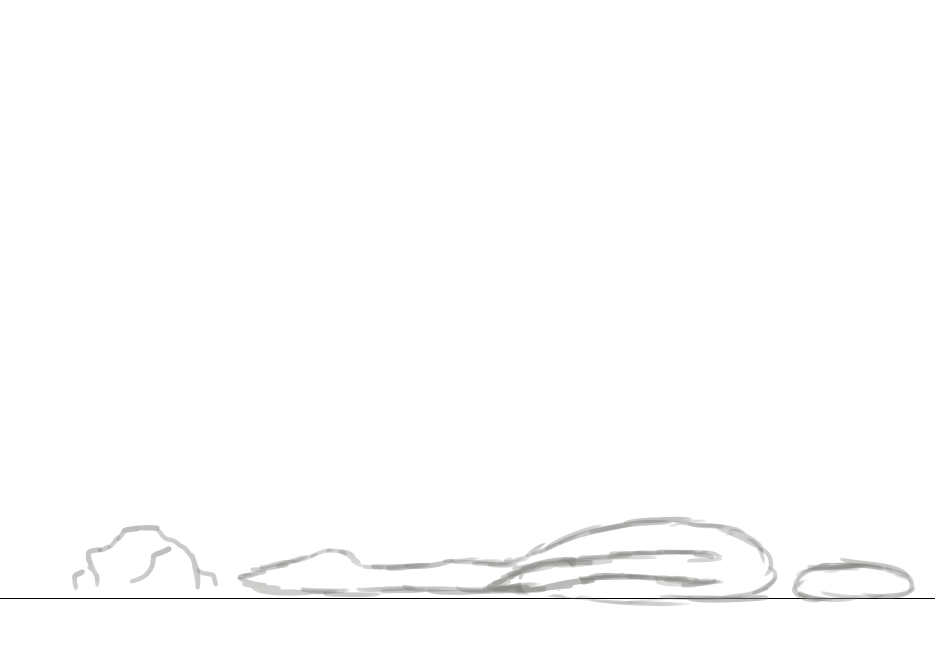
The hardest challenge during the animation for me, was when the character was getting back to his feet. This was particularly challenging as I could not find any good reference to help me with how a human would get up from a fall like that.
As a solution to this problem, I visualised how I would get up from a fall. I came to the conclusion that I would use my arms first and then my knees.
My final animation consisted of 22 frames. I believe I succeeded in creating an animated walk cycle, as the animation loops fairly seamlessly.
This was my first time animating anything and during this exercise I learnt about the different mechanics of animation within photoshop such as the timeline feature and setting it to frame animation and not video animation.
To improve my animation, I would add frames in between all 22 key frames to make the animation smoother and more pleasing on the eye. That being said, I quite like the choppy style of this animation. Perhaps I could copy previous frames and edit them slightly instead of tracing each frame and then editing it, to speed up the process of my animating.