The first thing I did for this task was sign up for Quixel, which allows me to access thousands of assets for Unreal for free.
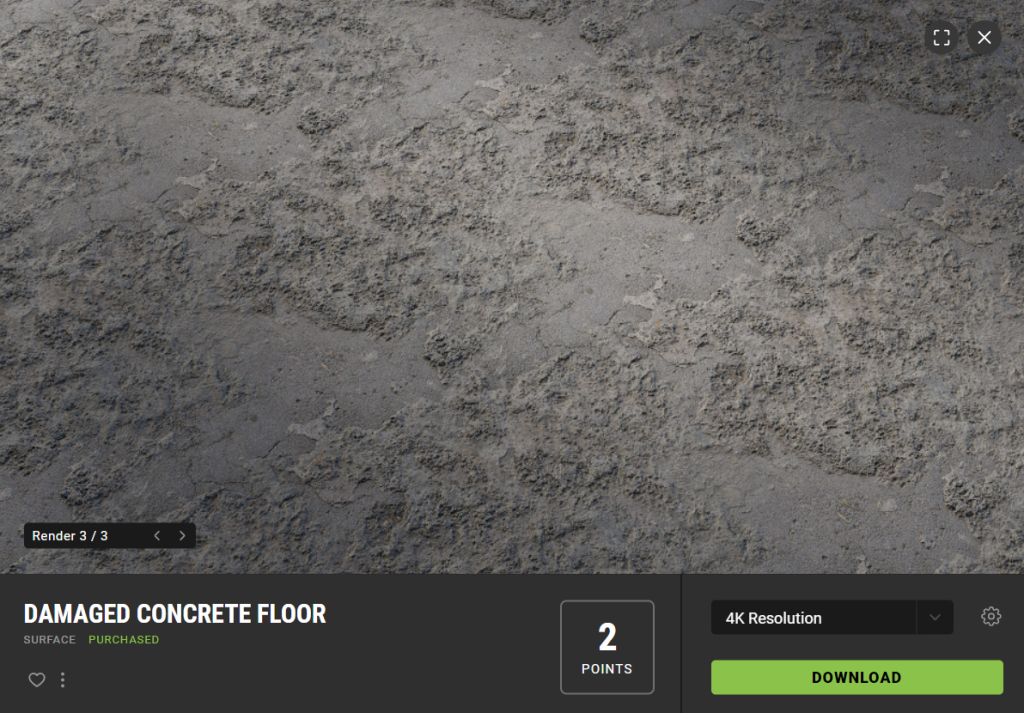
I found an asset on the front page and decided to download it. However, I now realise that this was not a decal and therefore would not work.
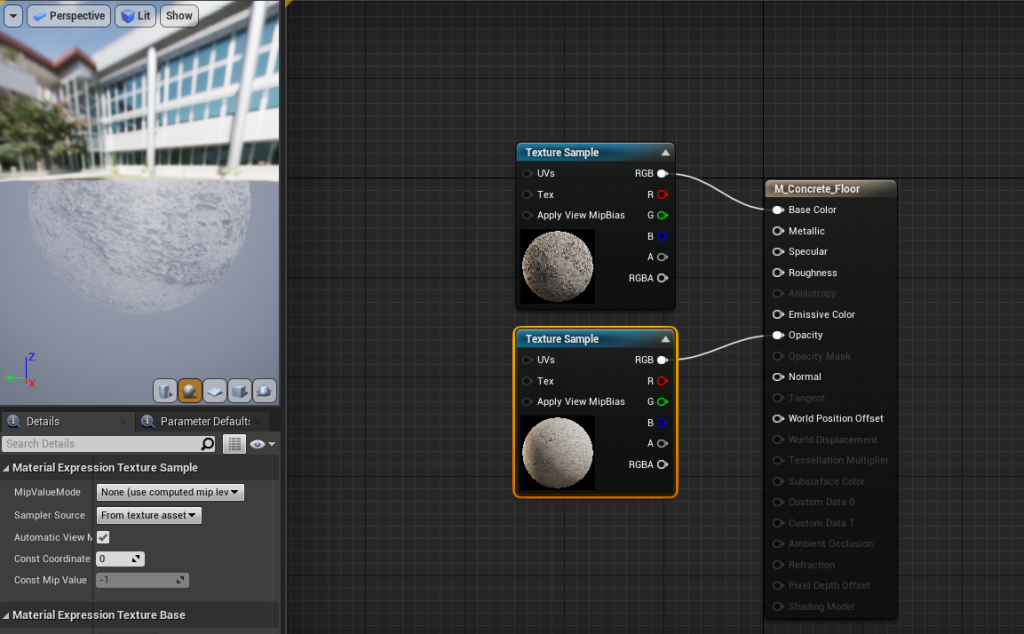
Nonetheless, my naïve past self at the time did not know that it wasn’t a decal and so I continued on and set up the nodes as was shown in the lab.
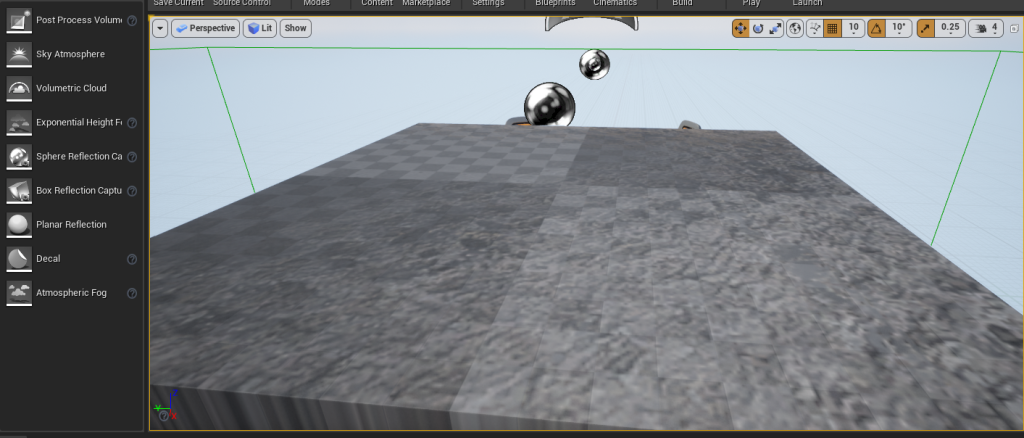
Obviously, the outcome of this was awful, resulting in a transparent and stretched mess.
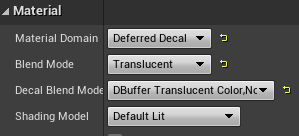
This wasn’t a huge waste of time however, as I learnt about changing the material domain to a deferred decal and making the decal slightly translucent.
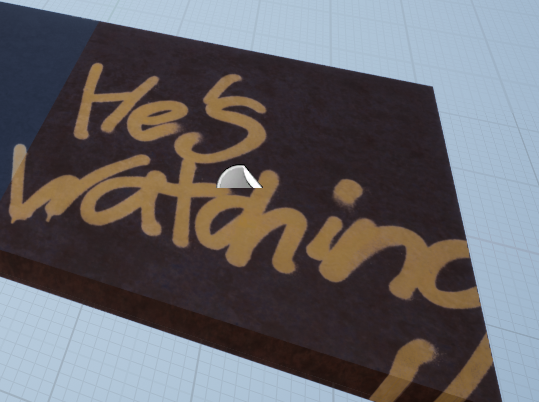
I decided to try again, this time with an actual decal. This resulted in a much better final product. However, I still wanted to experiment with a few things.
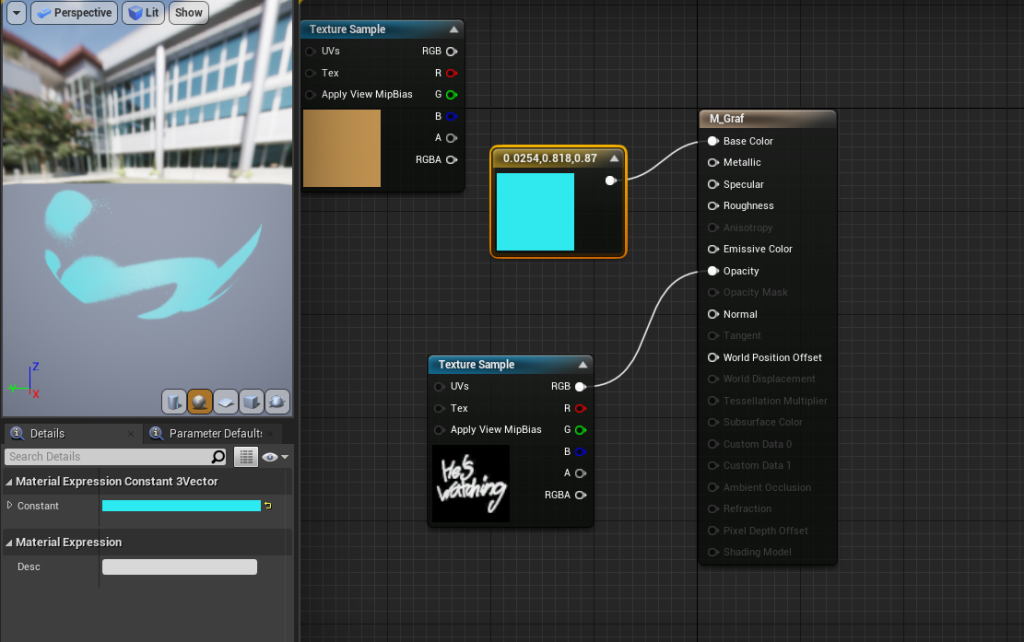
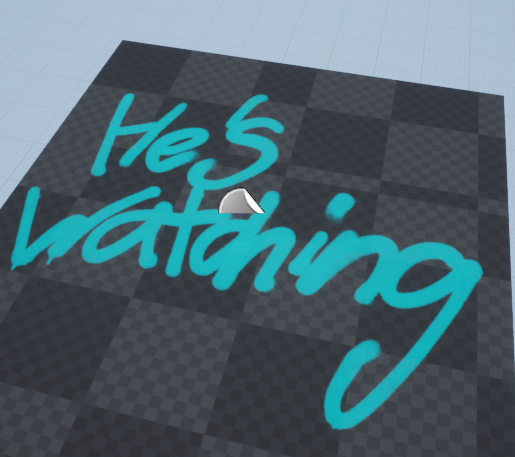
I wondered if I could change the colour of the decal and so I went back into the editor and used the shortcut 3+LMC to create a node which controls colour. I changed the colour to light blue and plugged it into the base colour component. To my pleasant surprise, this actually worked.

The final thing I wanted to test out was how it looked when on an actual material, such as bricks. I was surprised at how great and realistic this turned out. Since the decal is translucent, you can still see the bricks through the decal – creating an amazing effect.