Prior to this task, I had experimented with lighting in Maya and Blender, however I had never used the lighting system in Unreal Engine.
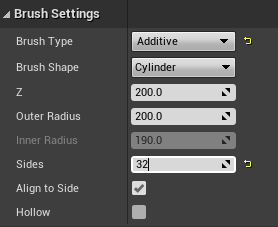
The first thing I did in this task was create a pedestal for my objects to sit on top of. I learnt how to change the number of sides of a geometry brush cylinder during this. The higher the number of sides, the smoother the object.
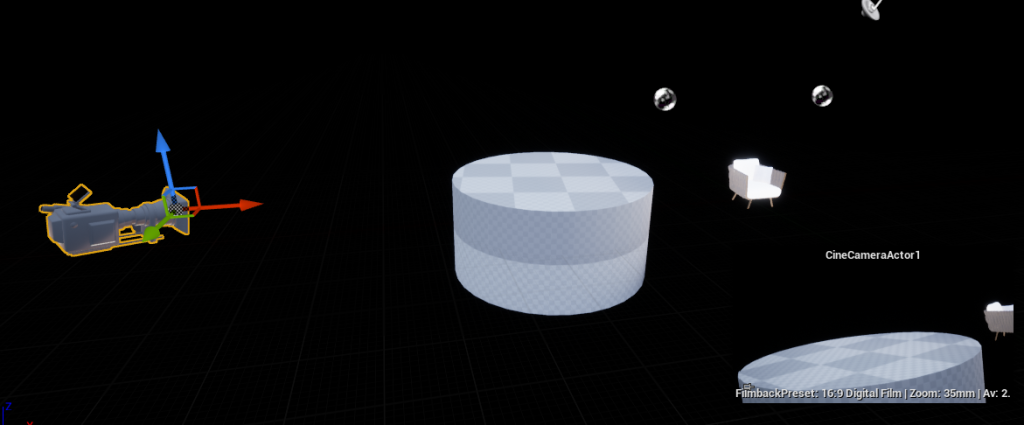
The next step was to add a camera to the scene and to position it in a place where the top of the cylinder can be seen. The bottom right window is the camera view, which helps a lot when deciding where to position the camera.
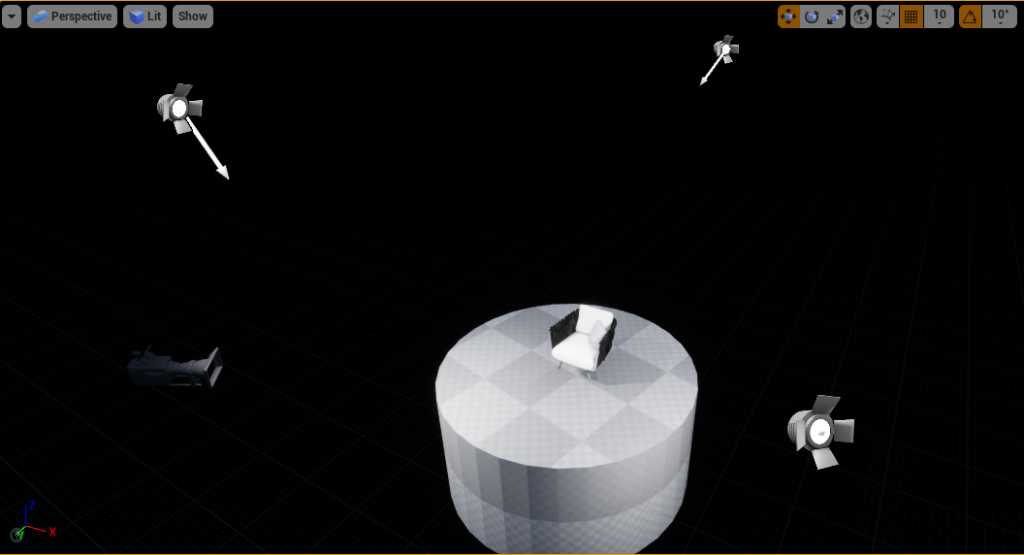
Now that everything had been set up, I could add the lights to the scene. For this scene, I used three point lighting. The light on the left is the key light and is the brightest of all three lights. The fill light on the right is about half of the intensity of the key light. Finally, the back light is the dimmest at around 20% the intensity of the key light.
I also imported one asset during this stage, just to check how the lighting looks and if any adjustments were necessary.
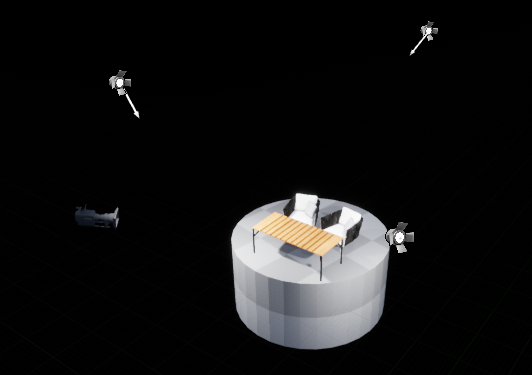
Now that the lighting was fully set up, I imported the rest of my found assets and created a little scene. I kept it simple as I wanted this task to focus on studying three point lighting and how it can be used effectively to improve how an asset looks in a scene.
Overall, this task was very useful as I learnt how to use lighting in Unreal. I also learnt what intensity to set each light to in a three point lighting setup.