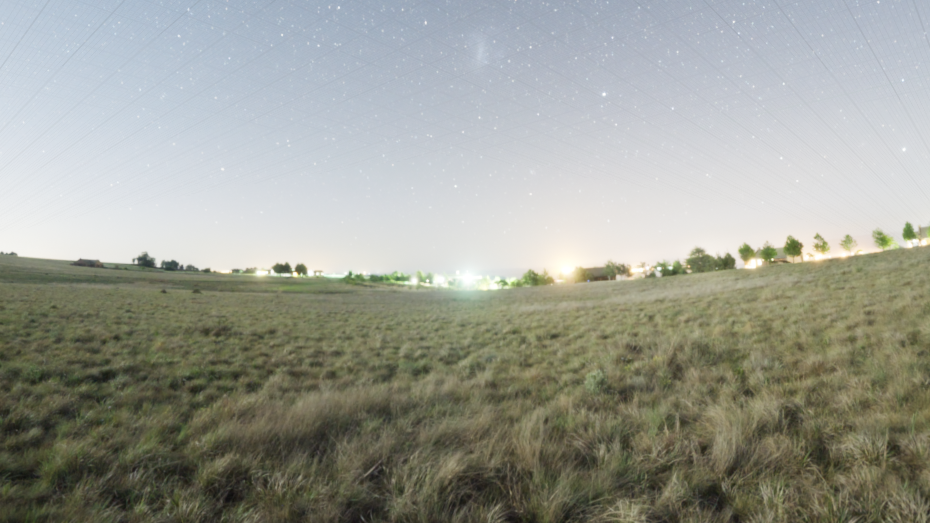
I did not know what a HDRI was before completing this task. I now know that an HDRI map stands for High Dynamic Range Image map and is used for image based lighting.
The first thing I did was create a “sphere_inversenormals”. This is what the HDRI will be dragged on to eventually. When large enough, it will cover the entire scene.

I created a new material and set up the nodes so that the brightness of the HDRI map could be controlled. I did this by changing the HDRI to a parameter, as well as changing a constant called “Brightness” to a parameter as well. I then plugged both into a multiply node and outputted it into emissive colour.
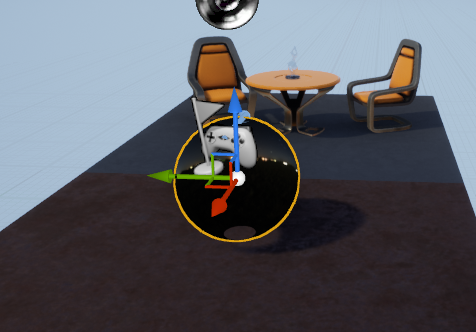
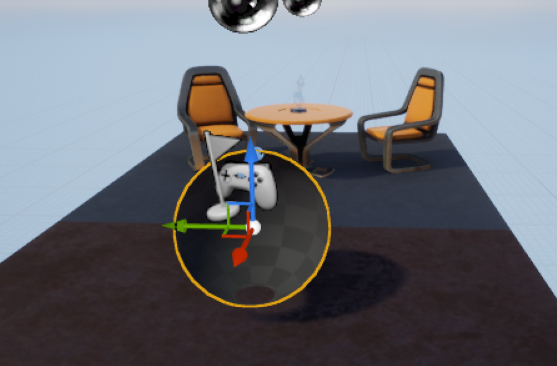
I dragged the material I had created on to the sphere_inversenormals. However, it was way too small.
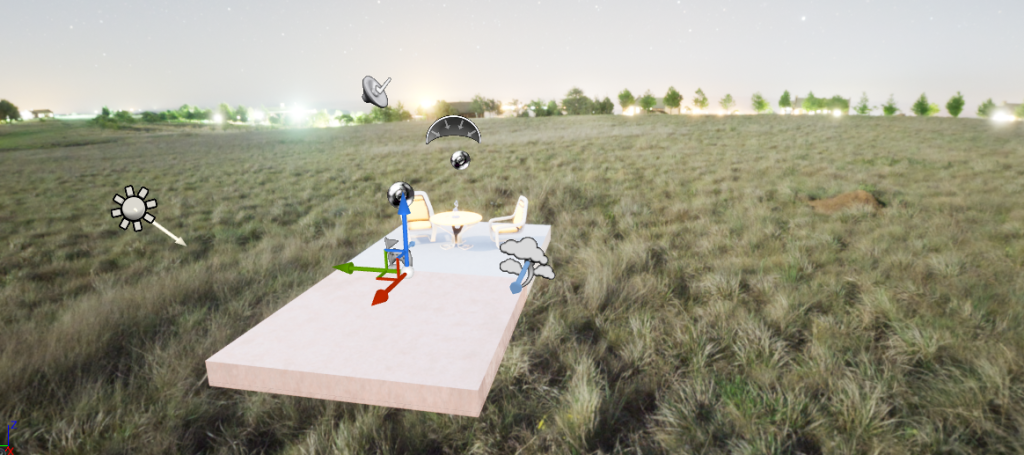
So, I changed the scale to 100 and this was the outcome. I am really impressed at how a good HDRI can change an environment. Since you can get really high quality ones (up to 24K), they add a lot of realism to your environment and a lot more depth. It is much better than just having a blank world with nothing in the background.
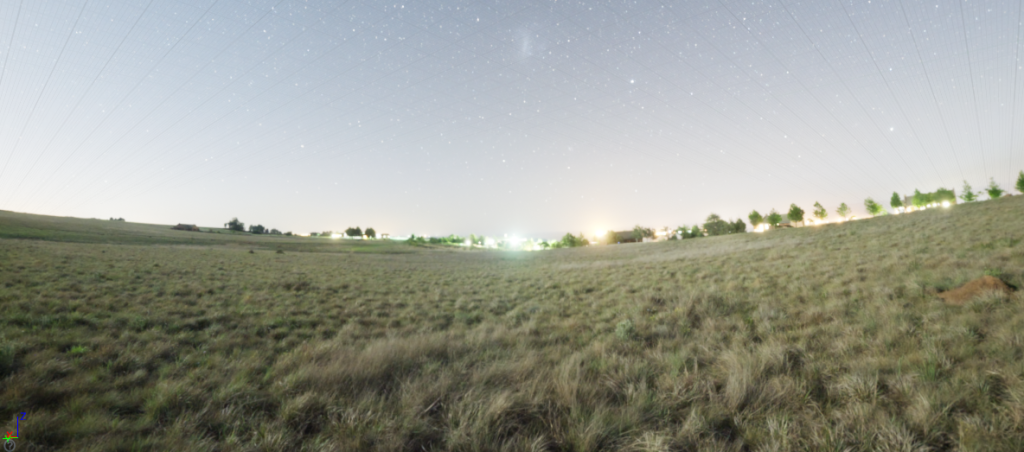
I deleted everything else in the scene so I could appreciate how good the HDRI map looked.
Overall, this was very useful to learn as HDRI maps add more depth to the world you are trying to create inside Unreal Engine. You can even go a step further and place a light source where the light is coming from in the HDRI map. This will then add lighting to the objects in your scene in a realistic manner.