In order to create an environment, we needed to find some assets online as it was extremely unreasonable to create every asset we needed by ourselves.
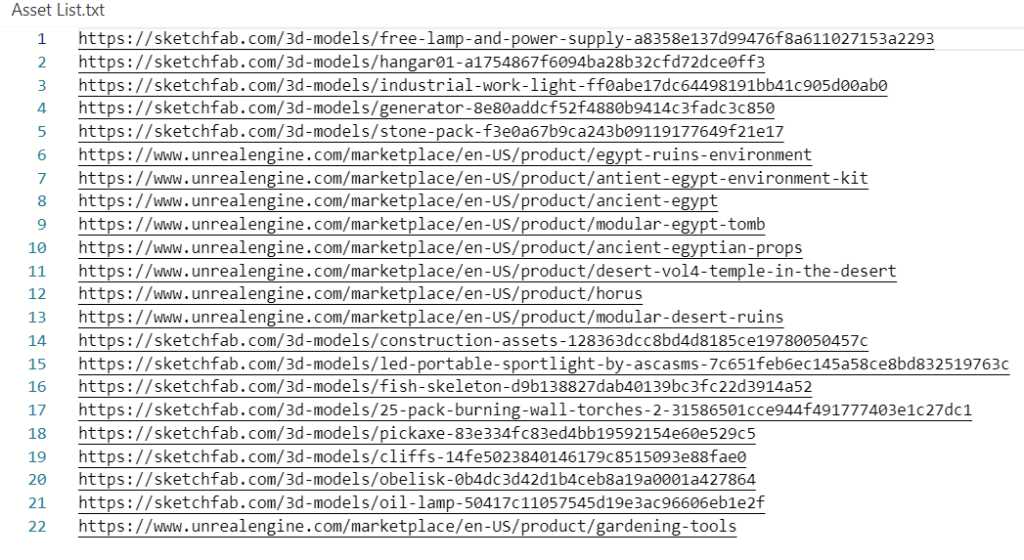
Therefore, we found some assets online and Jack then compiled a list of potential assets to use. It’s annoying that the free assets for Ancient Egypt are not great quality and so we had to find paid alternatives. Perhaps this was something we overlooked during our theme decision, however we all just assumed that Ancient Egypt was popular enough to have plenty of good assets.
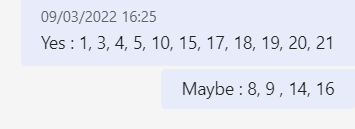
We narrowed down the list to ones we definitely needed and ones we could potentially need. The week later, in a call, we decided which assets to then buy. I calculated the price, which came to £60 (£12 each). I didn’t mind paying as it gave us access to the best assets to make our environment look professional, however in hindsight we should have researched the potential assets before making a decision on our theme.
Now that we had our assets, Jack nominated himself to buy the assets (if we give him the money) and create a block out of Minnie’s layout with all of the assets in folders for us to use.
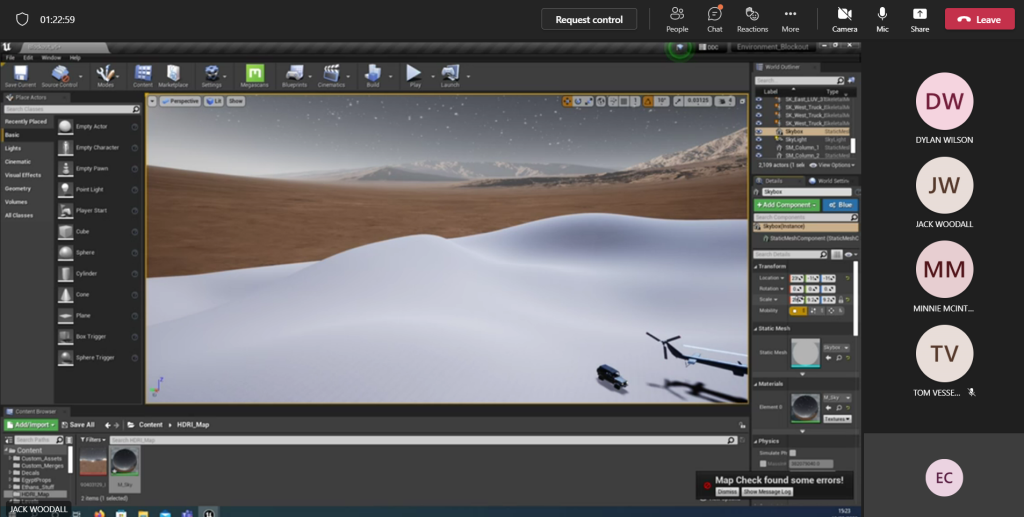
Once he had made the block out, we had to download it. The file was quite large at 17GB and some members struggled to download it. However, we all managed to get it in the end, where we could work on our individual sections.
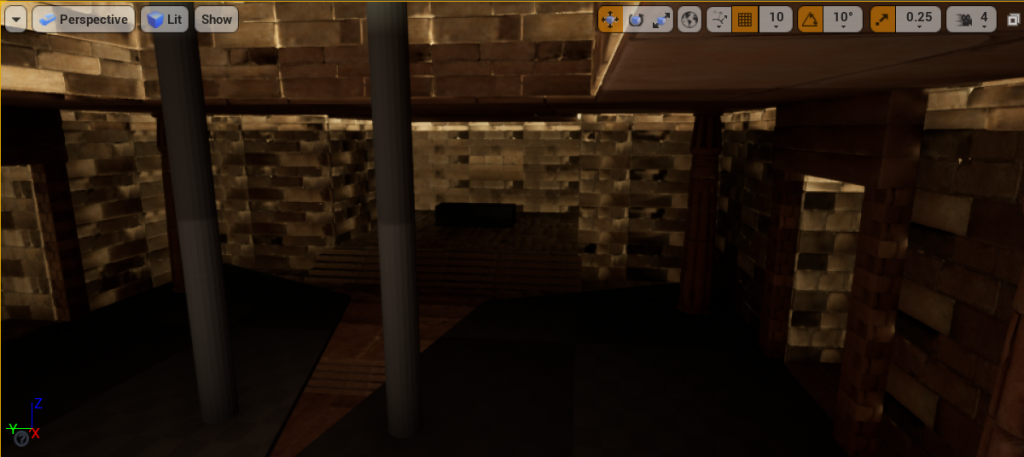
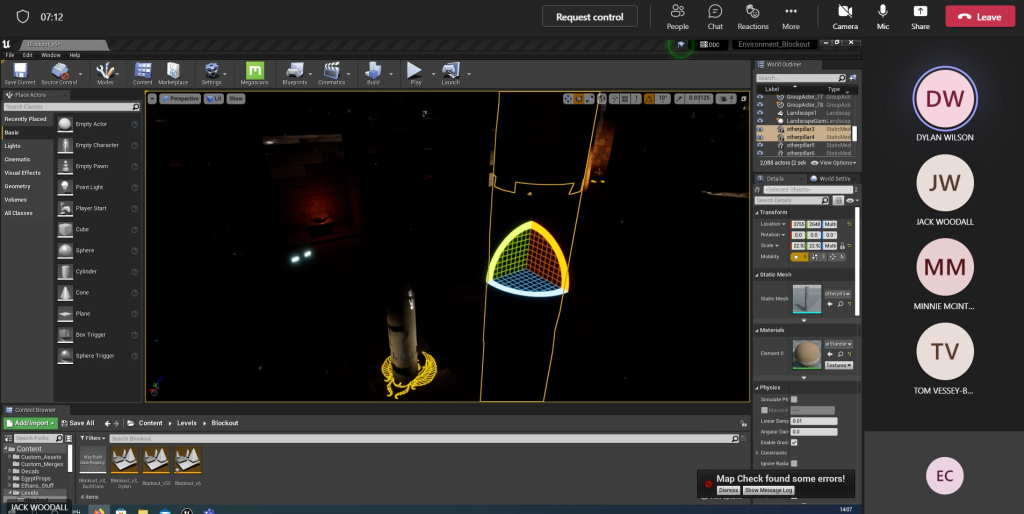
This was the first thing I saw when I loaded it up. I felt a large sense of relief that it was actually working as some of my teammates had had problems. My section was in the top right.
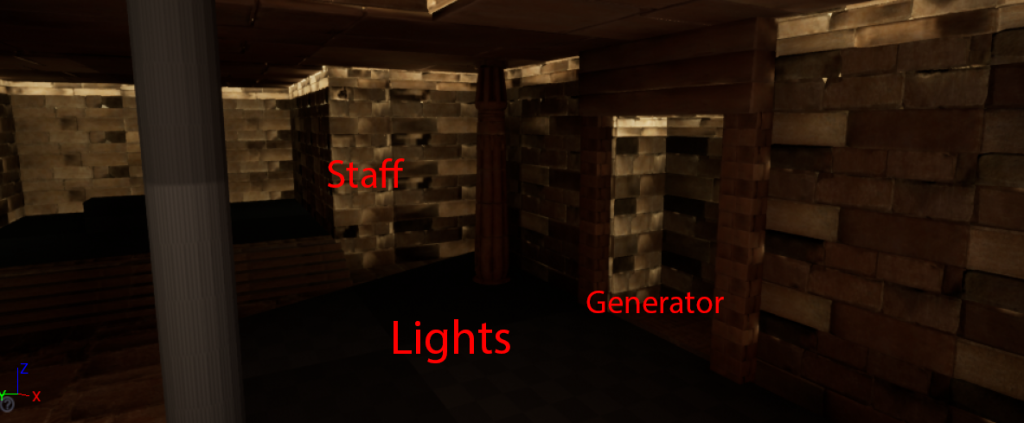
Having now seen my section, I immediately started planning out where certain things should go. For example, I believed that my staff being on that wall next to the entrance to the altar itself was a good choice as it can be seen as soon as you walk in to the room, grabbing the viewers attention.
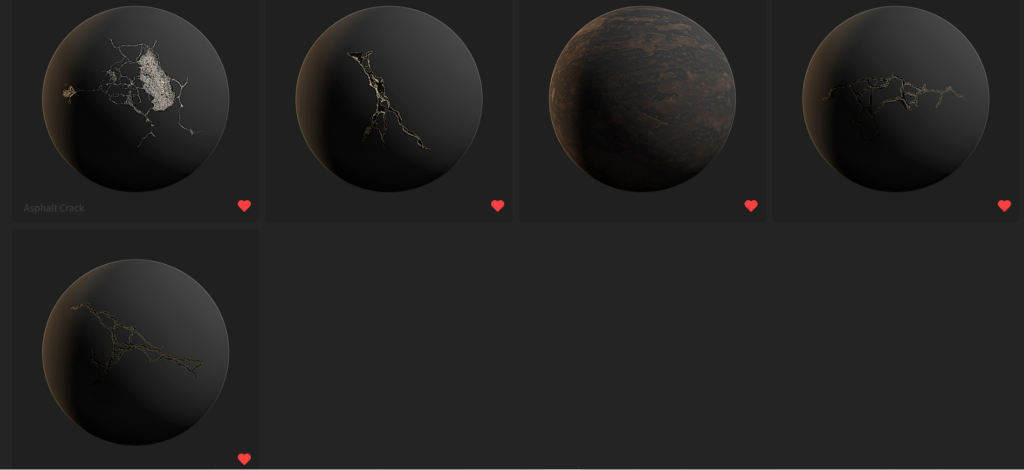
The second thing I did was venture onto quixel and download some decals which I thought would be useful. I chose decals that convey destruction and damage such as cracks to put on the walls and the floor.
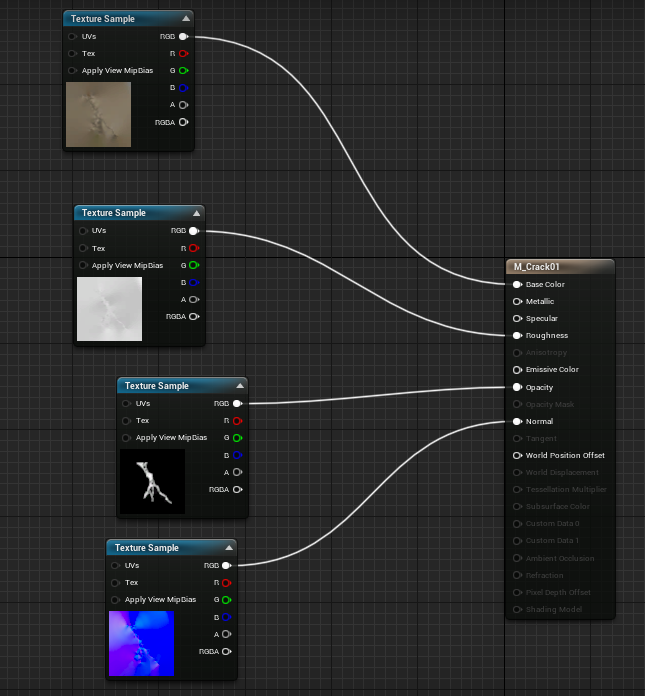
I set up the nodes by connecting maps such as the normal and albedo maps to their corresponding input on the main node.
I’m always really impressed by how realistic decals look. They can really elevate a scene by adding more detail and story. In my environment, the cracks show the viewer that the altar room is old and decaying. I made sure to put the cracks in places they make sense such as the floor and the corner of walls as they could look out of place just in the middle of a wall.
I managed to import my hero asset from Maya in the form of an fbx file. I had to look up how to do this, but it was surprisingly straight forward. I assumed due to the complicated nature of both Maya and Unreal that something would go wrong, however everything was fine.

I also imported the various maps I had created for my 3D asset to connect to the Staff’s material node. I first tested it out with the base colour and it thankfully worked.

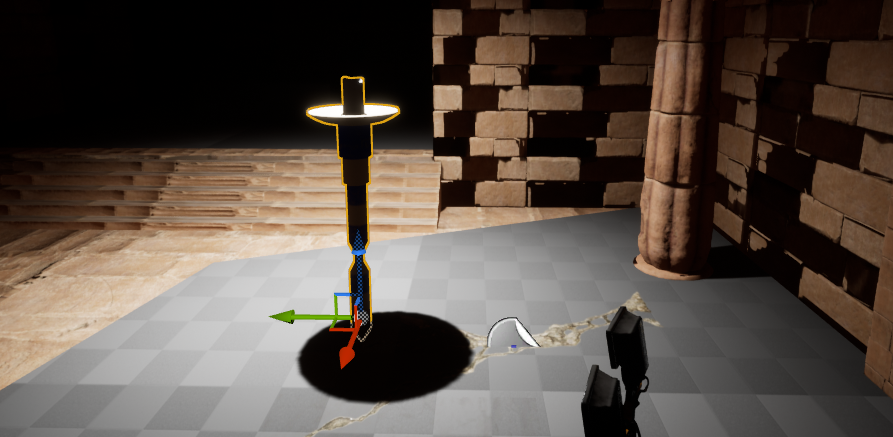
I needed a way for my staff to be held up and so I though of two bricks coming out of the wall that hold of the plate. I wanted the staff to be fairly high up on the wall so that a human could easily grab the handle and pick it up.
I also added a flame particle effect. I looked up how to make my own but I didn’t have enough time to do so sadly. So, I dragged in the fire particle effect from the starter content and minimised it so that it fit inside the candle. It gave a really nice orange glowing effect and it even flickers. I think the lighting from the candle fits with the Egyptian theme as you associate the desert with orange and yellow colours for lighting.
The first decal I imported into Unreal worked perfectly fine. However, when I tried to import any decals after that, it did not import their maps into Unreal. The only thing showing in Unreal was the decal preview which was useless. It was strange because all of the maps were showing in the file when I opened file explorer on my computer.
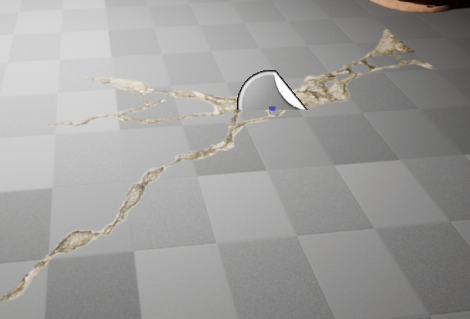
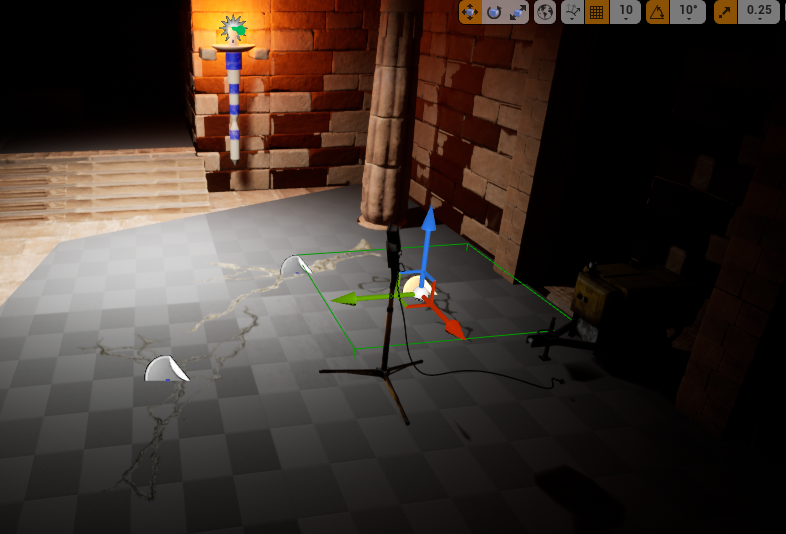
As a result, I had to import the decals into a new scene and make the material in there. I then had to transfer the decal into my environment scene. This thankfully worked and as you can see above I managed to import multiple crack decals.
Once I was happy with everything, I removed the temporary floor and lowered the decals so they were visible again.
Now that I was happy with how my environment looked, I zipped up my level and any assets I used that were not part of Jack’s bought assets (such as my staff and decals) and sent it to Jack.
We all got on a call and sent our environments one by one. This was the most stressful part of the entire project as if this didn’t work I have no idea what we would have done. Thankfully, everyone’s imported fine and we could start playing with the lighting and HDRI maps.
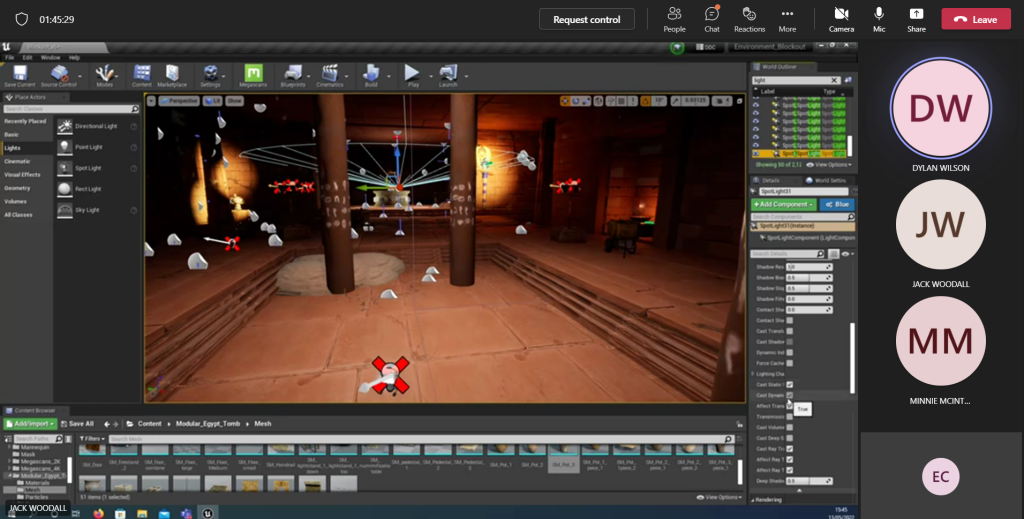
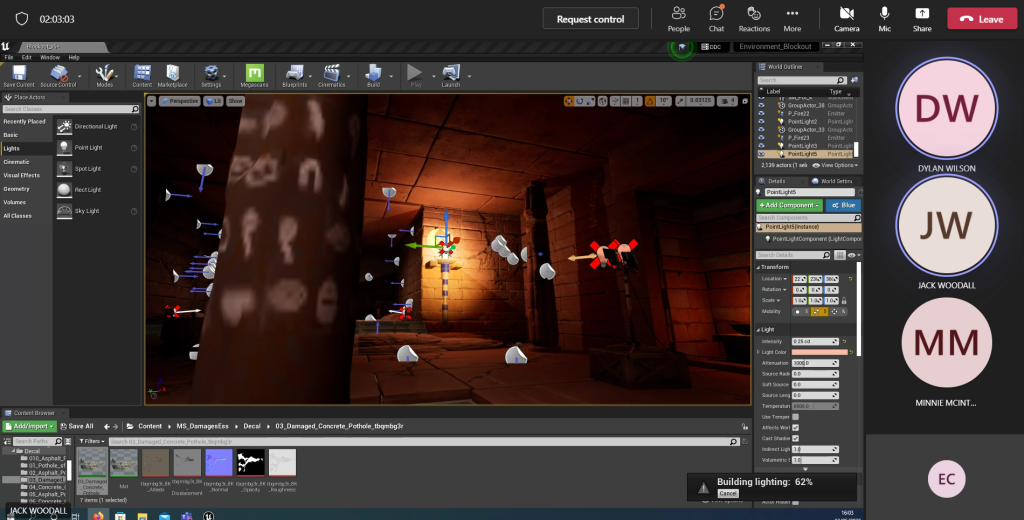
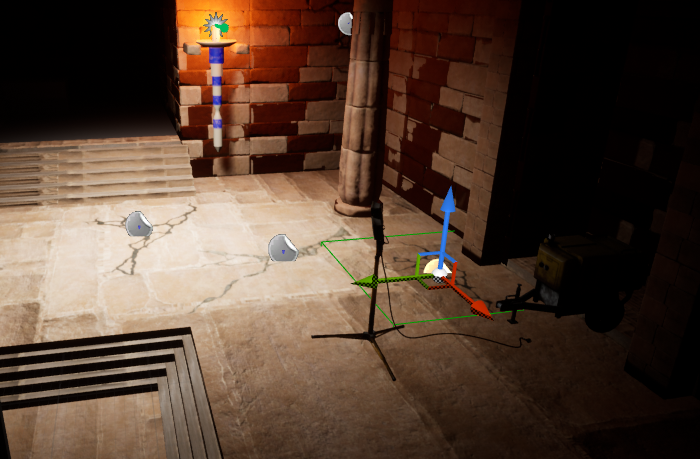
Here are some examples of how my part looked whilst working on the lighting.
We also decided to change the position of certain objects such as the lights to focus on the hero asset. To put even more emphasis on the hero assets, as a group we decided to put scarab decals above each one. This not only makes them more noticeable but it also makes the whole scene feel more connected as everyone’s section has a scarab decal.
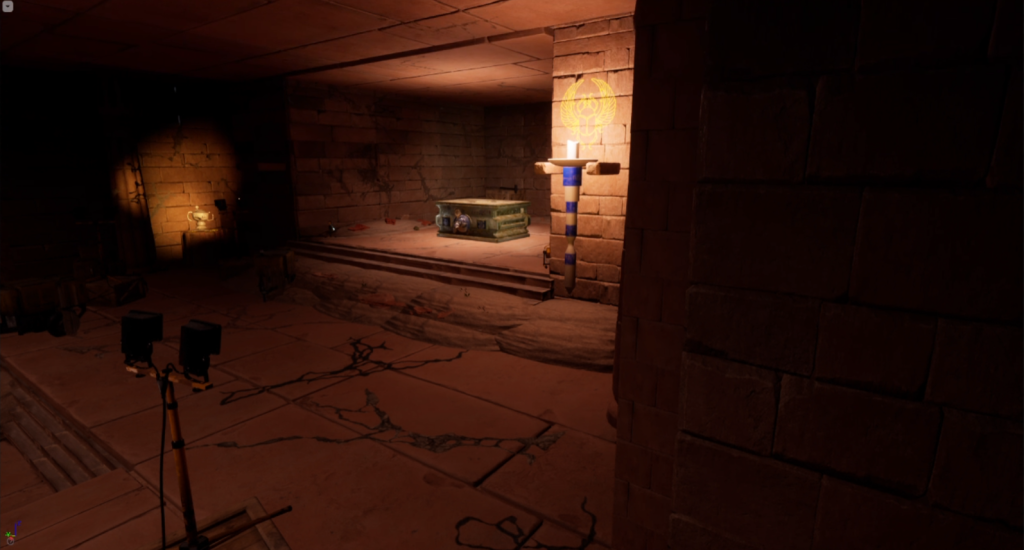

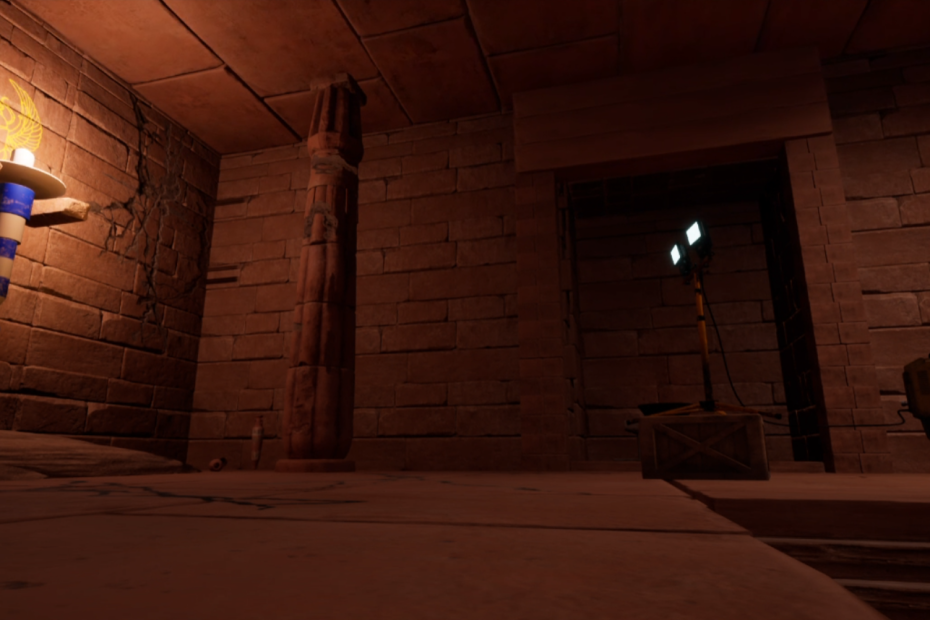
Here are some rendered pictures of my environment. I’m very happy with the way these turned out. My hero asset looks like it fits in with the Egyptian theme and the archaeologist equipment is used effectively to highlight my hero asset within the environment.
Furthermore, the cracks on the floor and walls give a weathered look to the environment, which is exactly what I was going for considering this altar room is from Ancient Egyptian times.
Here is the video of my environment. I think it shows off exactly what I have done, from the hero asset to the little bowl with fire in it. My favourite part of the environment is the lighting as you can clearly see everything, however it’s not too bright. If it was too bright, it wouldn’t be convincing to the viewer that this is underground and so I think we hit a nice balance between visibility and realism.
If I had to change one thing, I would decrease the lighting on my candle slightly so that the flickering effect was more visible. However, I am still extremely pleased with how the environment turned out.
As a group, we felt as if it would be a waste to not show the entire environment all as one, as well as our own separate videos. Therefore, we made the decision to film a walkthrough of the whole environment, showing off the outside, as well as the inside with all of our sections.
Box links if the videos do not work:
https://universityofhull.app.box.com/s/c9gnbm9jh6wgg12g0hs6dm5qr20kutmy/file/957933340242
https://universityofhull.app.box.com/s/c9gnbm9jh6wgg12g0hs6dm5qr20kutmy/file/957934744763
References:
Modeling with Animation (2020) Importing Maya Models into Unreal Engine 4 [Video]. Available online: https://www.youtube.com/watch?v=eH7bw09XBhI [Accessed 10/05/2022].