Cyberpunk Environment:
I decided to start by creating the cyberpunk environment as that was the main environment with the most screen time.
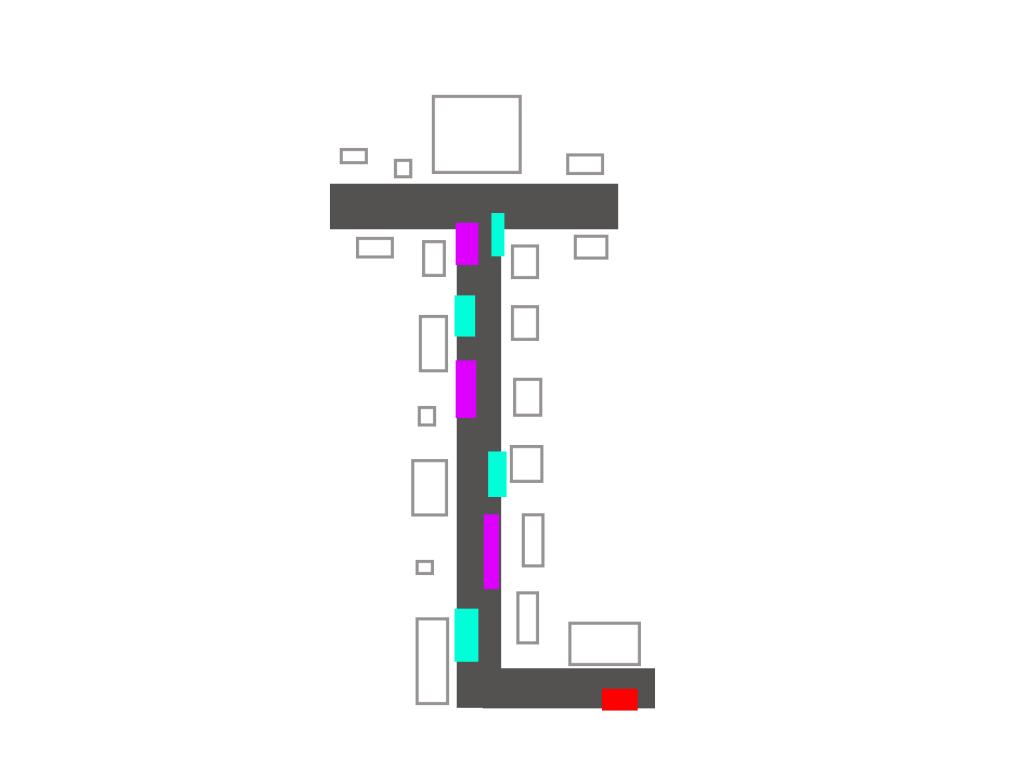
The first logical step for me was to map out the layout of the scene from a top-down view. This gave me an idea of where to place the buildings, as well as the lighting scheme for later on. The red rectangle is where I intend to start the camera when filming.
It was important to know where the camera was going to start and head towards as I did not have to add buildings and details in unnecessary places. For example, when the camera starts at the red rectangle, it will then turn right, which means adding assets to the left is not necessary as the viewer will never see it.
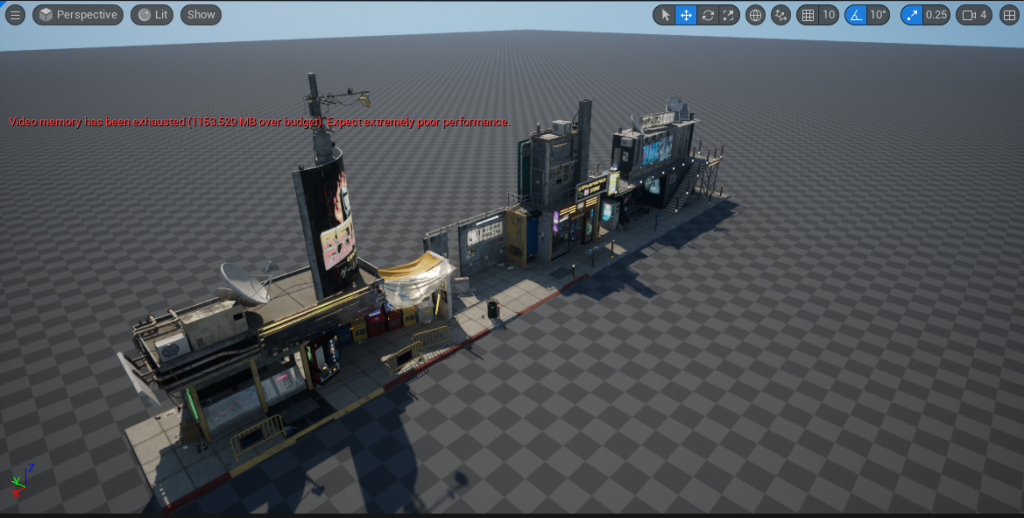
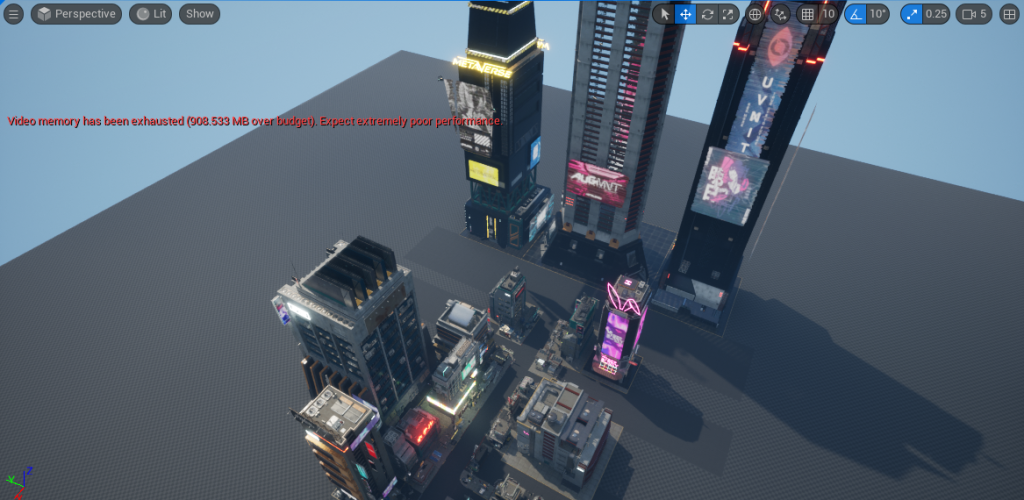
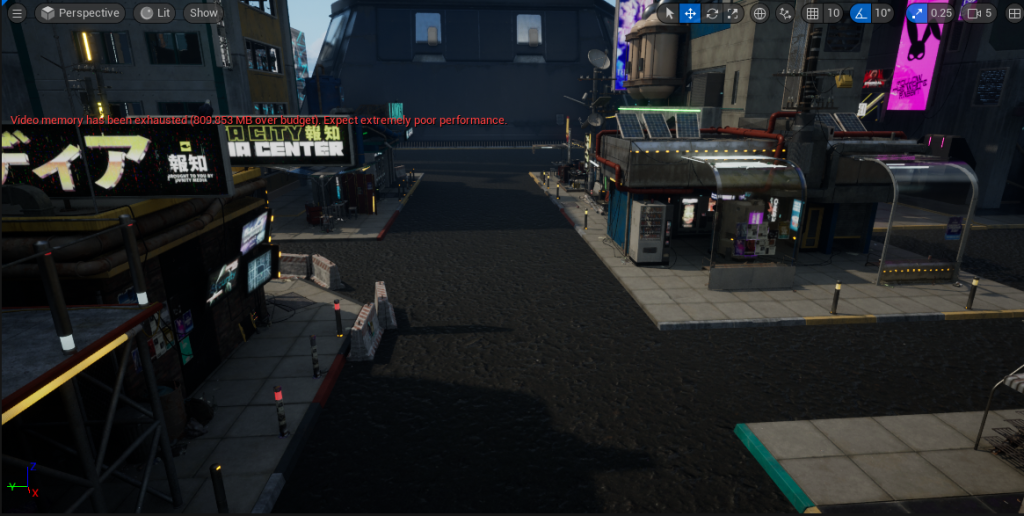
In Unreal Engine 5, I created a landscape to work upon and added various different building assets to match the layout of my plan above.
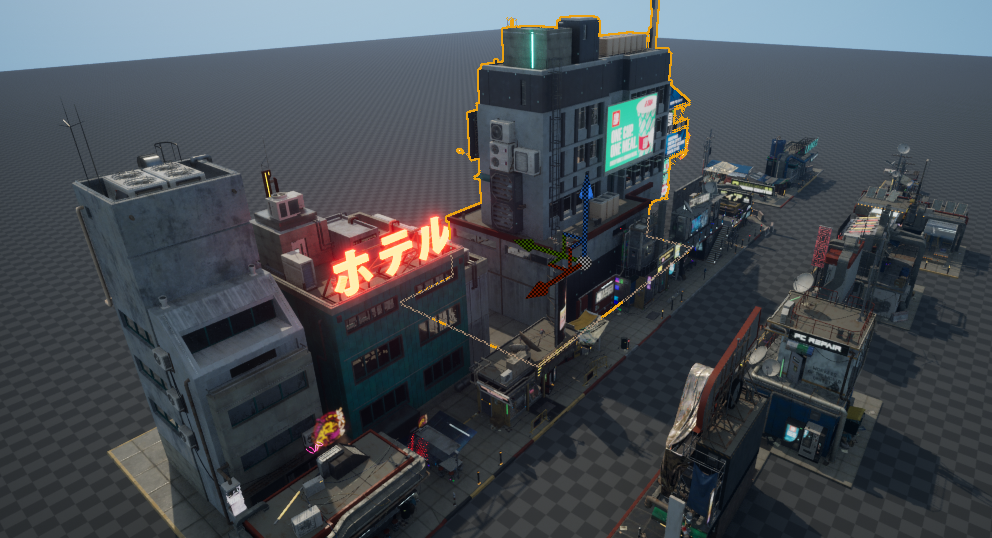
I then started to add a secondary layer of buildings that were much larger than the ones in front of them. This built depth within my scene and made it much more convincing as a real environment.
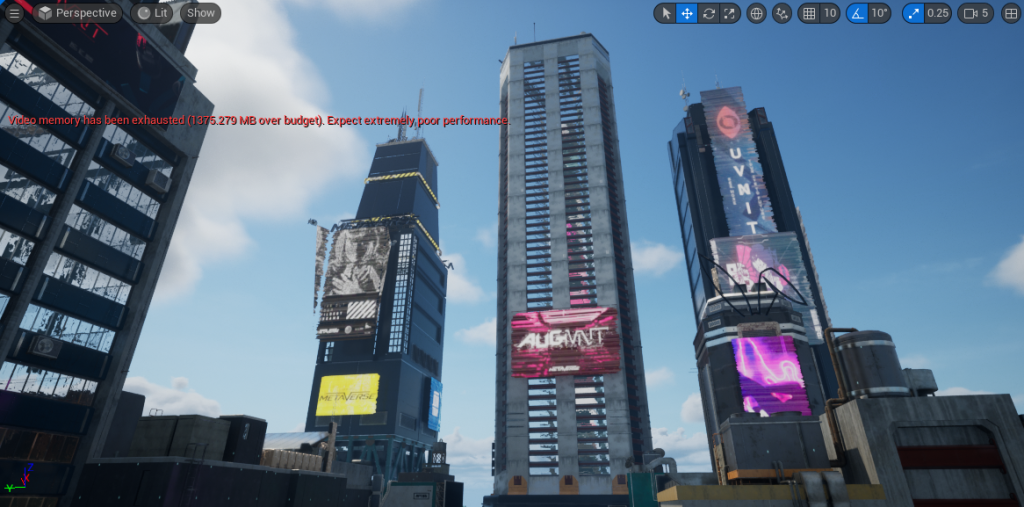
Next, I added the extremely tall towers. These are what my camera will focus on before the middle tower explodes via a VFX. This also adds a third layer of buildings to my environment.
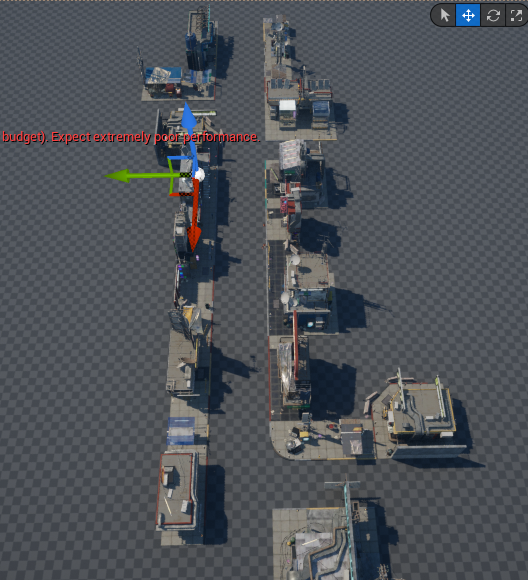
Next, I added some rectangular road pieces using the modelling mode within unreal. I decided to model the road this way instead of applying the road texture to the whole base mesh as it allowed me to have more control over the texture, was less extensive on my computer and the viewer will never see outside of where I show them with the camera anyway.
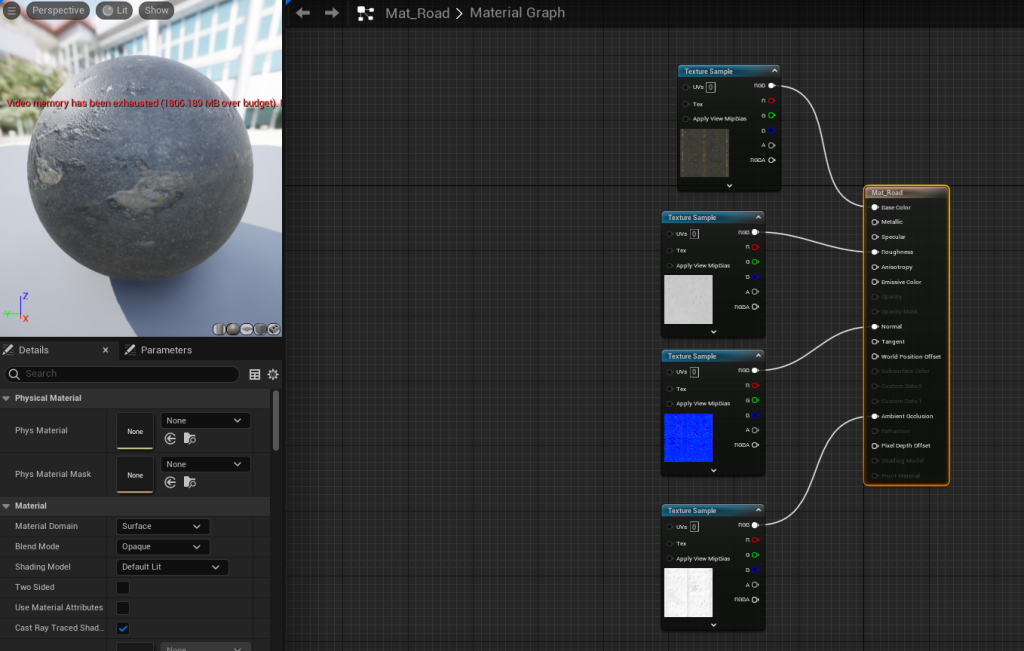
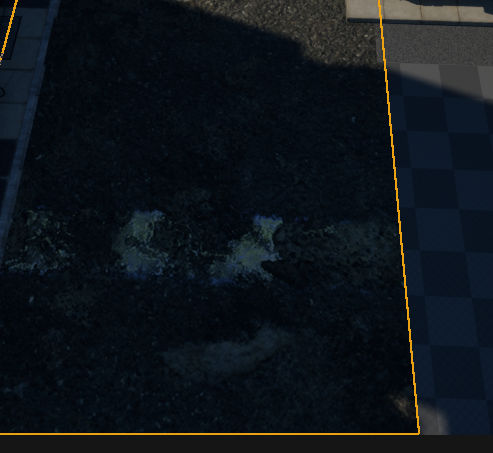
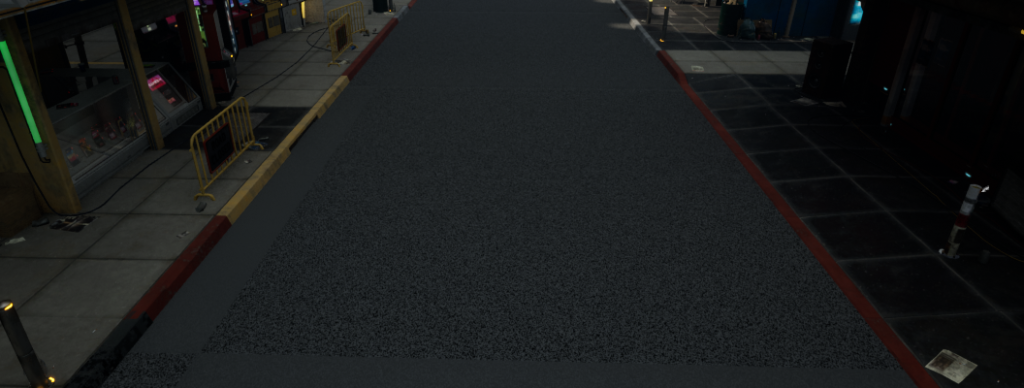
I created this road material using a Quixel megascan, however I wasn’t too keen on the results.
Therefore I downloaded another texture, which I believe fits the environment much better. As I plan to have rain in my scene, I will change the roughness value at a later date to make the road look wet. With ray tracing turned on, hopefully that will lead to some nice reflections with the neon lights.
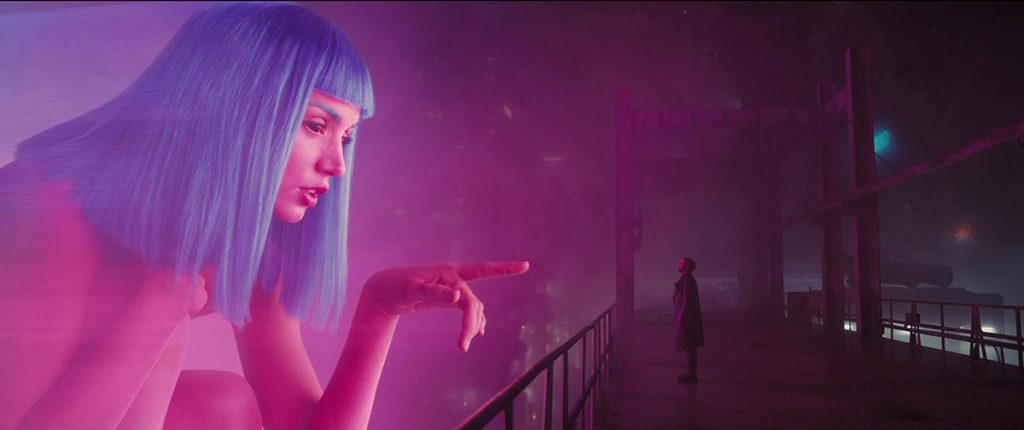
I wanted to add a hologram to my environment and so went about creating a material that could create this effect. I felt as if holograms were an important part of the cyberpunk genre, especially when looking at examples from films such as Blade Runner 2049 – therefore, a hologram of some kind was a must.
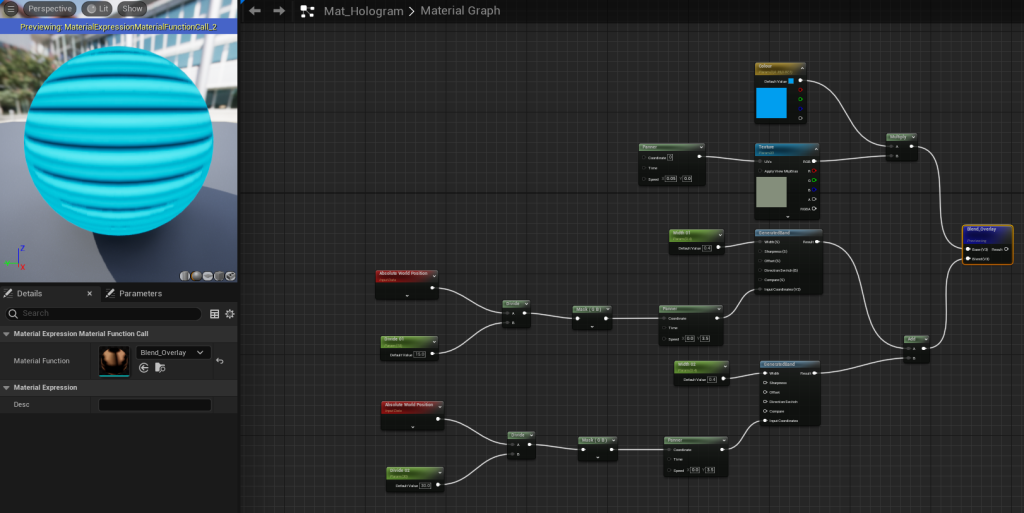
I started by creating the line pattern that moved constantly downwards to get that holographic feel. As seen in the above example, lines running downwards are a key indicator of a hologram to the viewer.
I then created the blue colour and multiplied it with a blank texture and blended it with the line pattern. I chose blue initially, but I may have multiple different coloured holograms in my final scene. An advantage of creating materials like this is that instances can be created and small things such as colour can be changed without changing the original.
Volcanic Environment:
The next environment I decided to make was the volcanic environment as I had found some nice assets for it beforehand.

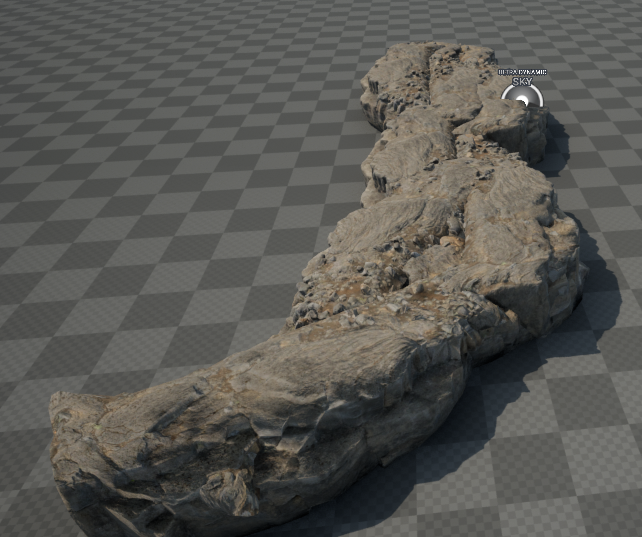
I started by assembling the assets I had found on Quixel to block out the rough layout of my environment.
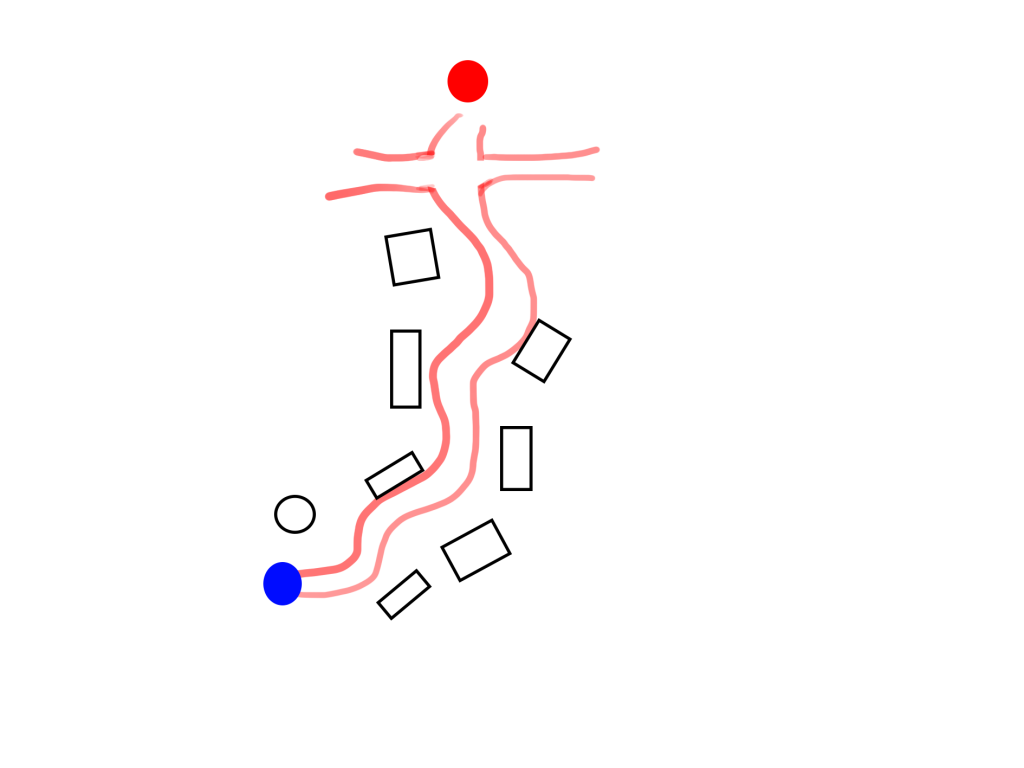
Similarly to the cyberpunk environment, I had planned out a rough layout to follow. The blue circle is where the camera would start, the red circle is the volcano and the black shapes are various assets.
Creating a plan like this helped a lot when starting an environment as it gives you a base to work upon by knowing where to place certain assets and having an idea of where the camera will roughly go.
Whilst placing all of the assets I found, I made sure to rotate and scale them differently (especially for the ground pieces) so that the user cannot tell that they are the same few assets used repeatedly.
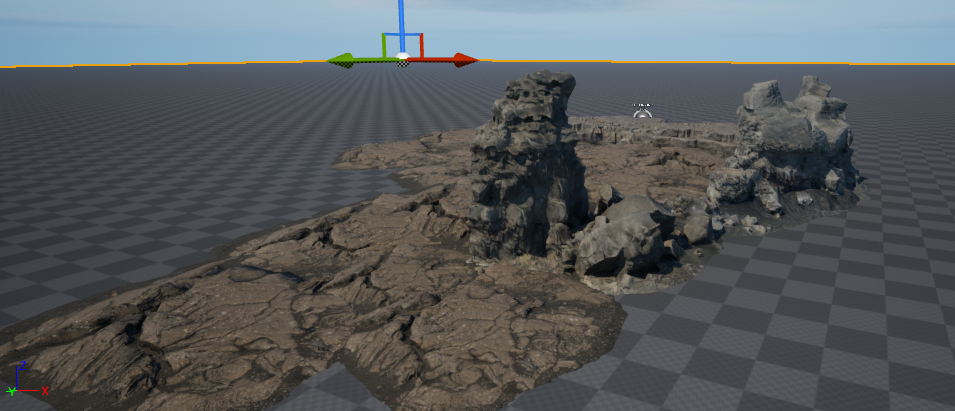
To create the dried lava (also known as igneous rock) effect I created a simple plane and applied the texture to it. I wanted the main floor to be flowing lava and so I had to create another plane to apply the texture to.
So that the dried lava blended in, I elevated some of the ground pieces. However, this wasn’t perfect as right at the edge there is a clear change in height between the dried lava and the floor. Luckily, the viewer will not be able to tell in the final video due to the positioning of the camera.
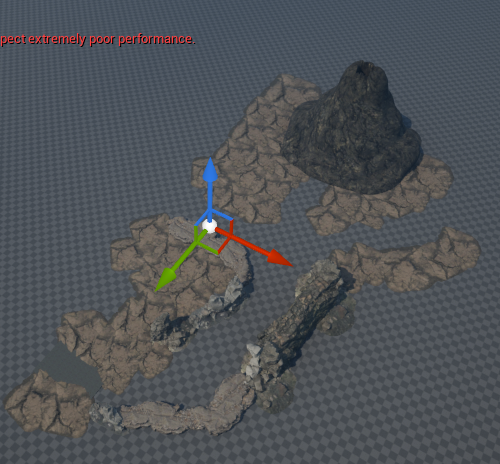
Here is a top down view of the environment now that the basic blockout was finished. I wanted the volcano to be the focal point in all of the shots and so I made it so that its visible from every angle.
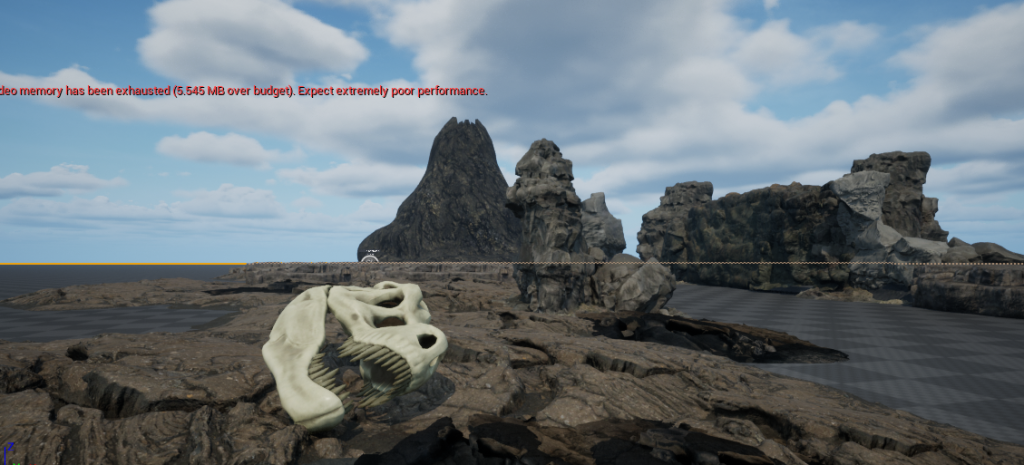
Once I had finished the layout, I started adding assets in such as this T-Rex skull to give more life and story to the environment. This particular environment is set after the death of the dinosaurs and so I thought it would be fitting to have some dinosaur bones laying around.
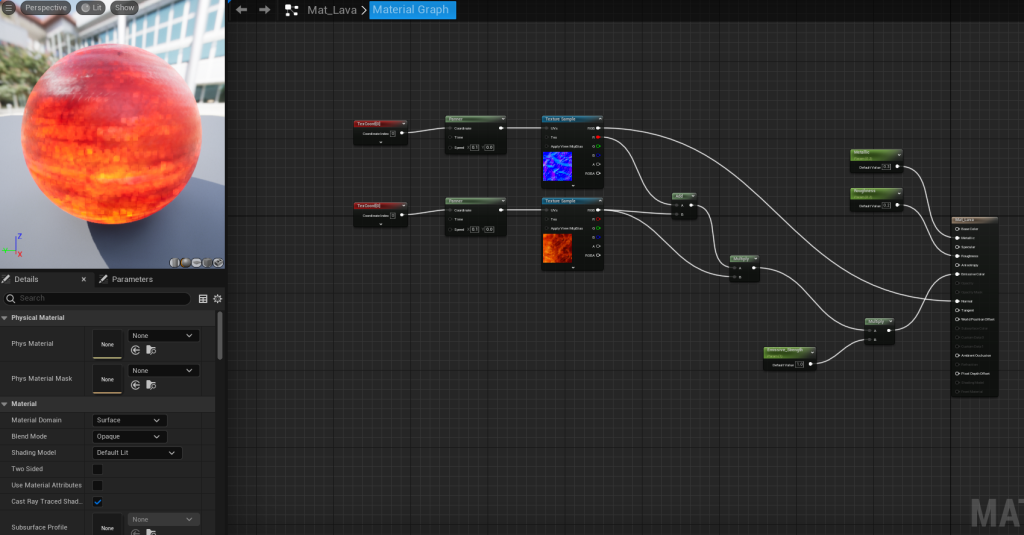
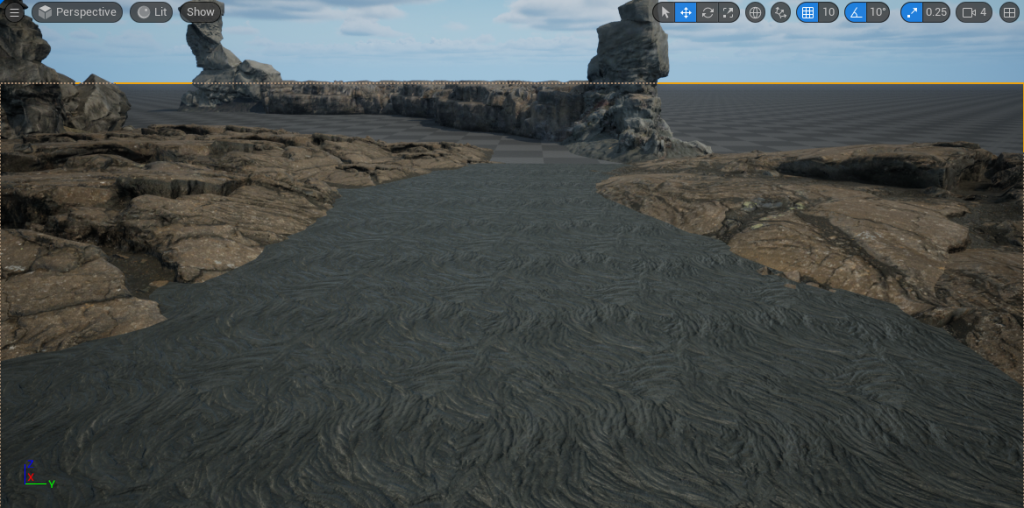
Now that I had the general layout of the environment, I decided to make a lava material that is animated. To achieve this, I used the panner nodes on two separate texture samples.
I am extremely happy with how the lava turned out as it looks like it is thick and slowly flowing, just like real lava.
Leaving Out The War Environment:
I decided at this stage that three separate environments with multiple VFX each was just too much work. I would rather focus on two and make them great than spread myself too much over three projects. The story of teleporting due to the explosions will be the same, I will just leave out the war part.
References:
imduong2k6 (2022) How To Create Cyberpunk City Street In Unreal Engine 5 – UE5 Beginner Tutorial (Full Workflow) [Video]. Available online: https://www.youtube.com/watch?v=vR6zGI4NC6I&t=1384s [Accessed 06/12/2022].
Coreb Games (2021) UE4 How to make Hologram Effects l Unreal Engine 4.26 (Tutorial) [Video]. Available online: https://www.youtube.com/watch?v=NJ3MUQYR7ok [Accessed 10/12/2022].
UnrealMatter (2021) How to make LAVA in Unreal Engine [Video]. Available online: https://www.youtube.com/watch?v=yDR3oKsxDWM [Accessed 15/12/2022].