Explosion:
The first VFX I decided to make for my cyberpunk scene was the explosion as it was an important part of the storytelling within my scene.
Early on, I realised that to do a highly realistic explosion would be near impossible – especially since there were not any tutorials on YouTube for it. So, I decided to do a more stylised explosion.
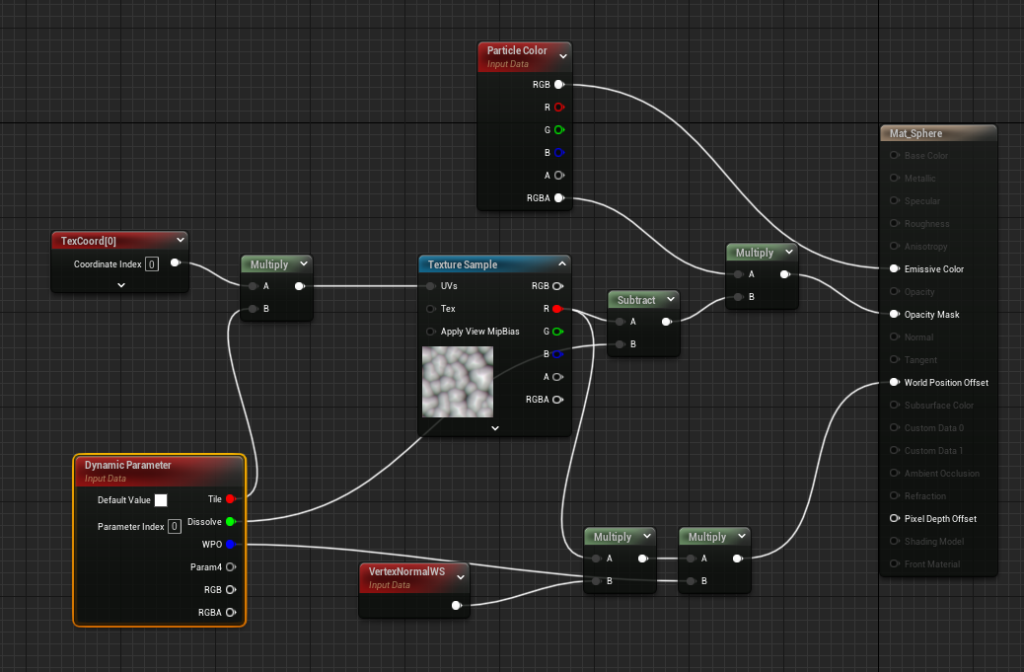
The first step was to create a base for the explosion. I decided that this would be a sphere that quickly dissipates to simulate what an explosion looks like. To achieve this effect, creating a material in which the world position offset and opacity mask could be altered was crucial.
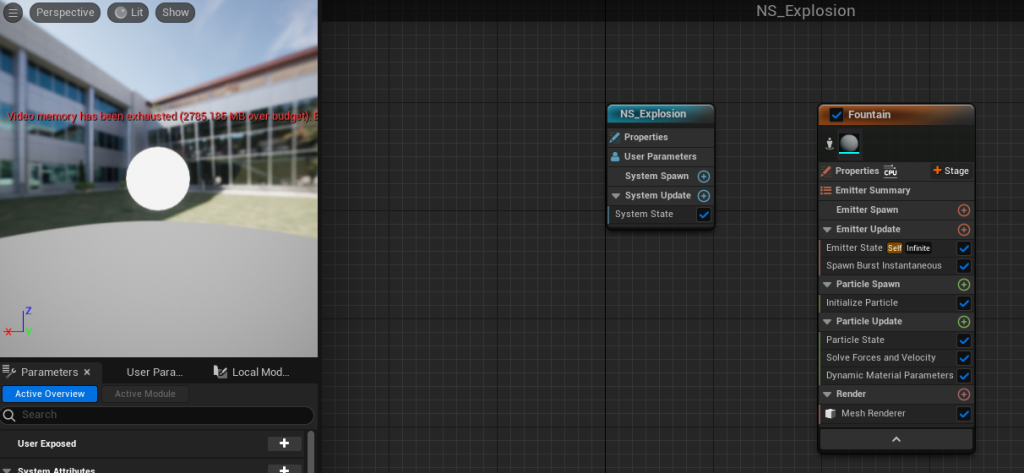
Once the material had been made, I created the Niagara System and changed the sprite renderer to mesh renderer – adding a simple sphere mesh.

By adding Dynamic Material Parameters to Particle Update, I could change the values I had set during the creation of my material.

Changing the dissolve and tile parameters would dissolve the sphere gradually, which is close to the effect I wanted for the explosion. This gave me complete control over how I want the explosion to look.
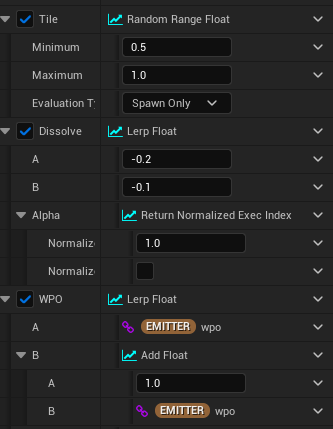
After messing around with the settings for a bit and discovering which values worked best, I changed the value settings to a random range float for tile and dissolve.

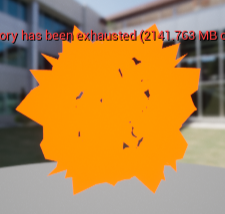
As you can see, each time I played the VFX, the sphere would deform differently. This wasn’t totally necessary as I only plan on the explosion being seen once, but it makes the explosion feel more organic and alive if you don’t know what to expect.

I also added some sparks to the explosion that spawn from the centre and project outwards. I made it so each spark had a random colour, again to add to that dynamic feel of the explosion.
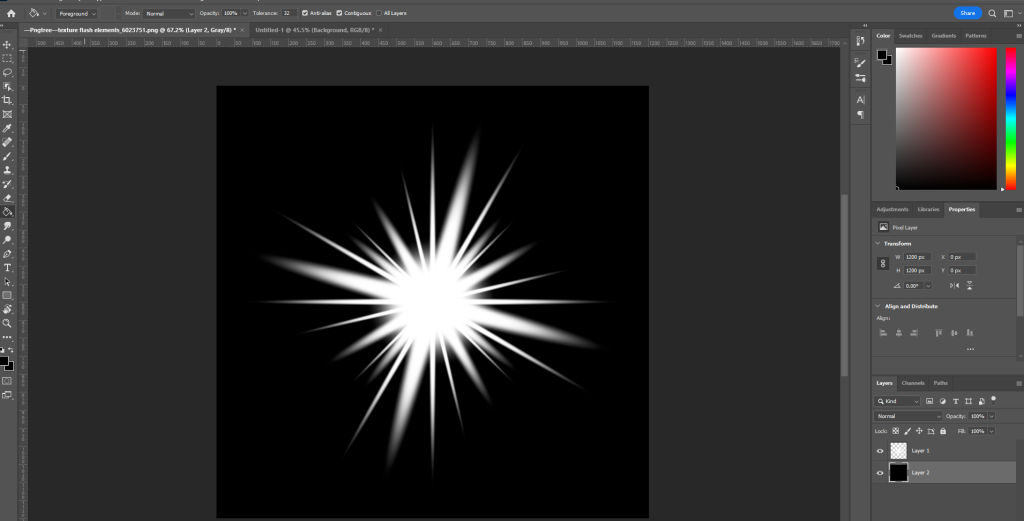
I downloaded and imported a spark PNG to Unreal, however when I imported it the entire thing was just white. So, I took the PNG into Photoshop and added a black background. This seemed to fix the issue as when I imported this back into Unreal it worked.
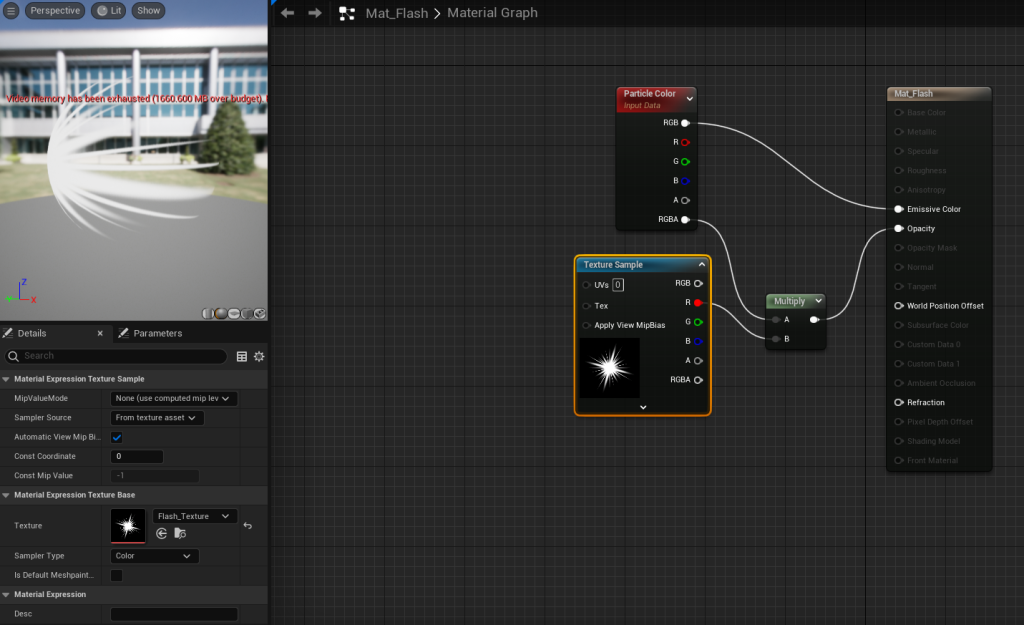
With the spark PNG now working as intended, I created a material to add to my explosion VFX by multiplying the texture sample with the alpha of the particle colour and sticking that into opacity.
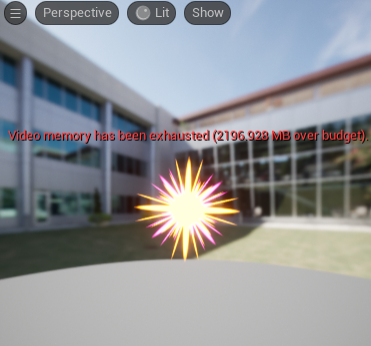
Once in the Niagara System, I changed the colour to be random and the spawn rate to 5. This created an effective quick spark at the start of the explosion which adds more impact to it.
The main thing I was looking for whilst creating this explosion was that quick, snappy feel that gives an explosion a sense of power. As seen in the video above, I think the spark effect helped the most with this via its sudden bright appearance and disappearance.
Rain:
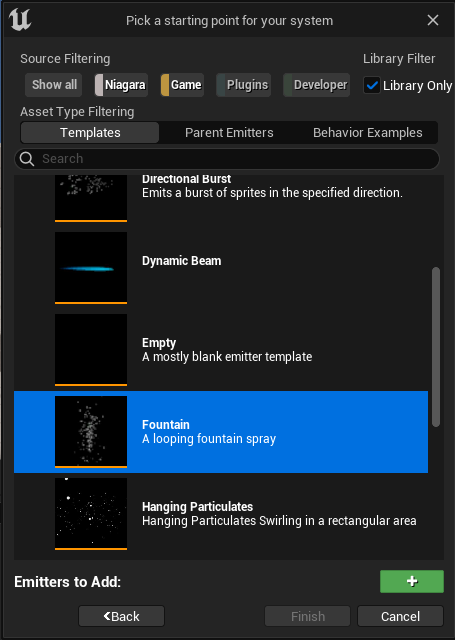
I started creating my rain VFX by selecting the fountain Niagara System template. This template already simulates water particles to some extent and so it was the perfect place to start.
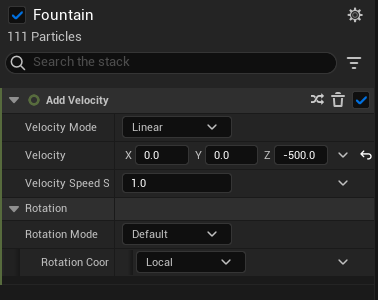
The particles in the spray template go upwards by default, and so I changed the velocity to a negative number so that the particles fell downwards when spawned.
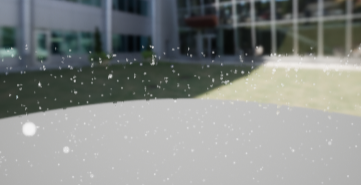
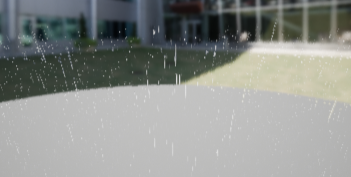
Changing the sprite shape made a huge difference as the default particles look more like snow. By making the sprites long and thin, they simulate the rain much better.

One problem at this stage was that the rain particles were just bouncing off of the ground when they collided with it – breaking any sense of realism. To fix this, I added a kill particles function so that when the rain touches the ground, the particle disappears.
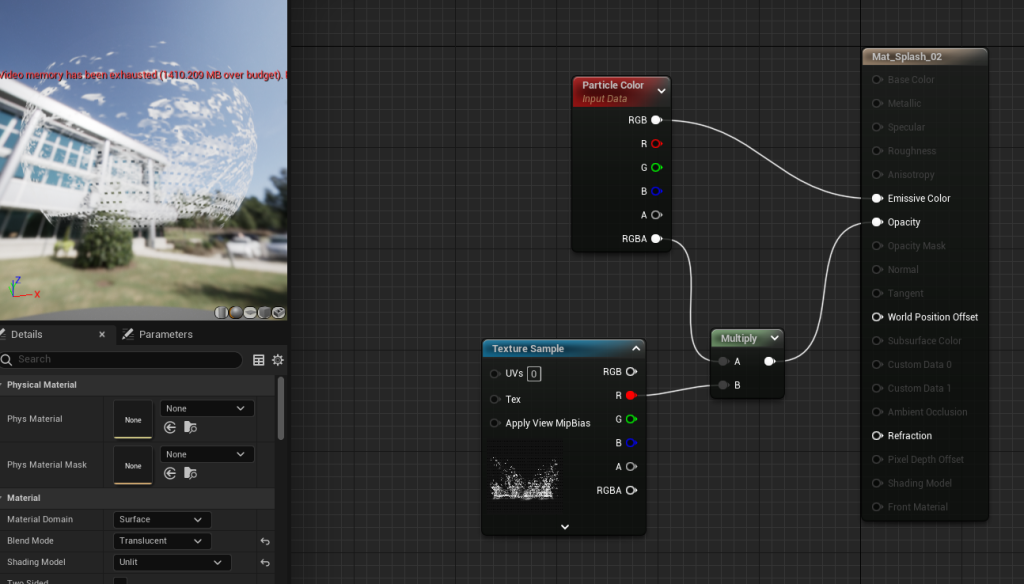
However, rain doesn’t just disappear when it hits the ground in real life, it creates a small splash. Therefore, I downloaded a splash PNG and created this material – similar to the flash for the explosion.
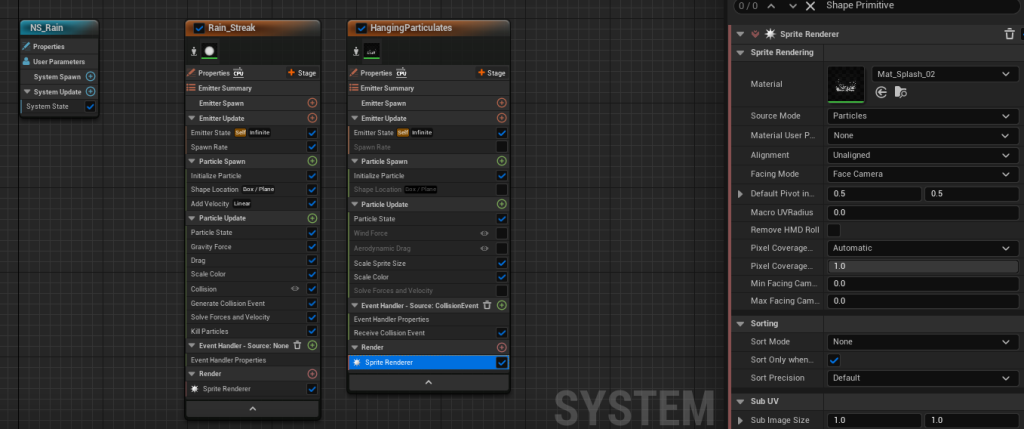
I then used an event handler to make the splash material only appear when the rain particles hit the ground.
The Event Handler was surprisingly difficult to find in Unreal Engine 5. In UE4, it is available by default, whereas in UE5 they changed it so that you have to add it in yourself via the Stage menu.
The rain is a little hard to see in this video as I changed the colour to be slightly more transparent rather than totally white – to better match real rain. In the scene, however, it really adds to the environment and cyberpunk feel because, as discussed previously, rain is a common occurrence in such environments.
Fire:
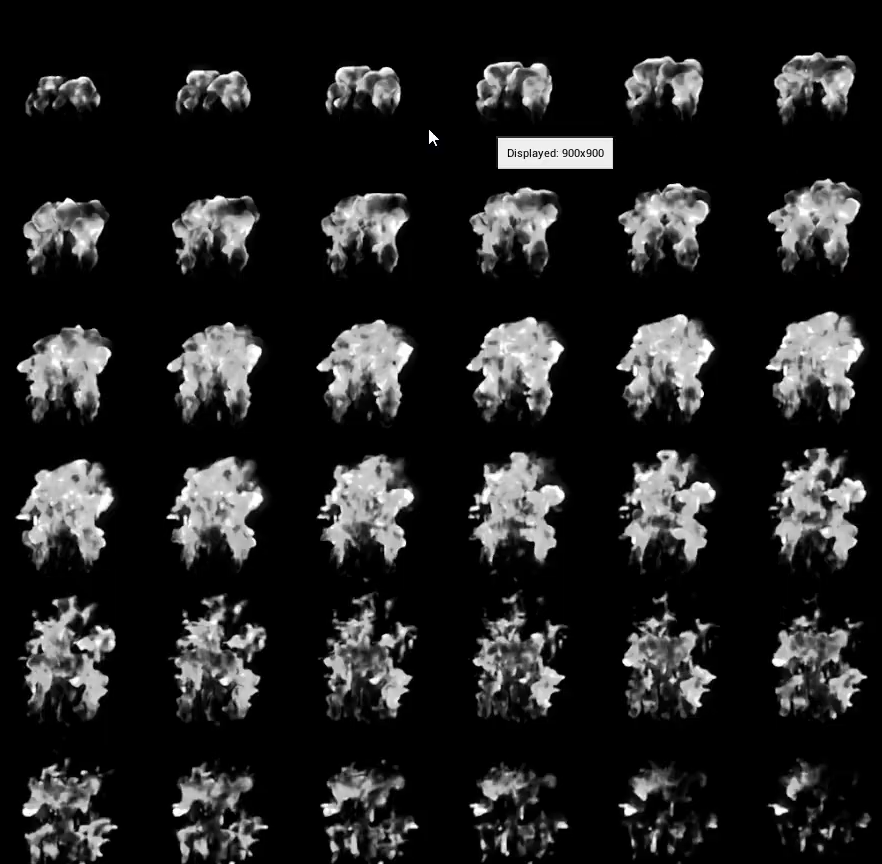
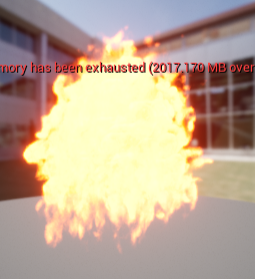
The final VFX I created for my cyberpunk scene was fire. To create it, I used the sprite sheet provided in the Unreal content browser.
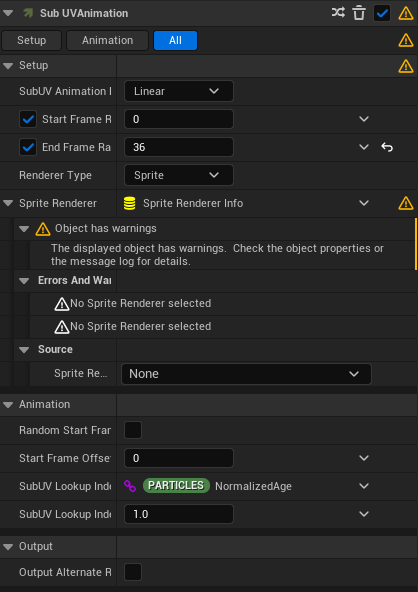
The sprite renderer gave off a couple of warnings when I selected this sprite sheet and set the renderer type to sprite. I wasn’t too sure on how to fix this, however the fire seemed to be unaffected and worked fine.
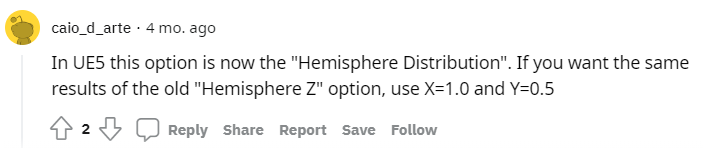
One problem with using Unreal Engine 4 tutorials whilst using Unreal Engine 5 is that a lot of the UI has changed. One example of this is the Hemisphere options. In UE4, Hemisphere Z was just a box you could tick, however in UE5 there were only X and Y values.
Thankfully this person on had the same exact issue and figured out the equivalent values to input.

By this point my fire was looking realistic, however when looking at examples of real fire, small fire embers also emitted from the flame.
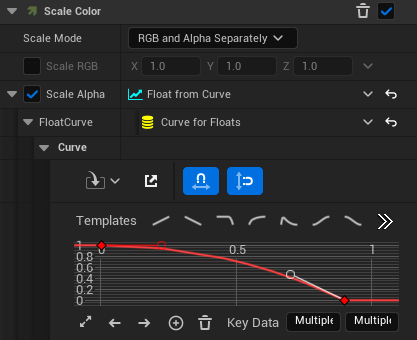
Therefore, I created another emitter for these embers and changed the velocity and colour to match the fire. I wanted the fire embers to slowly dissipate and so created this curve that makes them start bright and then fade away.
The fire on its own would still have been effective as fire, however adding other elements such as embers helps give the fire life and makes it much more appealing to look at.
Smoke:
This was the first VFX I created for my volcanic environment as I planned on making this smoke come out of the top of the volcano.
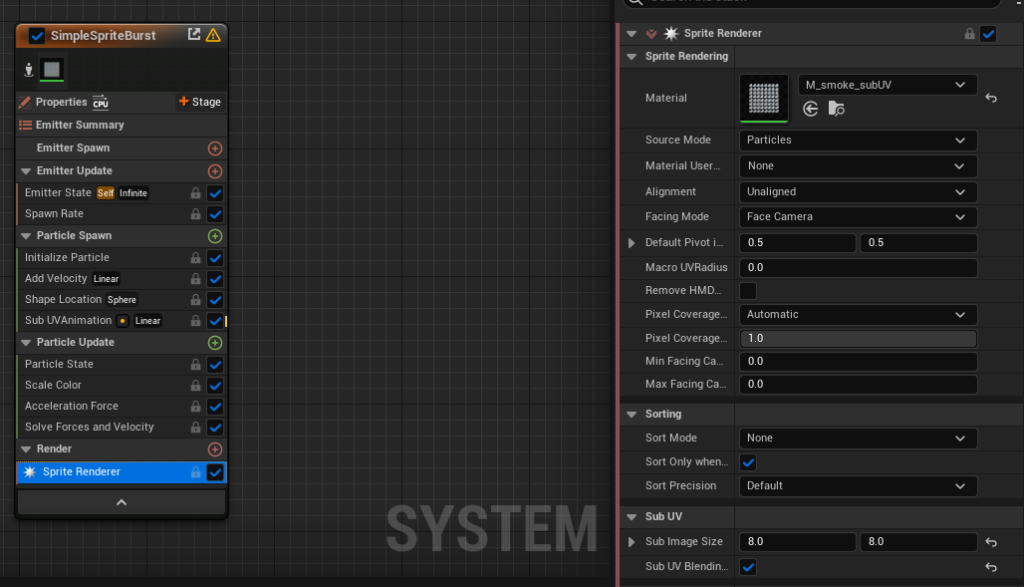
For the smoke creation, I followed the guide provided on Canvas by my lecturer. Therefore, like the fire, I used a sprite sheet provided by Unreal to create this VFX.
At one point the smoke was not showing in the Niagara editor, which confused me. After awhile of going through the tutorial again, I realised that it was never stated to change the spawn rate from zero. Once I did, I breathed a huge sigh of relief as the smoke particles spawned.
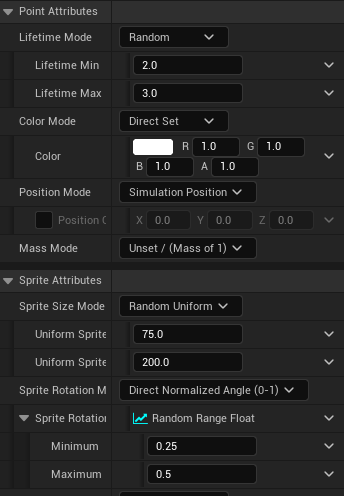
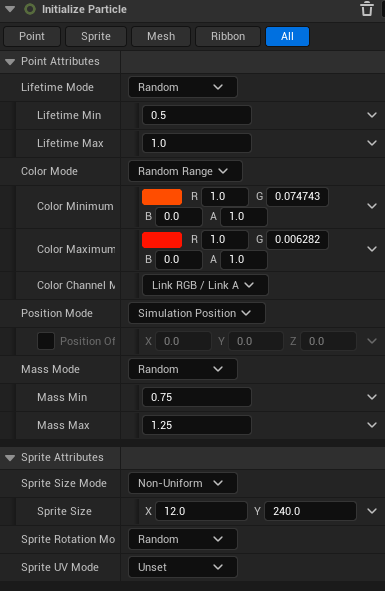
Making both the sprite size and rotation random helped complete the smoke look as in real life no smoke clouds are the same as each other.
Originally when working on this, the smoke was just fully blacked out in the Niagara editor. What made it even more strange was the fact there were no errors when this occurred. Nevertheless, since reloading the scene, the smoke has fixed itself – as seen in this video.
Embers:
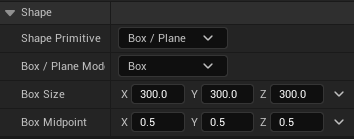
I opted to use a box for the embers as much like the rain, I wanted them to cover a large area. One great feature of Unreal is being able to have the Niagara System in your scene and then adjust and save any settings and see them instantly applied. When adjusting the size of the box for this VFX, it came in very handy.
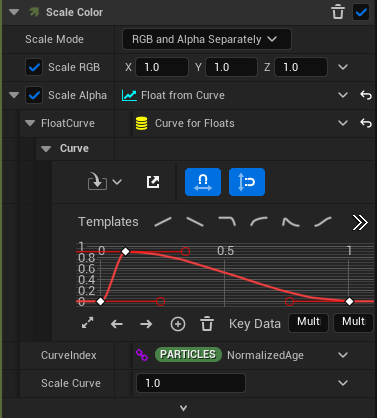
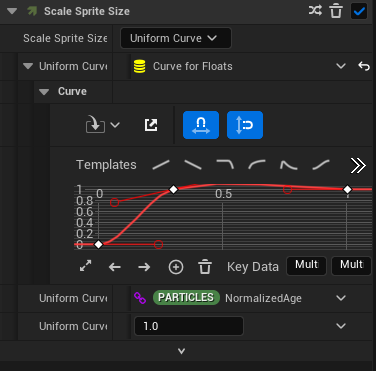
I used graphs to manage both the colour and size of the embers over their lifetime. This meant I could gently fade them out as they died, simulating how they act in real life.
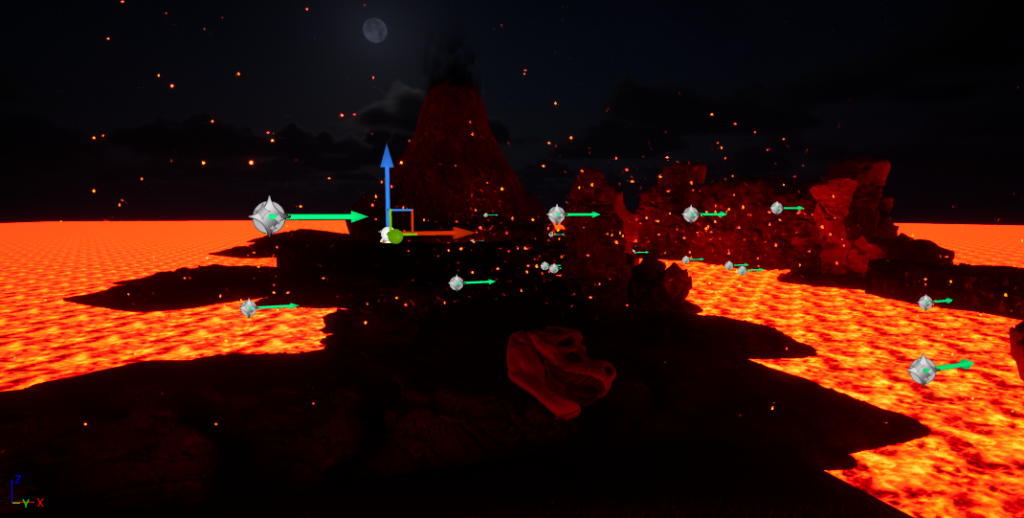
The embers definitely pop more in the night setting because of the dark sky. The ember VFX looking this good in the dark was actually the reason I made the volcano setting permanently have a night setting.
My favourite thing about these embers is how full of life they look, constantly moving and energetic looking. To create these embers, I followed a tutorial on making dust particles as I figured they had similar properties apart from embers moving slightly faster. So, I followed the guide and just increased the velocity slightly – creating this nice effect of embers.
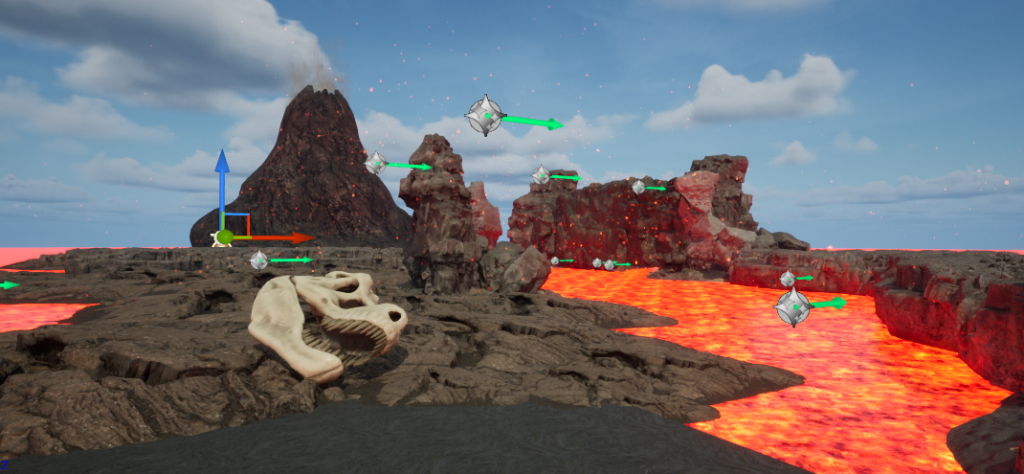
Eruption:
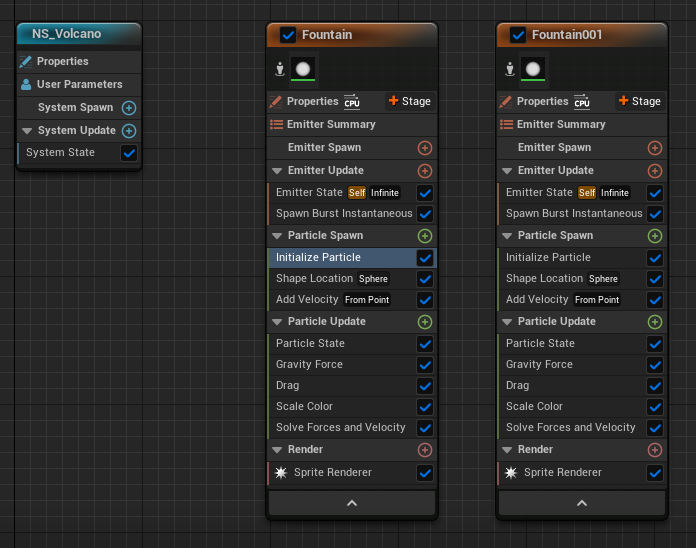
For my volcano eruption, I used a similar emitter for the streaks on the explosion. I changed the colour and velocity of the explosion emitter and then duplicated that emitter and slightly changed the velocity.
Creating an eruption was hard as there were no proper tutorials on it and so I had to use what I had learnt from the previous VFX I made and apply it here. Overall, I am happy with how it turned out as, especially from a distance, it looks like a volcanic eruption.
References:
Sir Fansi (2021) Niagara fire tutorial in Unreal Engine 4 (UE4 Fire Niagara tutorial) [Video]. Available online: https://www.youtube.com/watch?v=rKIqa_IUkBo [Accessed 27/12/2022].
GameDev Outpost (2021) UE4 – Niagara Ambient FX – Dust / Fireflies [Video]. Available online: https://www.youtube.com/watch?v=AGOV-72ytig [Accessed 29/12/2022].
CGHOW (2022) Toon Air Explosion in UE5 Niagara Tutorial | Download Files [Video]. Available online: https://www.youtube.com/watch?v=3XciZvIl1dY&t=1063s [Accessed 22/12/2022].
CodeLikeMe (2021) Unreal Engine Rain Particle with Splashes using Niagara FX System [Video]. Available online: https://www.youtube.com/watch?v=qmZCW7eQ6rc [Accessed 23/12/2022].