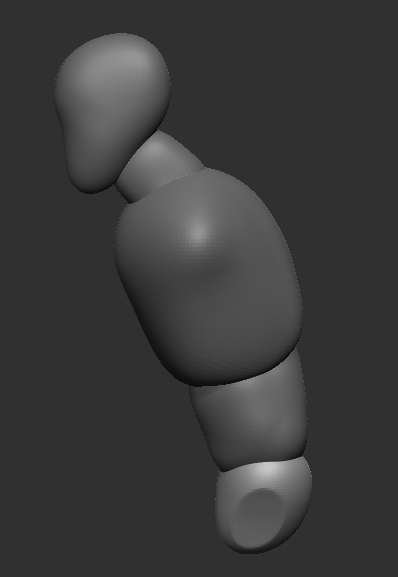
Like my first attempt, I started by blocking out the basic proportions of my character. This time, I made sure that the proportions didn’t feel too human like – whilst not going too extreme as to look wrong and out of place.
To achieve this I created a slight arch in the spine and the legs have multiple joints in them.

Once the proportions were in place, I started blocking out the face. I made sure as to not just draw the eyes and nose in with clay build-up, instead creating sockets for them. This creates a more natural feeling end product by building the model up from bone to muscle to finally skin.
This stage was just about blocking in the primary forms such as the cheekbones and the brow area.

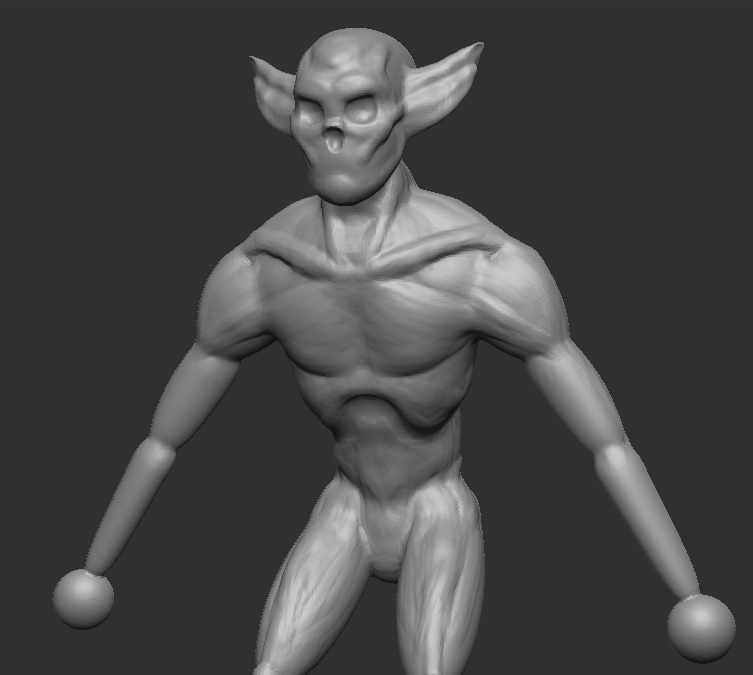
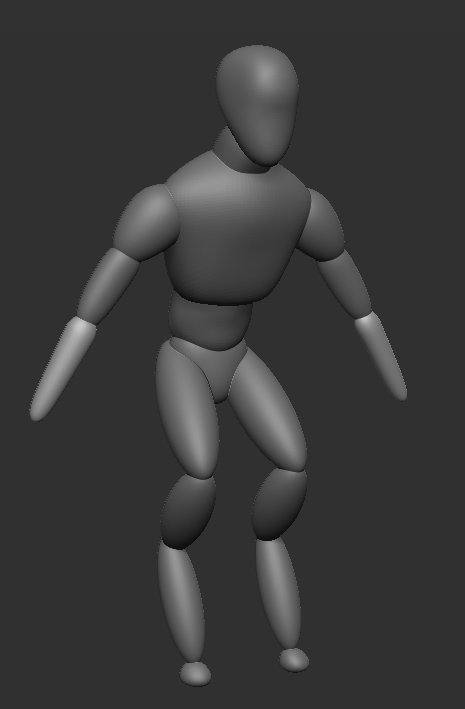
I gradually built up the muscles around the body by using the clay build-up brush. I started by blocking out the general flow of the muscles.
One tip by FlippedNormals that really helped my sculpt was to try and avoid using the smooth brush. Instead, I just lightly stroked over with the clay build-up the parts that I wanted to smooth. This created a more natural free flowing sculpt in my opinion as you can see the direction the muscles flow in.

Since my character did not wear any clothes, getting the anatomy right was very important to me. So, I decided to do muscle studies on key areas – such as the chest and arms. Doing this muscle study was extremely useful to learn where each muscle insertion starts and ends, leading to a more realistic 3D model.
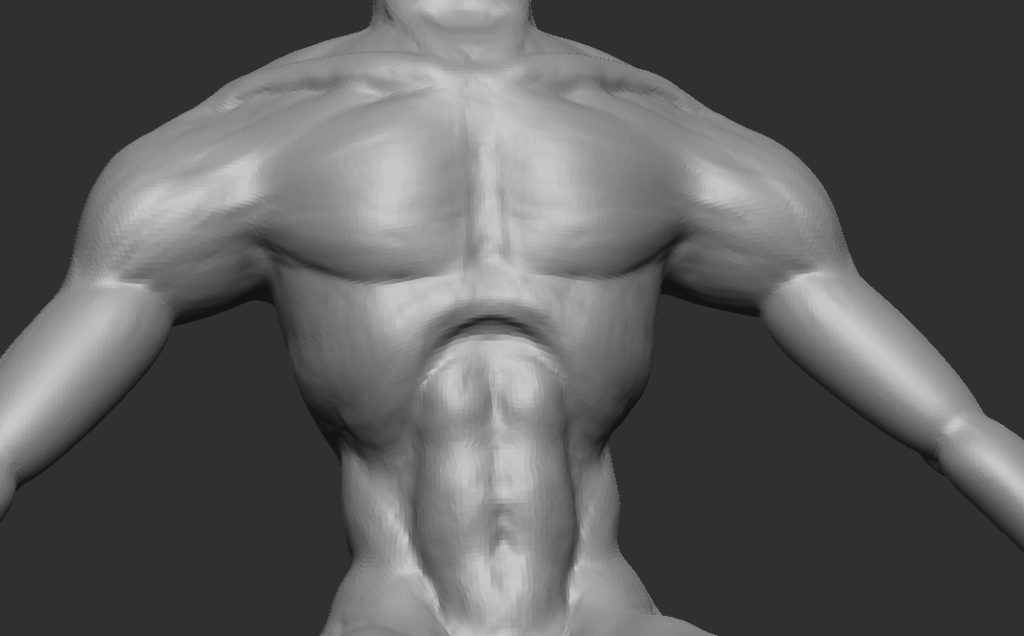
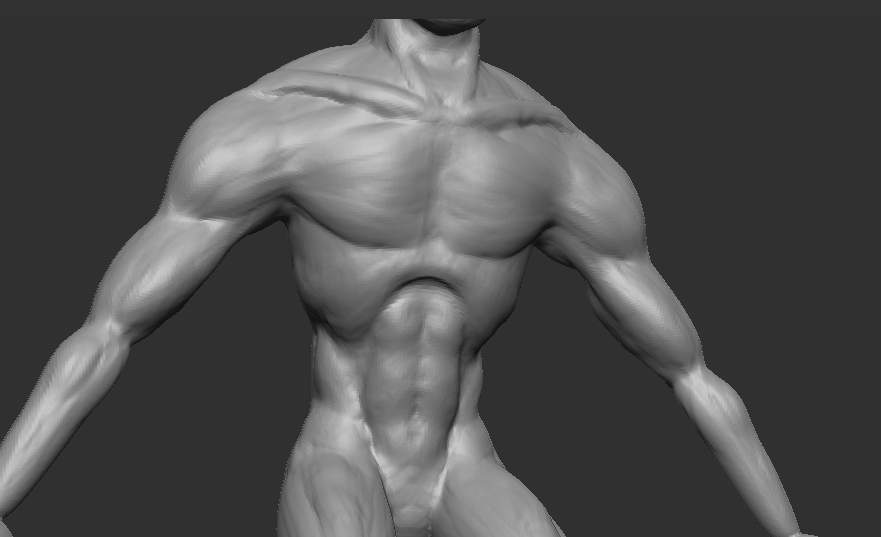
After studying the anatomy of the chest and arms, I used my new knowledge of muscle insertions to elevate my model.

I traced the flow of muscle anatomy images to help better my understanding of how all of the muscles worked together.
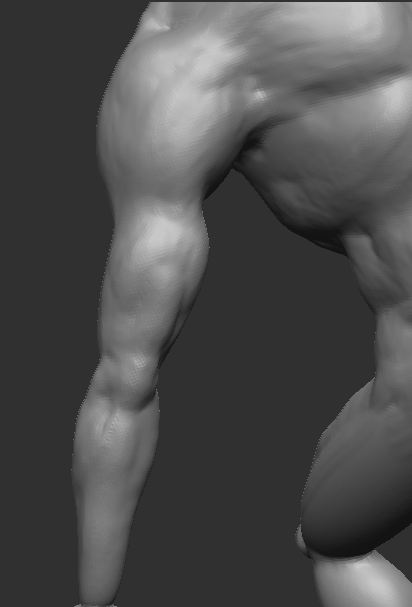

Whilst the muscle studies were extremely useful to help my understanding of the anatomy, translating that back over to 3D was a whole new challenge as the arm muscles needed to work together and look good from all angles, not just from the front or back separately.

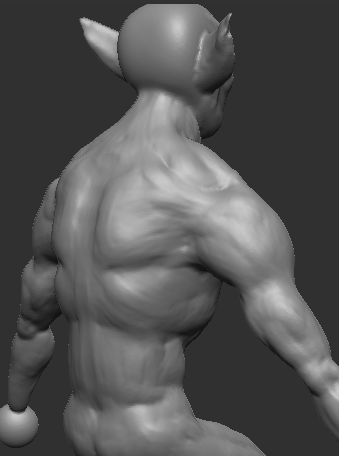
Before adding the sack on the monsters’ back, I roughed out the anatomy of the entire back region. This was to get a better flow of muscles and a more natural feel in connecting areas such as the neck and the traps.

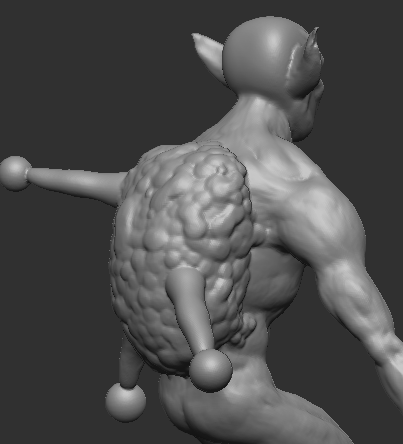
After blocking out the arms, I textured the sack using the clay build-up brush. I turned off symmetry whilst doing this to give a more natural feel, and whilst this was tedious and took awhile – I’m happy with the results.

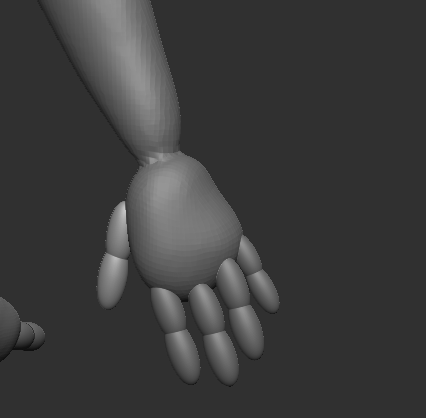
After enough procrastination, it was finally time to tackle the dreaded hands. For the monster’s hands I decided to give him just two fingers. This was a choice I made whilst making the hands as I thought it fit the character well and further dehumanised him.
To block out the hands I used spheres and the move brush.

This stage was just about making sure the hand proportions were correct in correlation to the rest of the body – using the move tool when necessary to extend and shorten the hand length.

Dyanmesh is used to join primitive shapes together when blocking out or when more geometry is needed in the early stages of sculpting e.g. when I pulled out the ears of my monster using the move tool.
When I first used Dynamesh to join the fingers to the hands, the image on the left occurred. After a quick bit of research I realised that the solution was to increase the resolution of the Dynamesh – which led to the desired result on the right.

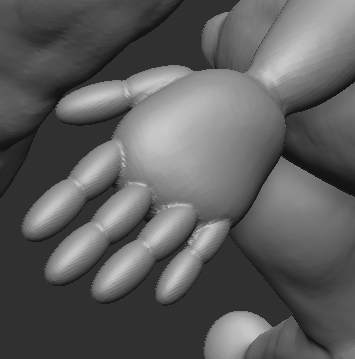
When modelling the hands, I used my own hand as my main reference point. I noticed the tendons that went from the knuckles down to the wrist and how they slowly faded out. Overall, I’m happy with how the hands turned out.
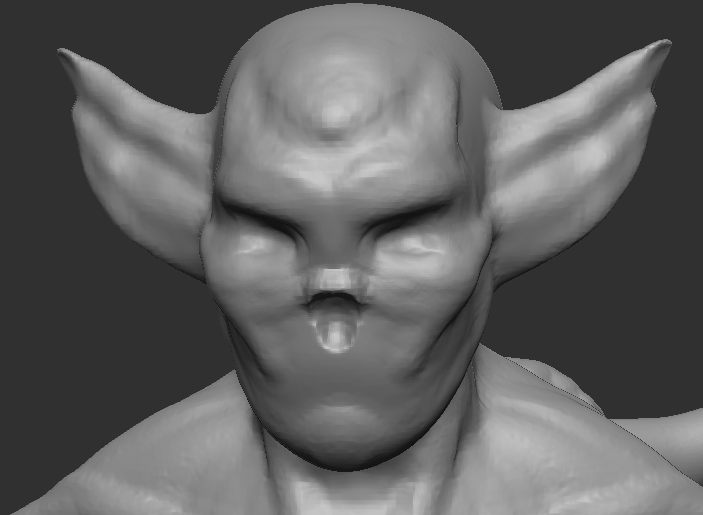
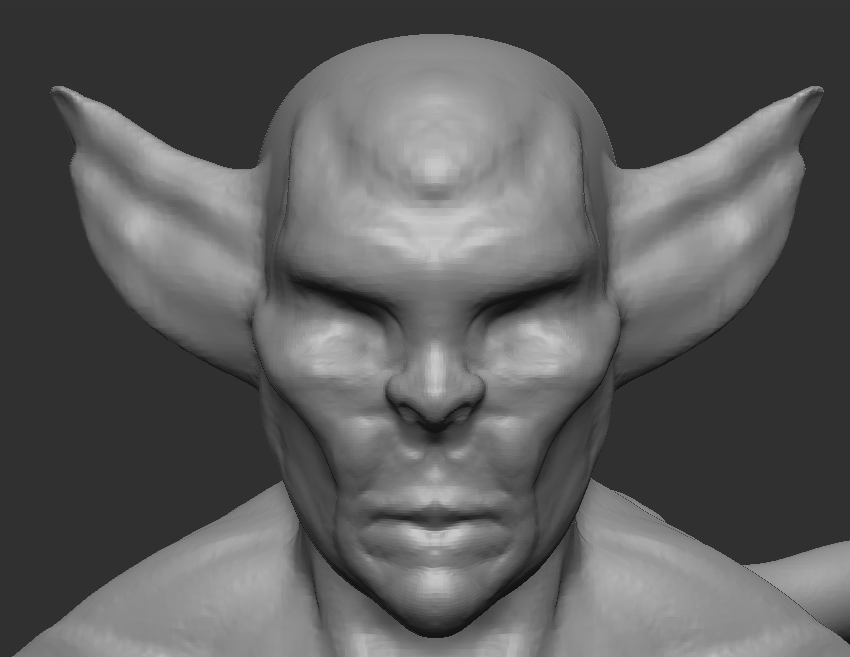
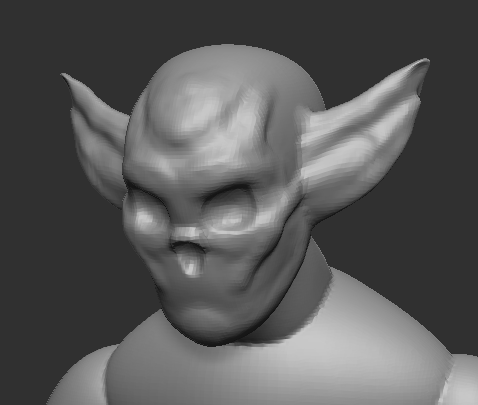
Now that the rest of the body had been completed, the last thing to model was the face.
I left the face until last as I felt as if it was the most important part of a characters’ design and I could use the rest of the body as inspiration for how the face should look. For example, since the body turned out more muscular than I had planned in my sketches, that altered the face shape.
All that was used was the clay build-up brush and then the standard brush for the inside of the ears. I also used the move brush to tweak any proportions and move the brow slightly downwards to create a more menacing look.

After adding the eyes as a separate subtool, my model was now complete and ready to be decimated.
Overall, I am extremely happy with how my character turned out. Whilst the proportions are slightly different to my original design, the muscle anatomy is good considering this was my first time sculpting muscle.
If I could change one thing about my model I would add another subdivision level to allow me to add details such as wrinkles and skin folds to add a deeper level of character building.
References:
FlippedNormals (2018) Top Tips for Improving your ZBrush Sculpts [Video]. Available online: https://www.youtube.com/watch?v=iAVGcCuSjxA&t=320s [Accessed 10/12/2022].
FlippedNormals Marketplace (2020) Concept Sculpting an Orc Bust | Free Chapter [Video]. Available online: https://www.youtube.com/watch?v=BQ8_wNik8b4&t=905s [Accessed 12/12/2022].