Polypaint vs Substance
To paint and texture my character, I decided to use ZBrush’s polypaint system this time rather than Substance Painter, which I used for my previous 3D model.
I did this so I could compare the two and decide for myself which one I would prefer to use in future 3D projects.
Painting

Before I started painting my model, I made sure to turn Zadd off and turn RGB on. This makes it so only paint is applied to the model and not clay. However, using Zadd at the same time can be a useful effect for small skin details such as adding spots and skin pores.

The first step was to select a base colour to work on. I decided to follow my colour design I discussed previously and use a neutral brown as a base – much like a bat.
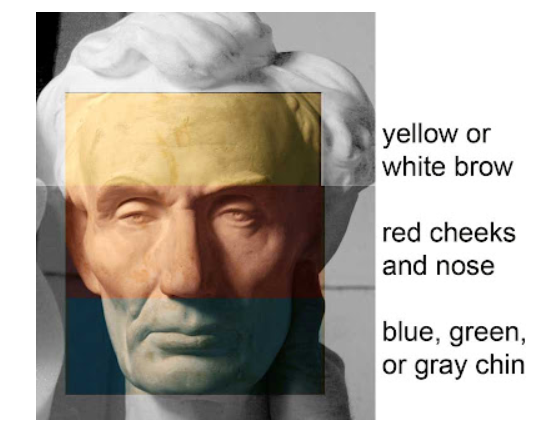
Before I started painting the face, I studied what colours make up a persons’ face, as it isn’t just all one colour. Through my studies, I found that the cheek area is more red coloured, whilst the top and bottom of the face and yellow and blueish respectively.
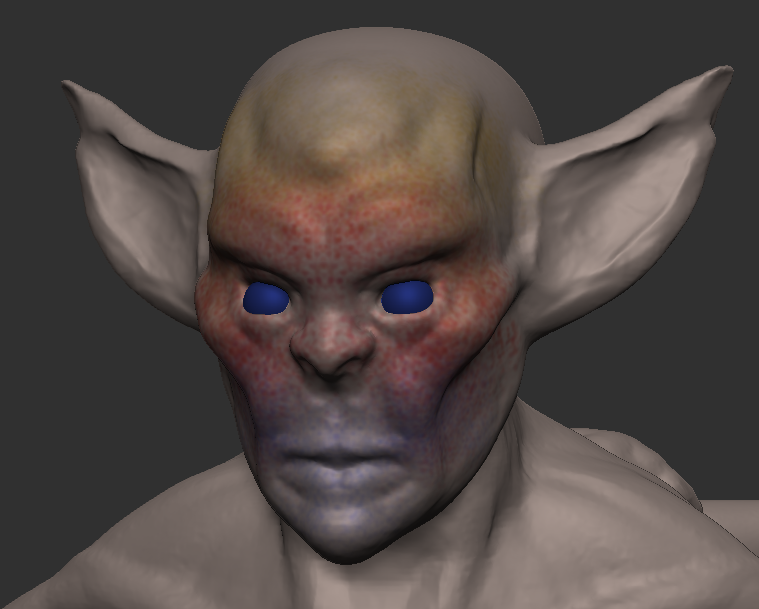
To start off I just started throwing down these colours onto the mesh so that I could blend them later. This is obviously an extreme way of going about it, but t turned out to be quite effective.
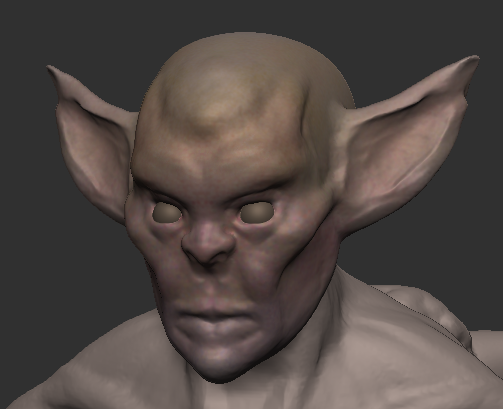
Once blended, the face looked more like this, with just subtle hints of red, yellow and blue to give it more life , rather than it being one dimensional.

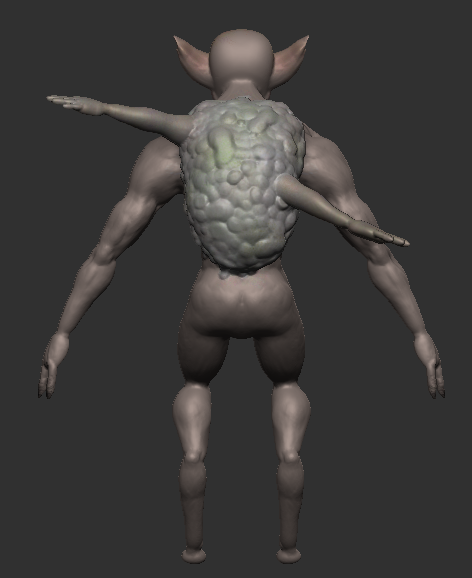
I decided to paint the sack with a tint of yellow and green to create that sickly feeling when looking at it.

In certain parts, I used a vein-like brush texture to create a vein effect. This is effective, especially up close, as it makes the skin look thin and infected with bursting veins in selected areas.

I wanted the human arms to look dead and so I used a lot of blue and white/yellow to create this corpse look. I’m not totally satisfied with how it came out as I feel like more blue tones would have helped sell the dead look a bit more.
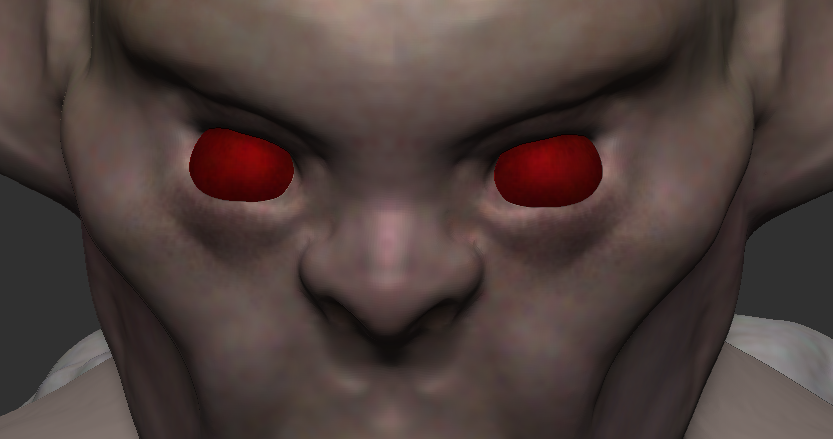
The final thing to colour was the eyes. I chose a slightly darker skin shade around the eye area to make them really pop. I also chose a darker shade of red around the edge of the eyes to make the centre more prominent.
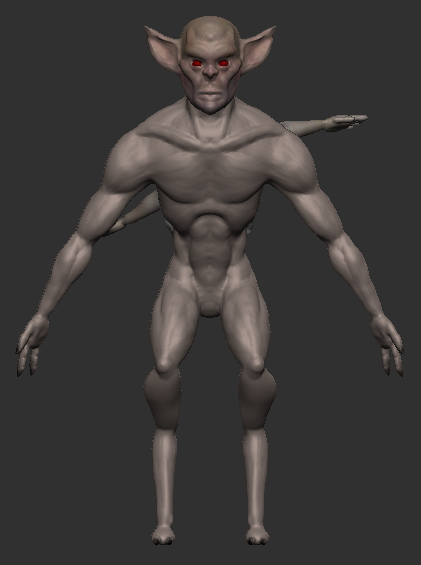

Here is my final model that has been fully painted. Overall, I am pleased with the colour scheme as I think the muted tones in the skin make the eyes pop out at the viewer. If I could tweak one thing it would be the tone of the human arms as I believe a more blue tone would make for a better look.
Conclusion:
Both polypaint and Substance Painter have their positives and negatives. Polypainting felt more organic to use for me and I could get nice results quicker, whereas Substance Painter’s complex layer system can sometimes get overwhelming.
Substance Painter, however, allows for the use of different textures such as grunge textures to help paint your model and create nice realistic looking effects.
Overall, in the future I will probably use both together. Polypaint can be used to create an albedo map which can then be transferred into Substance painter to add more complex maps and details to a model. However, for this task I am glad I experimented with polypaint as I now know how powerful it can be, especially with higher polygon counts.
References:
FlippedNormals (2018) Polypaint a Head in ZBrush – Color Theory [Video]. Available online: https://www.youtube.com/watch?v=8iAbH3zSQak&t=300s [Accessed 08/01/2023].
Gurney, J. (2008) Color Zones Of The Face [Blog Post]. Gurney Journey. 25 May. Available online: http://gurneyjourney.blogspot.com/2008/05/color-zones-of-face.html#:~:text=The%20complexion%20of%20a%20light,%2C%20greenish%2C%20or%20grayish%20color. [Accessed 09/01/2023].