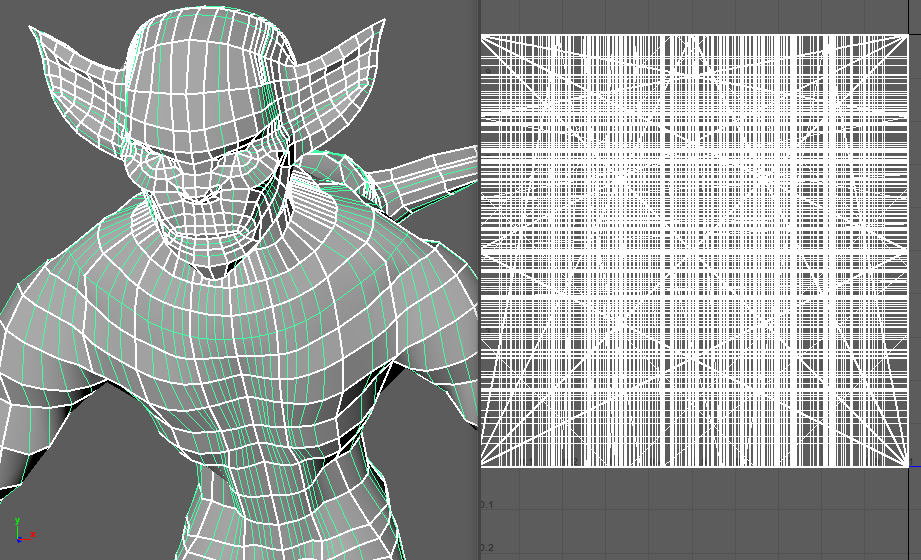
I hadn’t UV mapped in a while so when I first opened the UV editor and saw this, I was terrified.

After watching some of the tutorials from last year to remind myself however, I quickly remembered how to use the camera based projection and the 3D cut and sew tool.


I started by making cuts in the head area as It was the most complicated area to UV in my opinion and I wanted to get it out of the way. To know where to place the cuts I watched a FlippedNormals tutorial on YouTube.
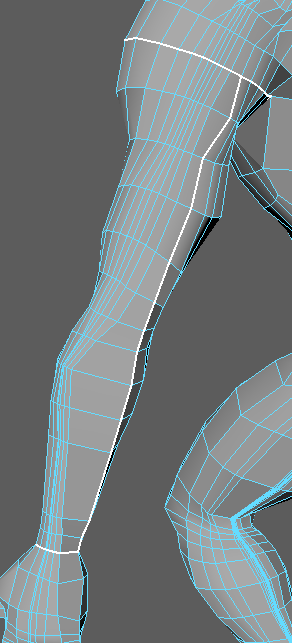
The rest of the body was fairly simple in comparison. Still, I used tutorials to learn where is best to place the seams and how to hide them as best as possible. For the arm here I placed the cut along the back of the arm across the elbow as that is less looked at than the front.
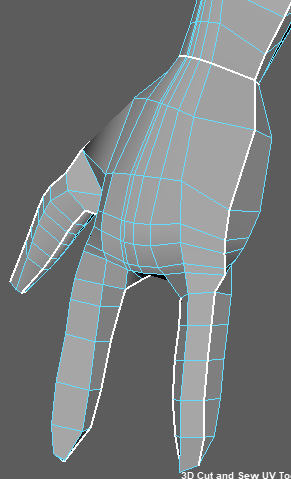
The hands were also quite tricky as I had to cut them in half and go along a single line across the grooves of the fingers. I couldn’t just double click the line to automatically do it as some of my geometry wasn’t perfect on the hands so I had to do this part manually.
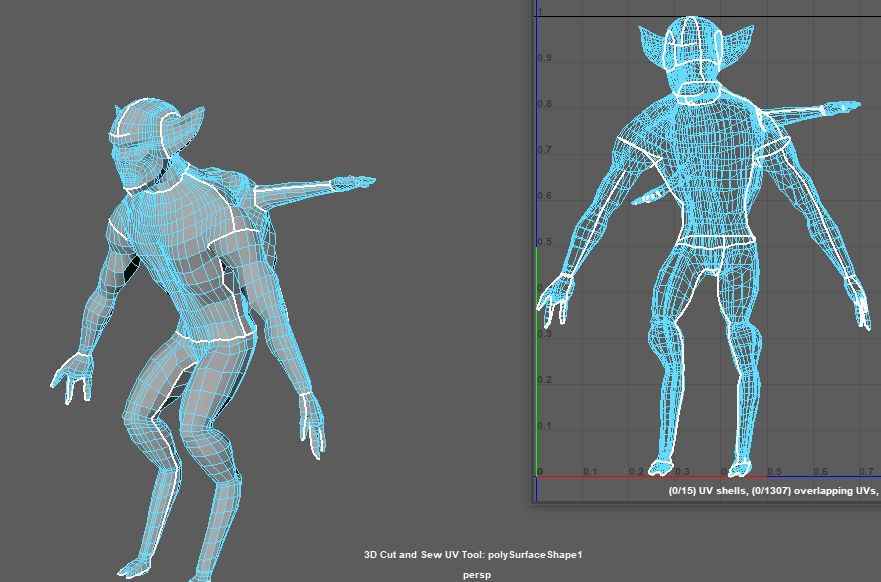
Here is how the full body looked with all of the cuts I wanted to make. Now that I was satisfied with my initial cuts, it was time to unwrap, as I knew that I could make additional cuts to fix any distortion.

When I went to unwrap my mesh for the first time, this error message came up. I could only guess that some small part of my geometry had some errors in it and so I pressed fix.
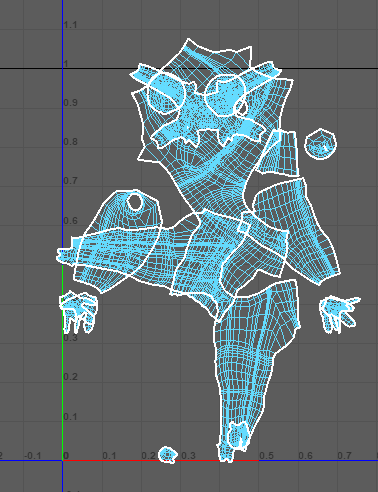
Initially this is how my unwrapped model looked. To get a better look I would need to organise these pieces.
Ideally, the UV map would be in some kind of order where the head is at the top and the arms by its side etc. This is so that when handing it to texture artists, they know which piece correlates to which. However, for this model I was ok with leaving it like this for now.

The UV map was showing some stretching, mainly around the back area and so I made some additional cuts to try and limit it as much as possible.
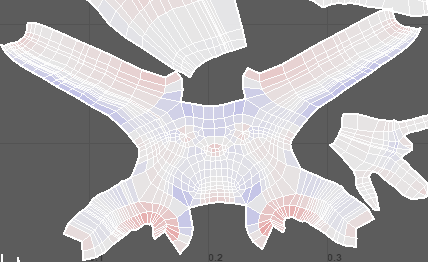
Out of everything, I am most proud of the face UV as it only has limited stretching and looks just like the one in the tutorial.

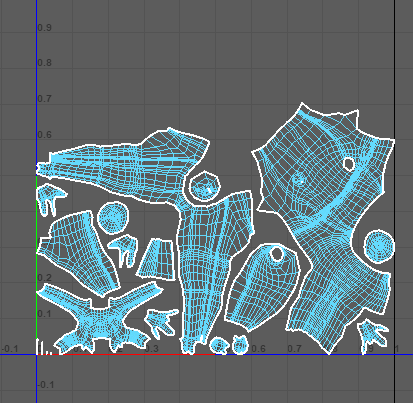
This is how my final UVs turned out. Overall, I am happy with the front of the model however the back was a pain to get rid of stretching. I made some more cuts and nothing worked so perhaps it is just a problem with the model itself?
Regardless, this was my first time UVing a complicated model like this and although I have room to improve, I am happy with my first attempt.
References:
CGTIPZ (2017) MAYA TUTORIAL : UV MAPPING A CHARACTER [Video]. Available online: https://www.youtube.com/watch?v=4hbBp3TB2RE&t=336s [Accessed 02/01/2023].
FlippedNormals (2018) UVs for Beginners – UV mapping a Head in Maya [Video]. Available online: https://www.youtube.com/watch?v=uMUQeLStdpk&t=964s [Accessed 02/01/2023].