Research (12th – 18th February):
PS1 Characters:
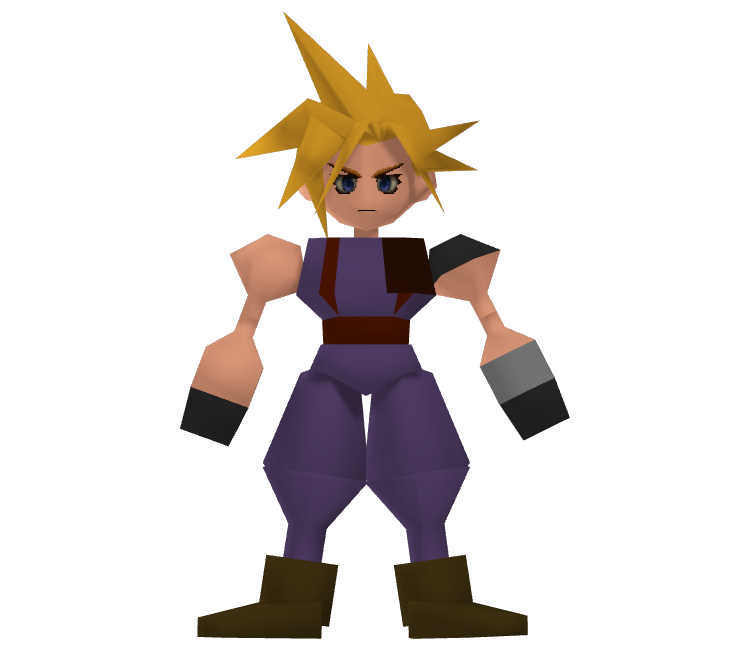

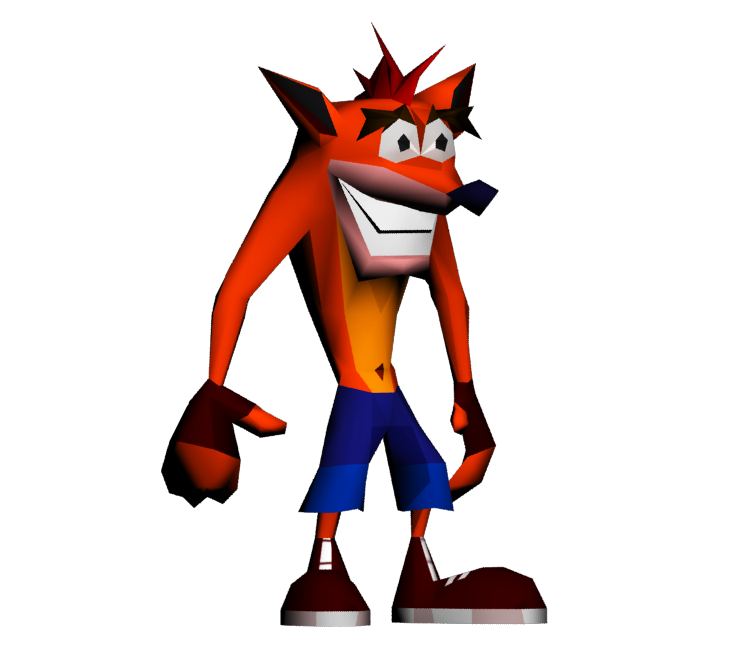
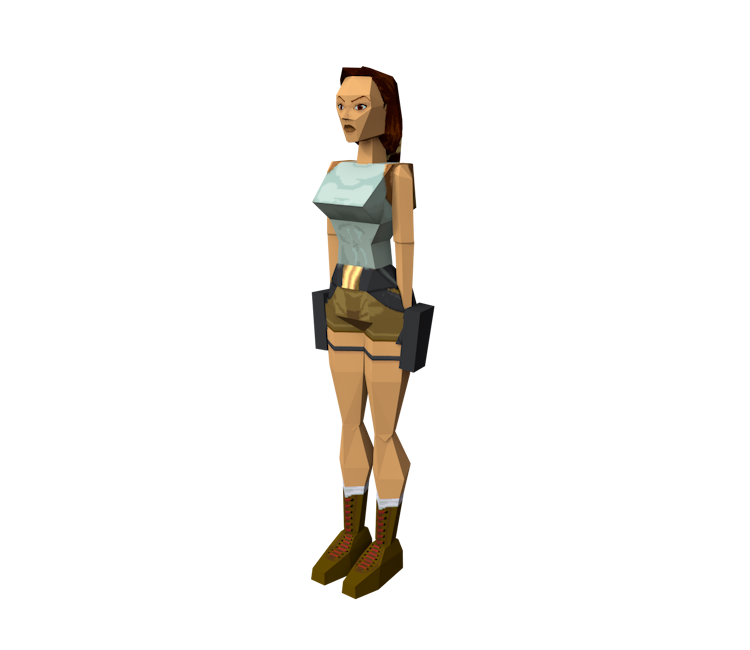
Before starting my character 3D modelling journey, I decided to research authentic PS1 models to gauge their characteristics. Whilst characters can vary dramatically in style, most models were under 500 polygons (Garbaj, 2021). Some models, such as Lara Croft, consisted of a polycount as low as 230 (CroftGeneration, 2024). Therefore, I will aim to create a model that is in the range of 200 – 500 polygons, whilst still being recognisable when compared with the concept art.
For main characters, 256×256 textures were used, as this was the most the console could handle. Less important characters were even less detailed, with 128×128 textures (Spellfist-3d, 2020). Since both the detective and sheriff are main characters that the player controls, I will be using 256×256 texture maps to achieve a genuine PS1 style.
Blender Or Maya:
Whilst I do have more experience with Maya, I decided to use Blender due to the difficulties when texturing I have faced in the past with Maya. Furthermore, modelling in Blender will provide me with experience in a larger variety of software – which should be beneficial for my portfolio.
Additionally, due to Blender being free, there are a lot more tutorials for PS1 graphics compared to Maya.
Modelling Base Male Body (19th – 25th February):
As both characters were Male, I decided that I would begin by modelling a basic human body that can then be used as a base for the detective and sheriff.
Head:
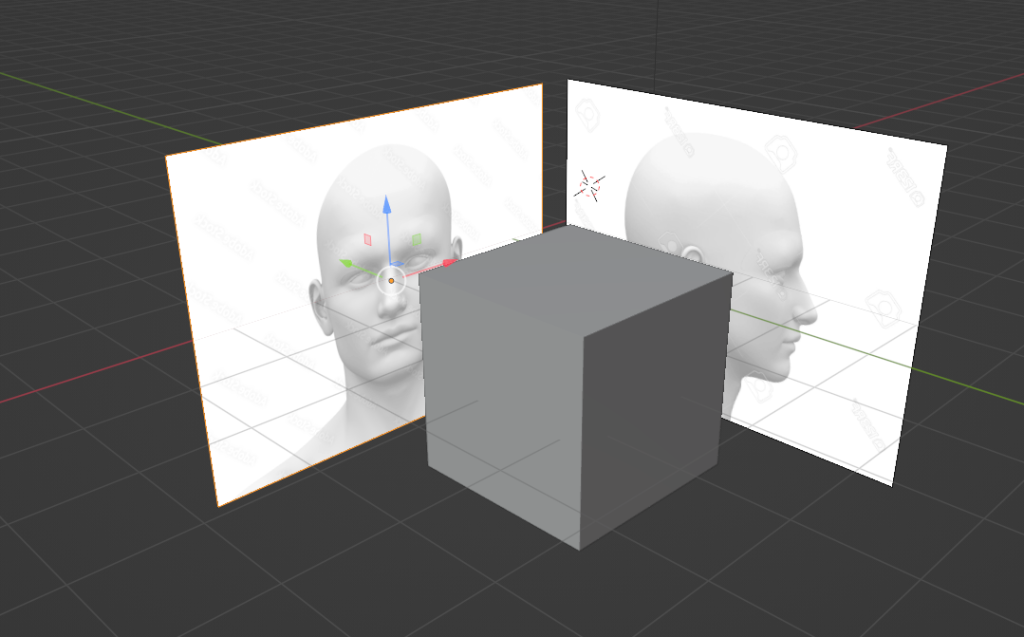
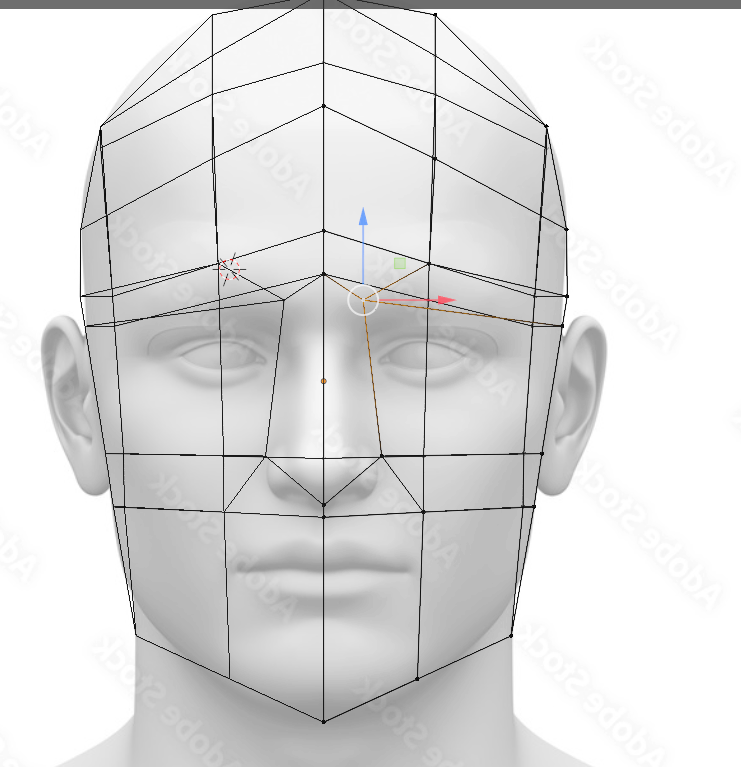
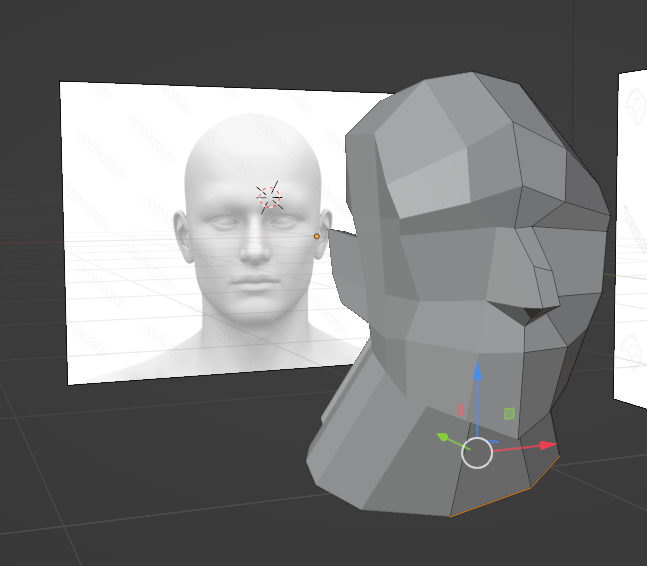
I decided to find references for both the front and side of the head, making sure to scale them both to the same size. These are useful as a guide to follow, but I will be conscious about how the model itself looks in order to potentially deviate from them if the model starts to look disproportionate.
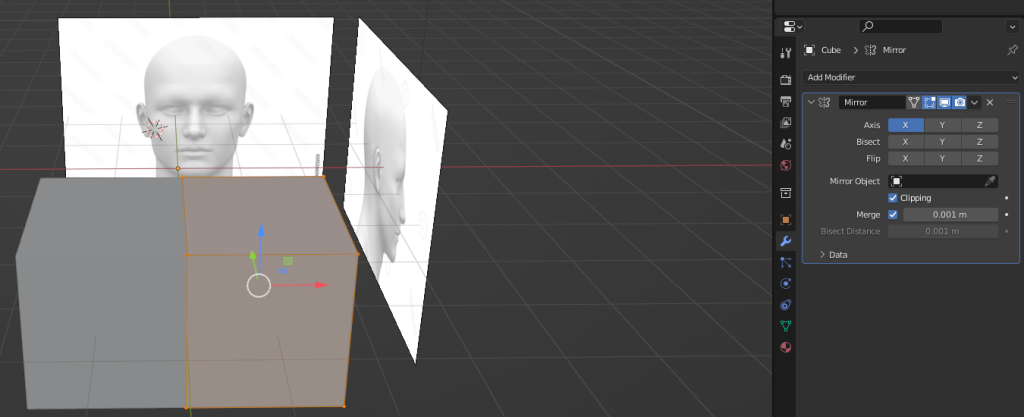
The mirror modifier was especially useful during the modelling process since the human body and face are largely symmetrical. Without this modifier I would have to model each side individually, which would lead to many imperfections.
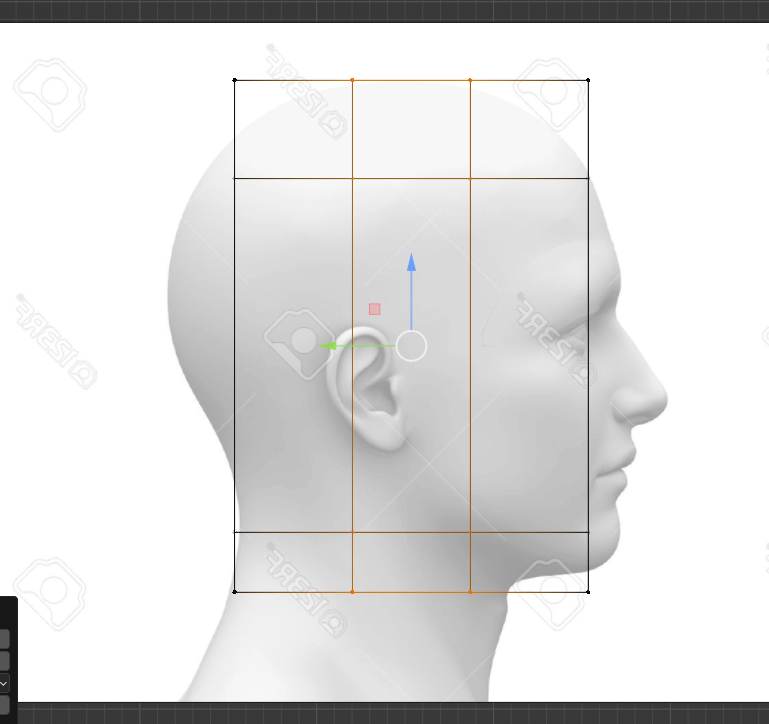
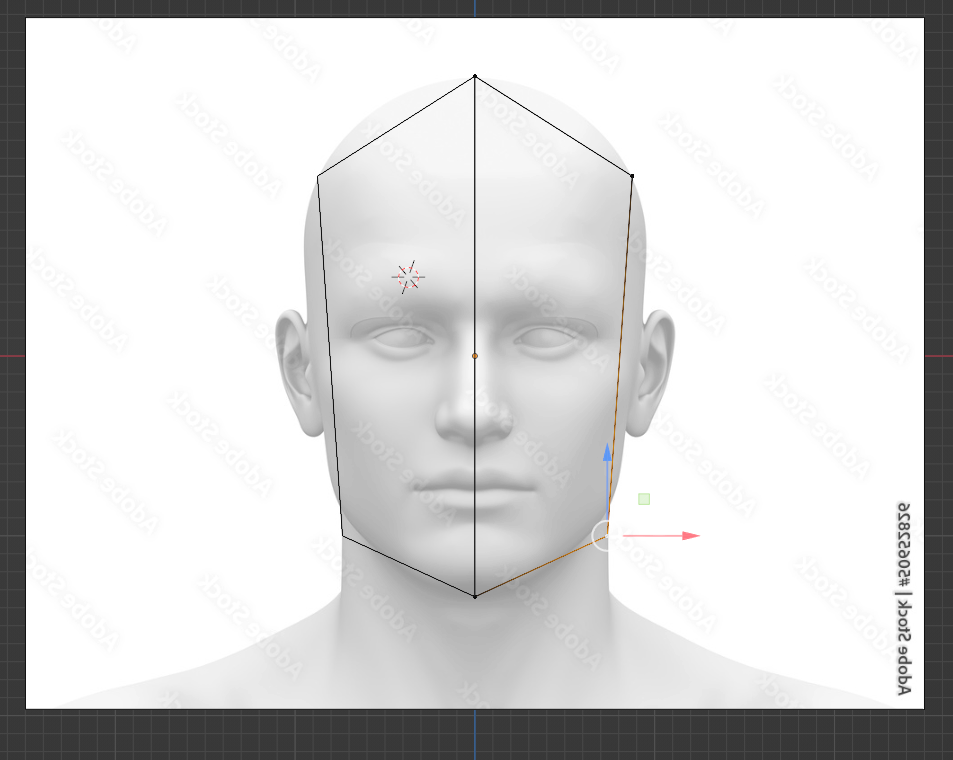
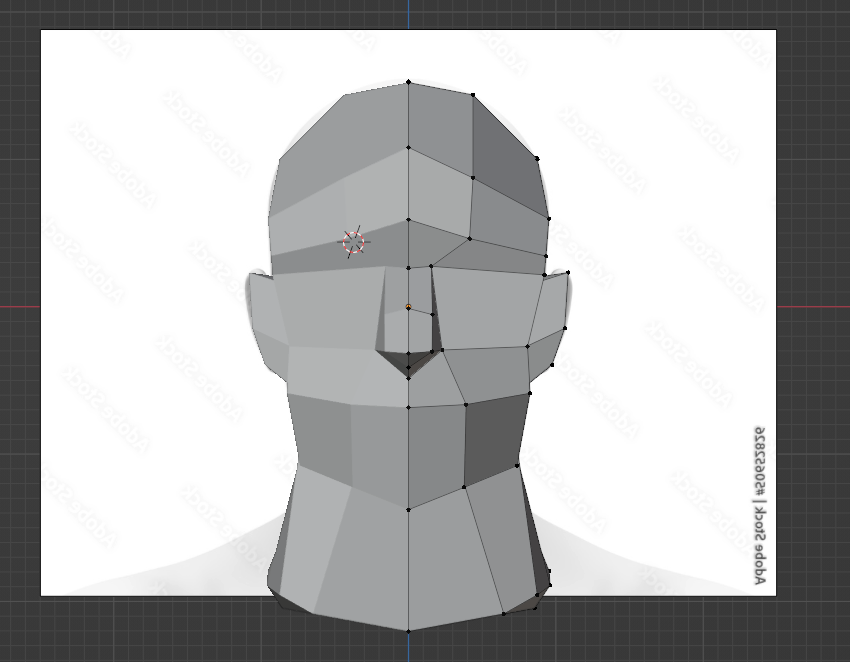
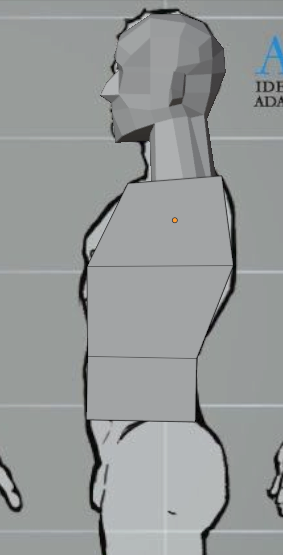
Since the model is low poly, the round shape of the human head is impossible to achieve. Instead, I dragged the vertices to create the general shape – focusing on maintaining the correct height and width.
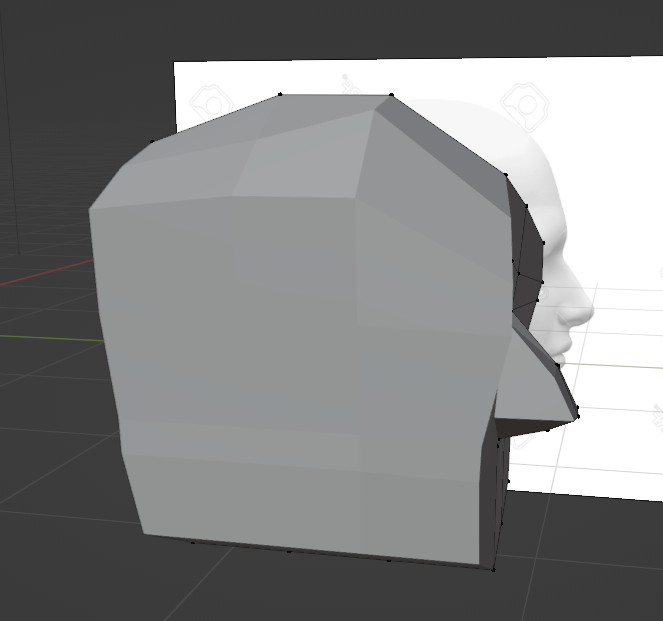
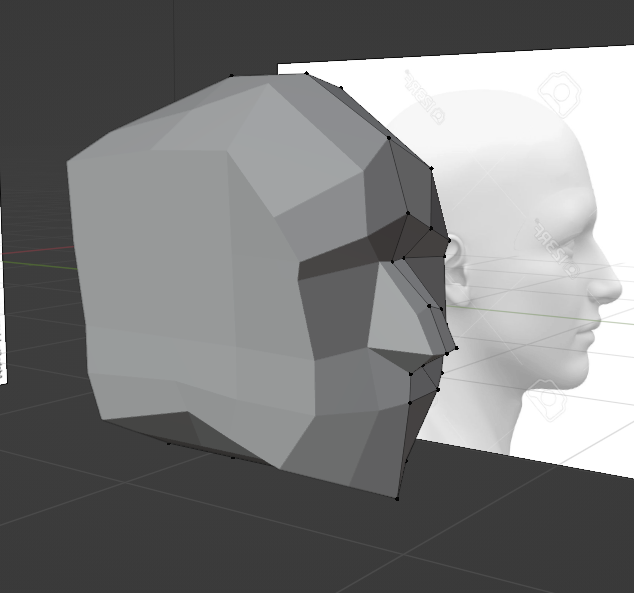
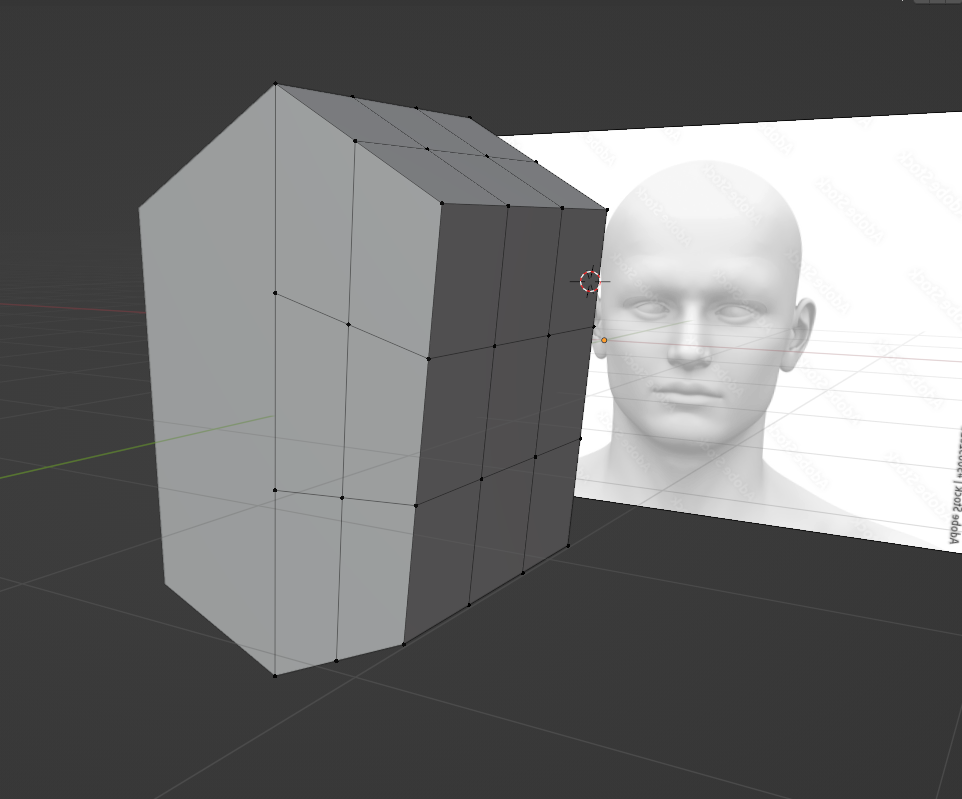
To achieve more complex features such as the nose and cheekbones, more topology was required. I added some loopcuts around the brow and bottom of the nose before extruding the nose outwards.
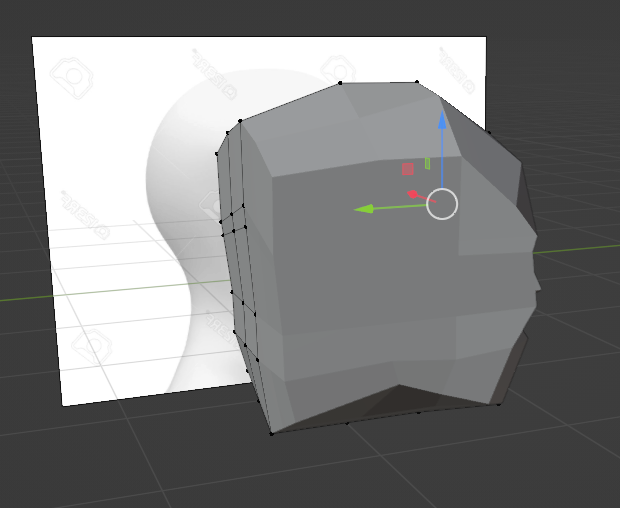

At this point the back of the head was flat as I had been focusing only on the facial features. To quickly get the shape of the head I used the smooth brush which created a rough spherical shape. As mentioned previously, I decided not to follow the reference directly at all times and instead made the back of the head slightly shorter – as this looked correct to me.
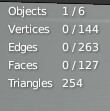
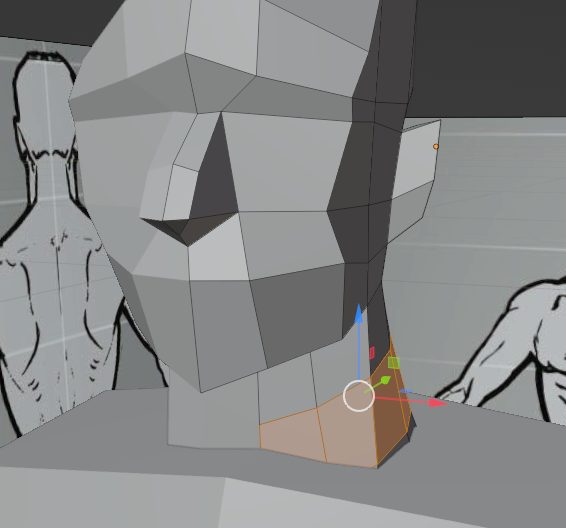
To create the neck I highlighted the bottom faces of the head and extruded downwards. I made the neck slightly longer than usual as when the character is rigged and animated, there may otherwise be a gap between the neck and the body.
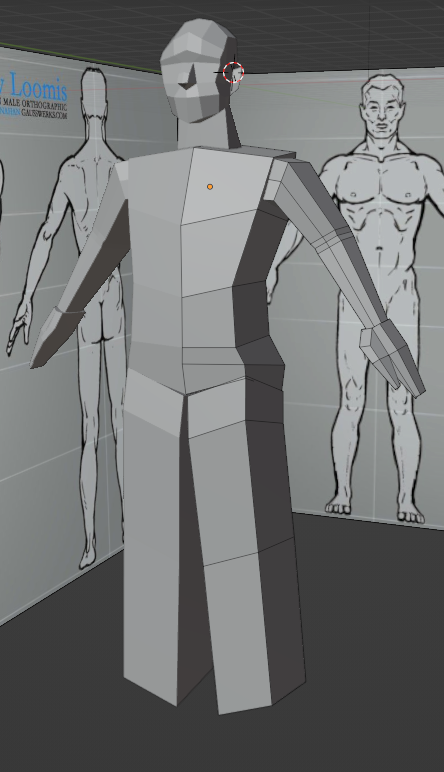
Body:
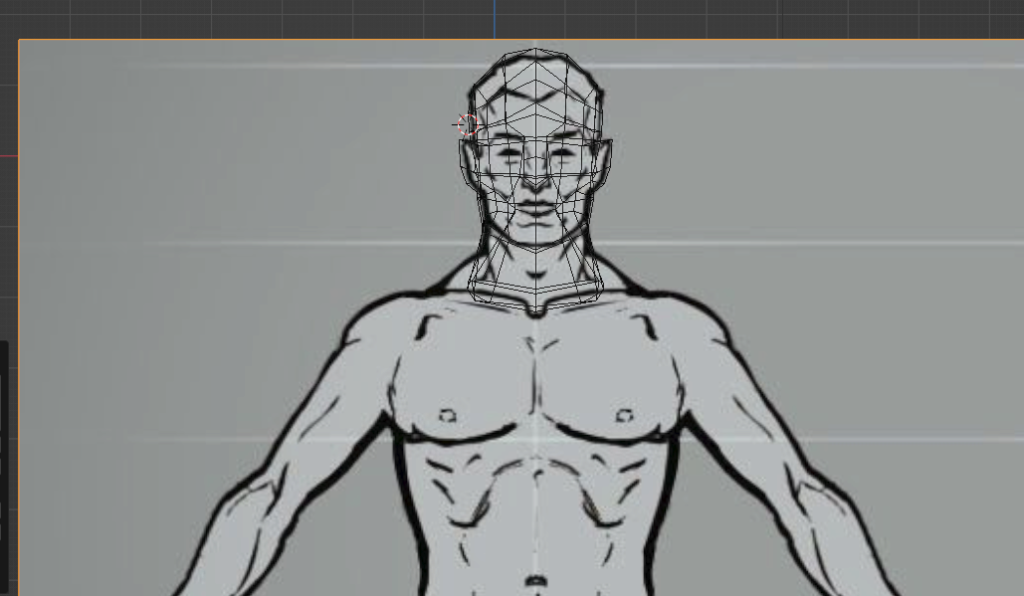
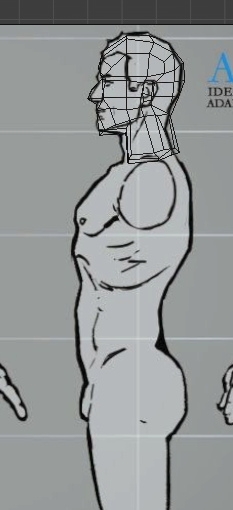
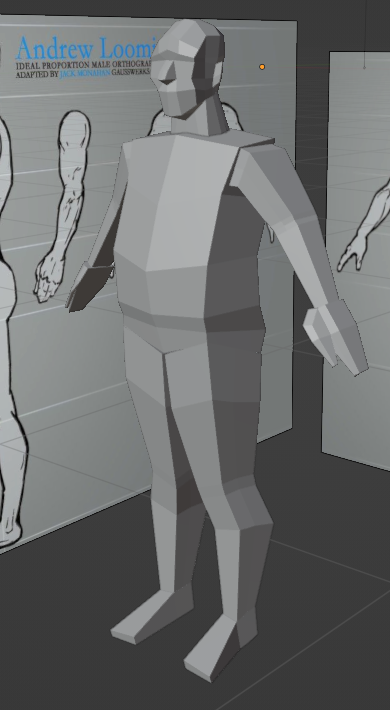
Similarly to the head, I made sure to gather references for the body from the front and side. Using wireframe mode, I lined up the head with the new reference to get the correct proportions for the body.
By locking the side view and holding CTRL whilst clicking, the mesh extrudes to the mouse’s position. This was a useful technique to quickly create a low poly body shape.
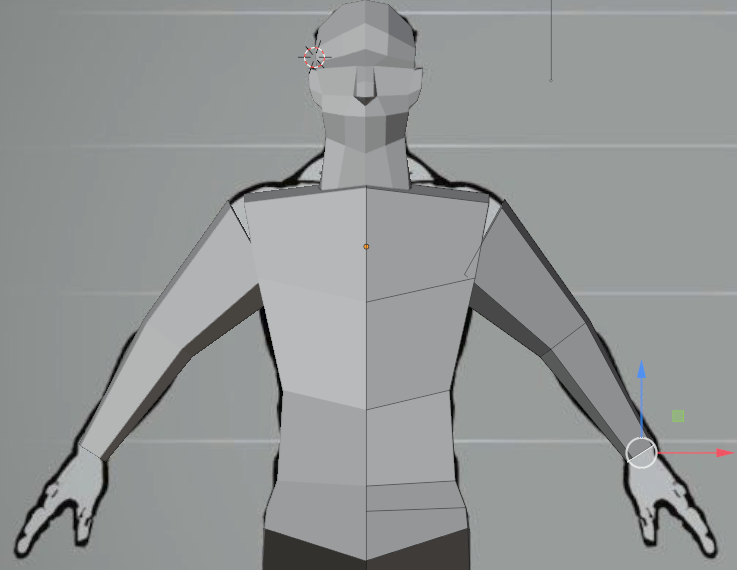
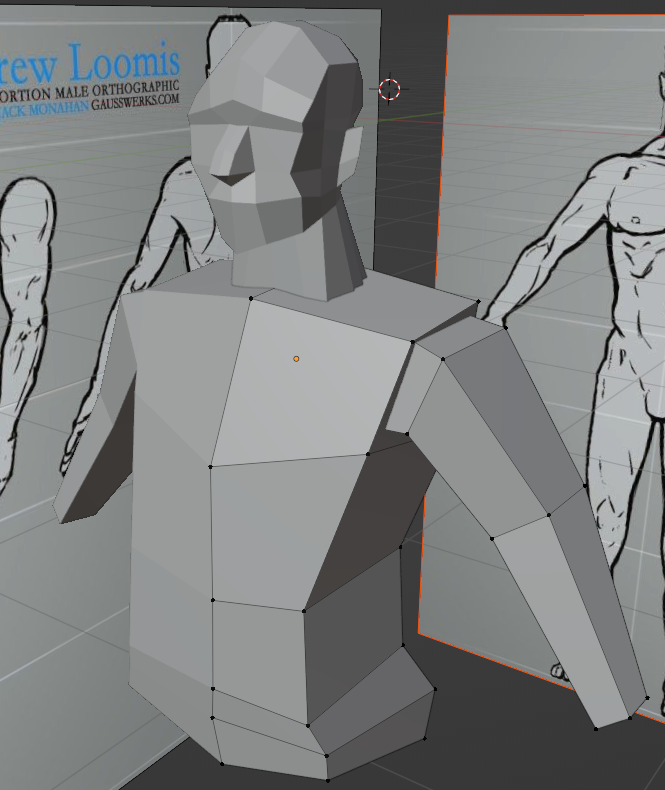
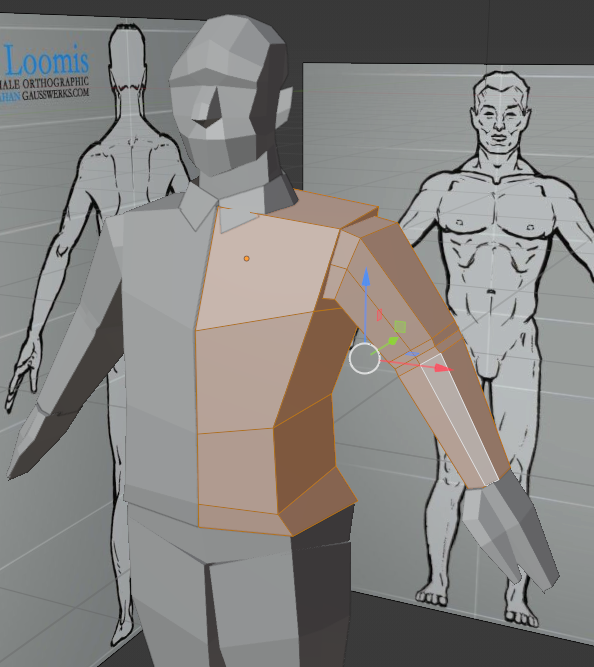
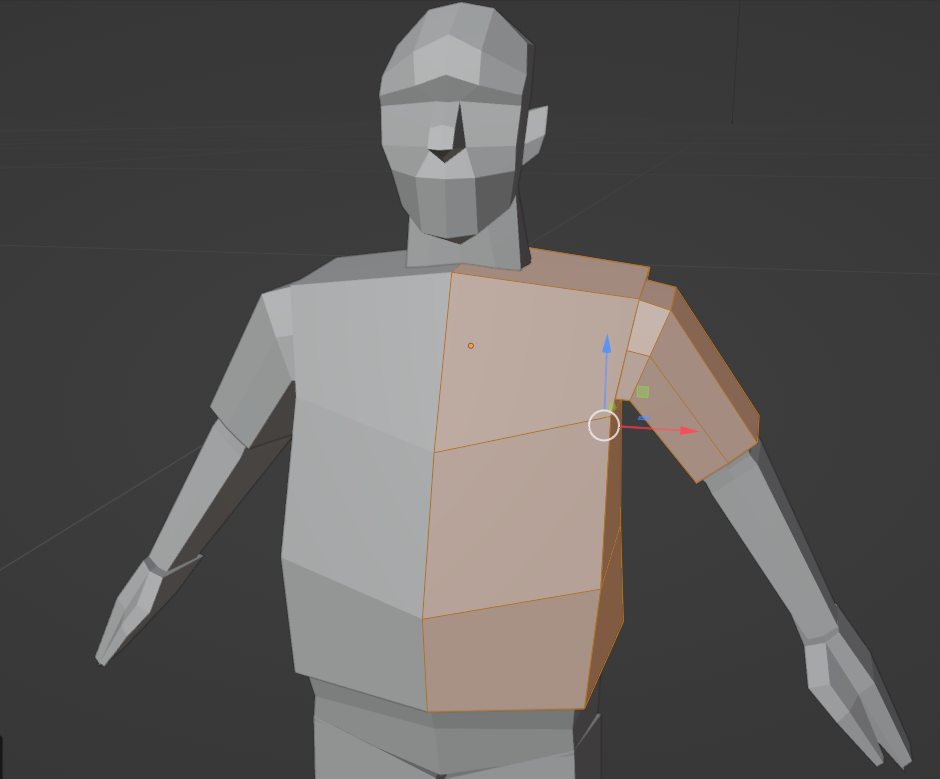
To create the arms I used the same technique, alongside a mirror modifier, as the arms should be the same on both sides. Furthermore, I added more edge loops around the elbows and shoulders to avoid distortion when the model is animated, as these will be the areas that bend the most.

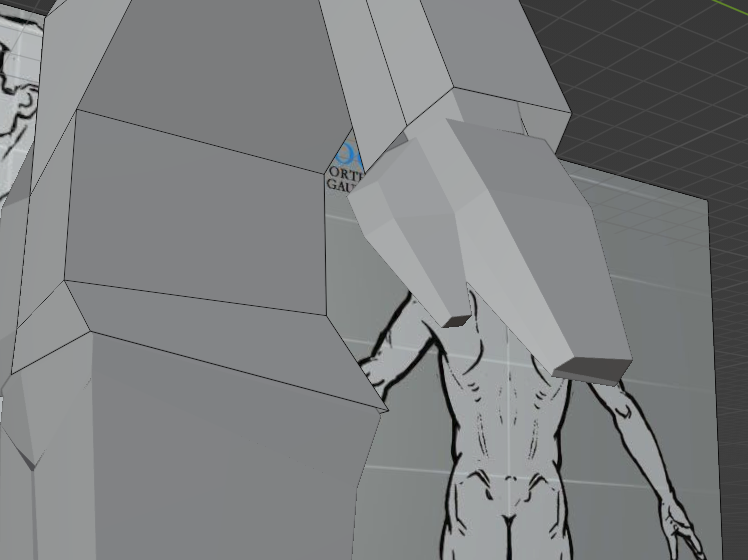
Through my research I realised that most PS1 models do not have individual fingers. Moreover, both characters didn’t have to hold anything (such as a gun) in the game and so I made the hands with as little polygons as possible.
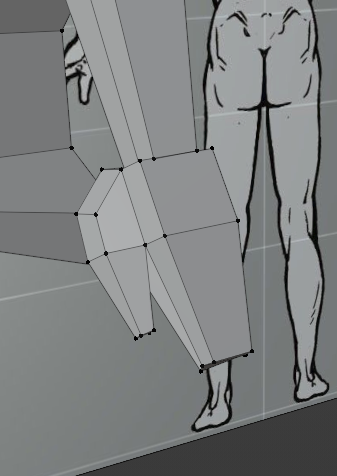
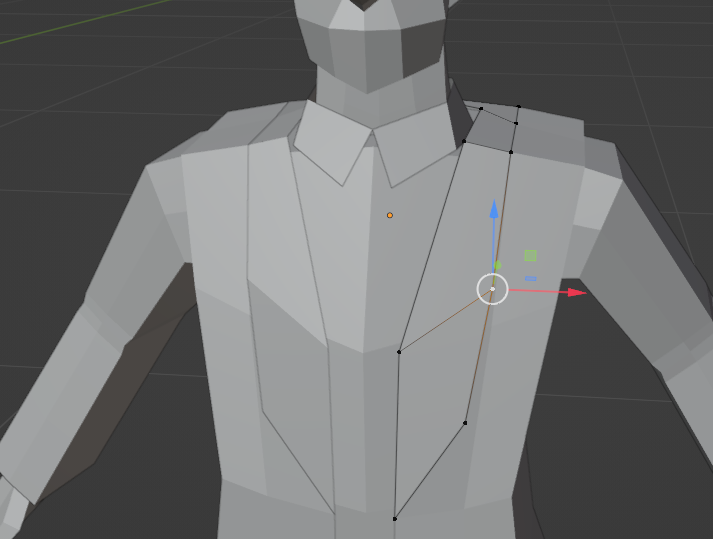
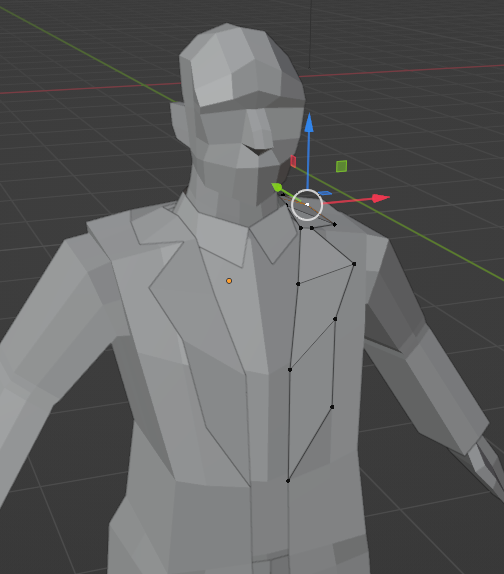
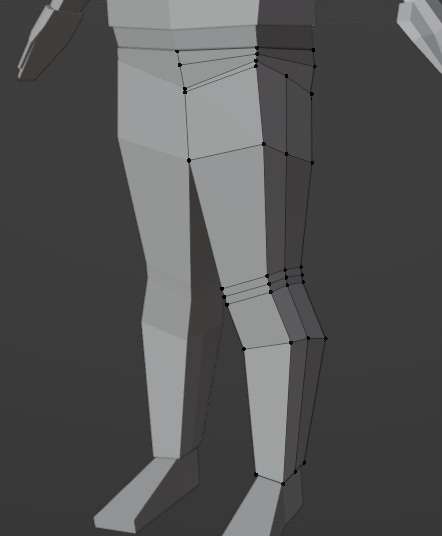
By selecting the faces at the bottom of the pelvis, duplicating and extruding them – I created the legs. Both the legs and arms were separate objects from the body, as that is how some PS1 models were created (JordanN, 2017). When animated, this often leads to slight clipping of the objects which was common amongst games at the time.
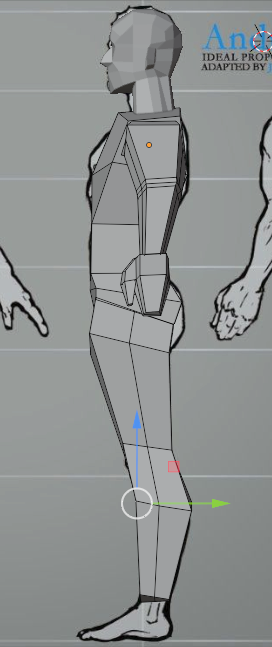
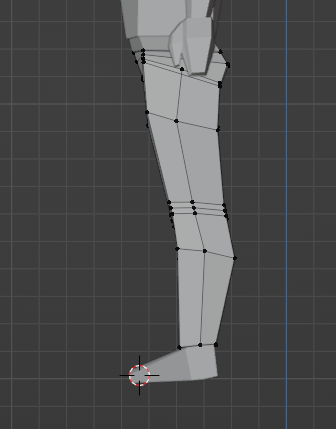
Once extruded, I used the reference to manipulate the vertices to the shape of a human leg.
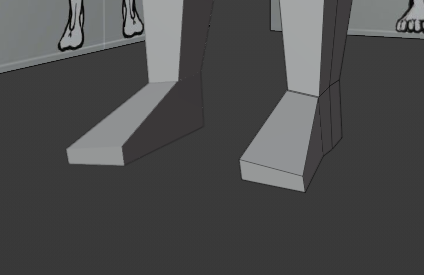
Much like the hands, I tried to keep the feet as low poly as possible as the player is unlikely to see much of them.
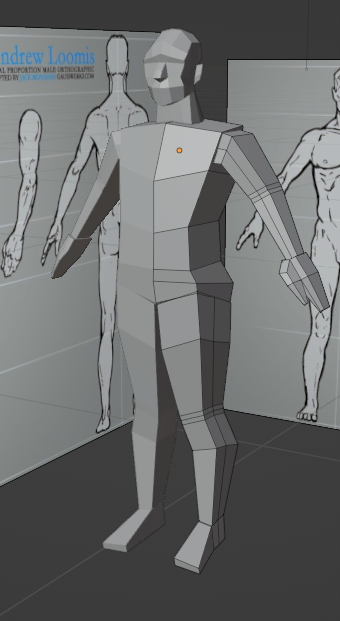
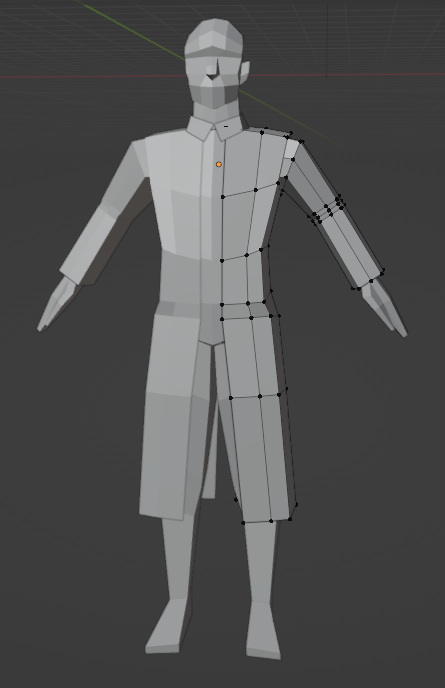
Overall, I am pleased with the low poly base human I created. This model can now be manipulated and clothed for both the detective and sheriff – which should speed up the process of creating the two characters significantly.
The overall polycount of the model is 254, which leaves plenty of polygons available for each character when adding clothes in order to keep within the PS1 polycount limit.
Detective – Clothing (26th February – 3rd March):
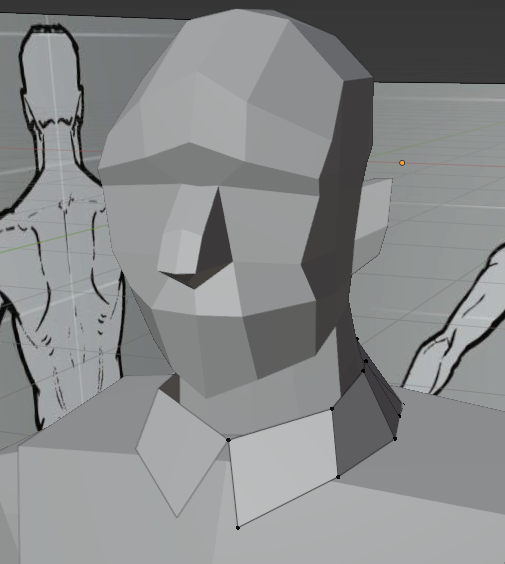
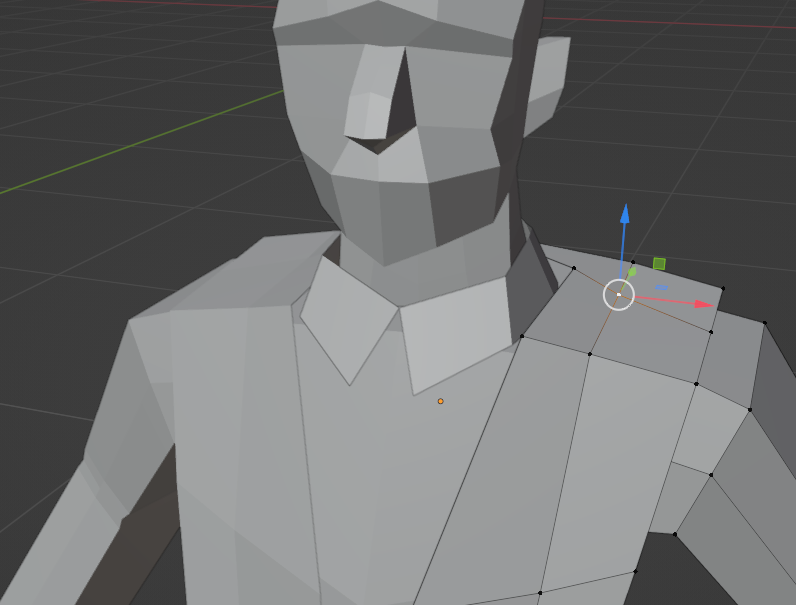
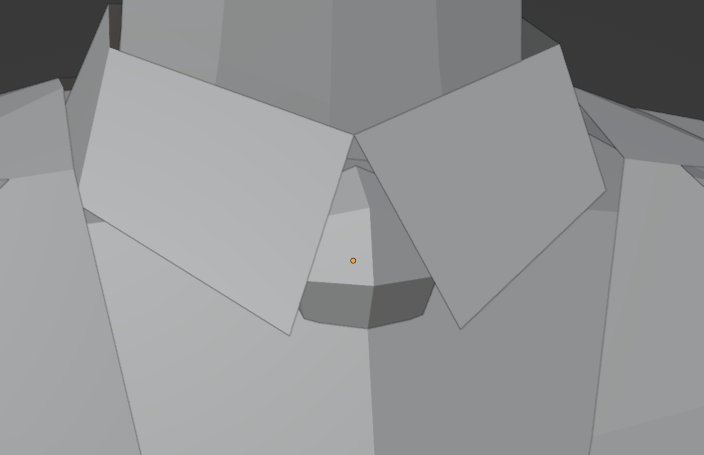
The collar of the detective’s shirt was perhaps the piece of clothing I was most concerned about before modelling the clothes, therefore, I decided to tackle it first. My worries stemmed from the collar being separate to the body, compared to a shirt or trousers which follow the same shape as the previously modelled base Male.
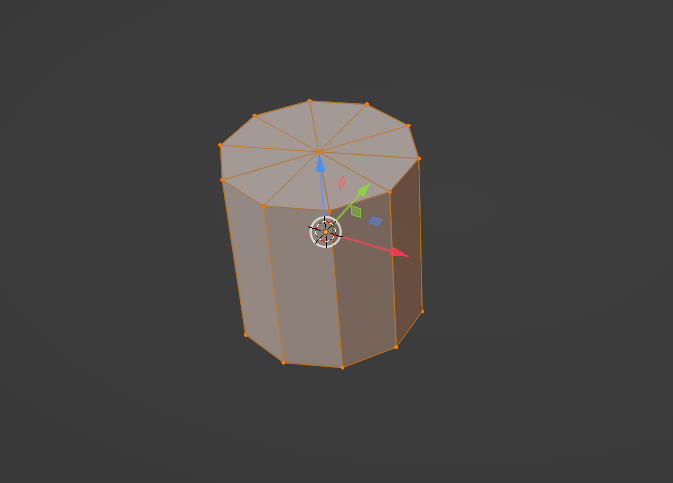
I began by creating an edge loop on the neck and selecting the faces. Then, I duplicated the faces and mirrored them to created a cylindrical shape. From that point, modelling the shape of a collar was fairly simple when looking at references.
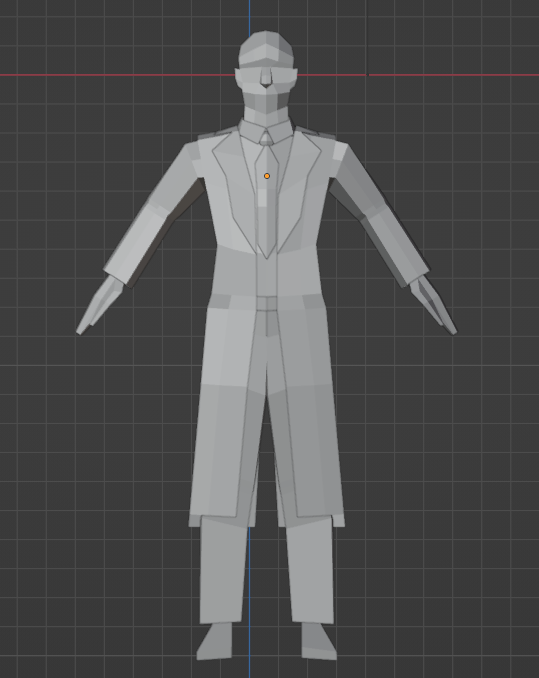
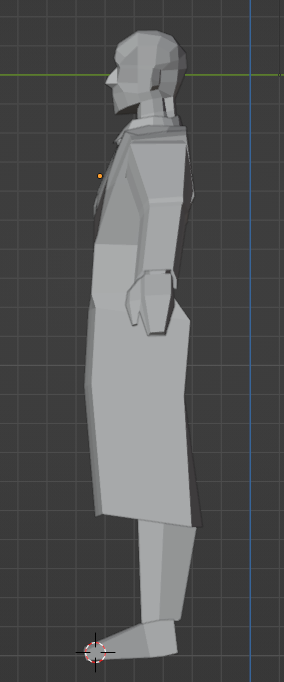
Modelling the coat was much simpler, as I could just select the existing torso, duplicate it and finally scale it up slightly. Since I spent so much time getting the shape of the body right, modelling the clothes is a surprisingly simple task.

To make it into a trench coat, I extruded the bottom edge loop multiple times and separated the bottom part.
I then selected the topology in the shape of a trench coat collar and extruded it. By adding some more edge loops, it allowed me to precisely shape it.
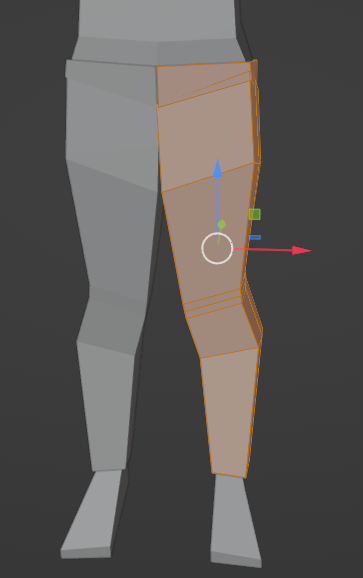

Making the detective’s trousers followed a similar process to the coat. After getting a rough shape for the trousers, I manipulated the vertices to make them wider.
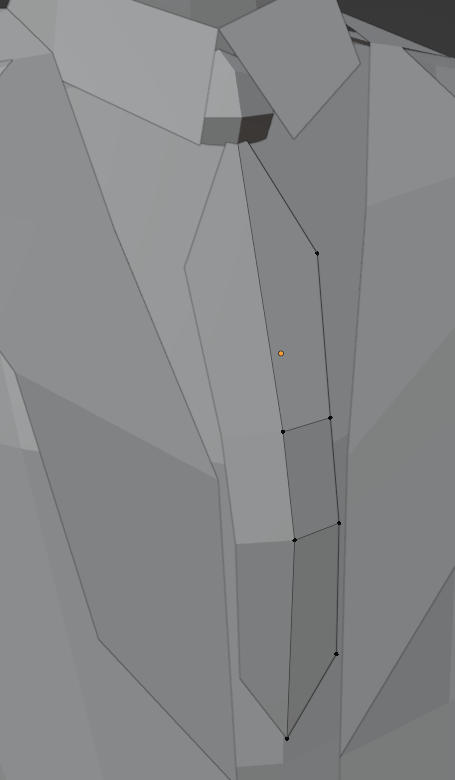
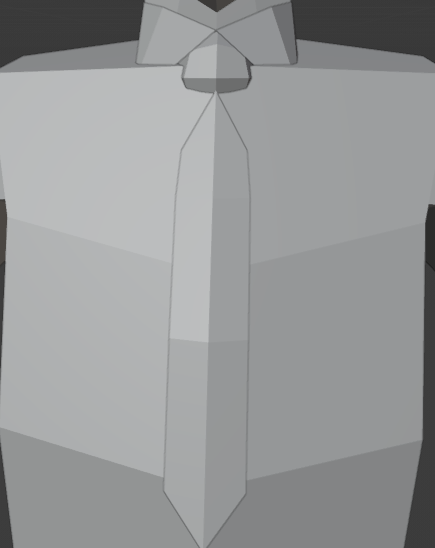
Modelling the tie was similar to the collar in that the base male body couldn’t be used to quickly make it. Instead, I created a low poly sphere for the top of the tie by bevelling a cube (artist B, 2022). Then, by adding a few loop cuts to a plane, the rest of the tie was created.
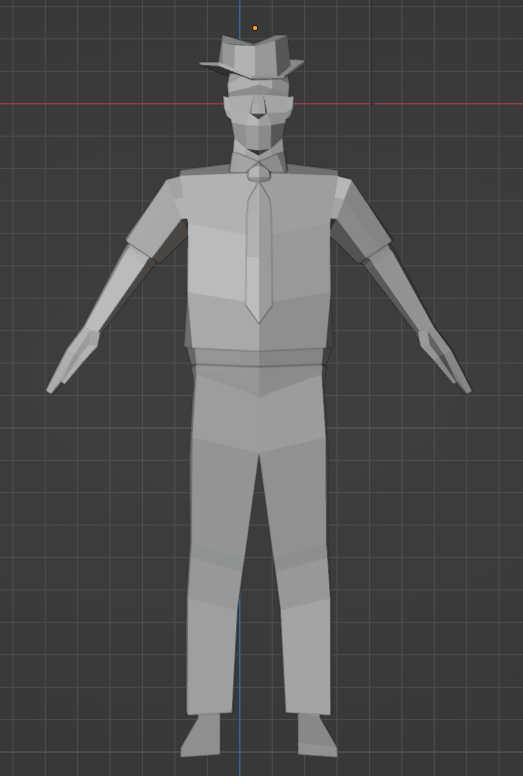
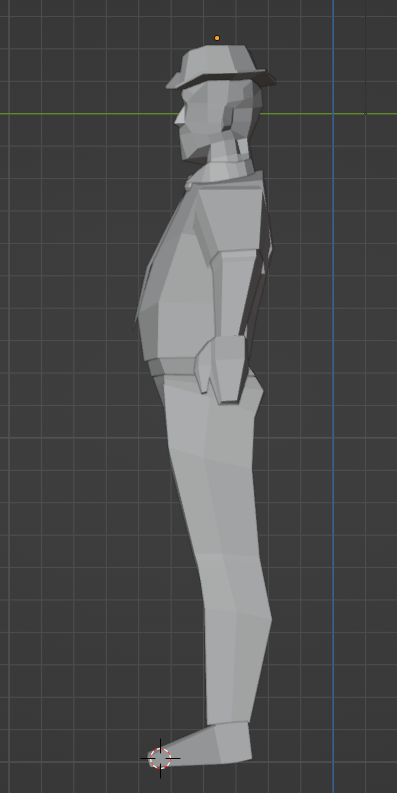
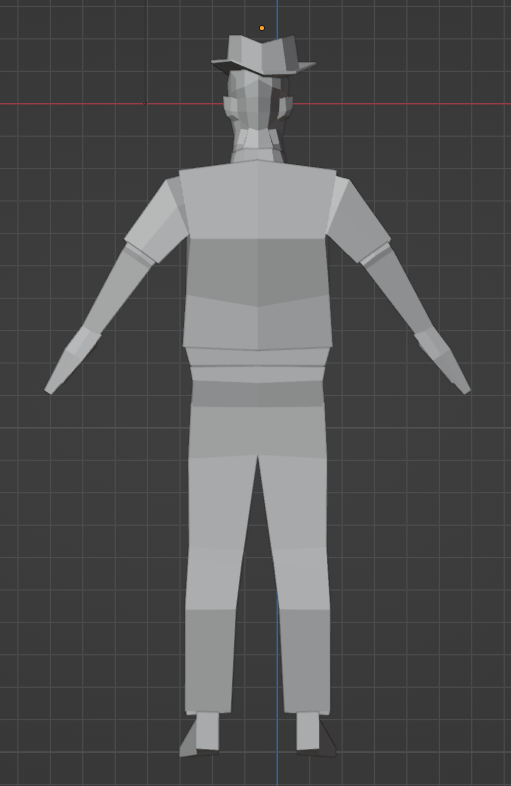
Overall, whilst this was my first time modelling clothing in Blender, once I got used to the process it became fairly quick and easy. The majority of the detectives clothes didn’t have to be modelled and instead could be duplicated and scaled from the base human male I created.
Sheriff – Clothing (4th – 10th March):
The sheriff had a slightly larger build than the detective and so before adding any clothes, I moved some of the vertices of the base human model to create the different body type.
Creating the shirt and trousers followed the same process as the detective’s clothes. To easily distinguish between the two character’s I gave the sheriff a short sleeve t-shirt instead of a coat.
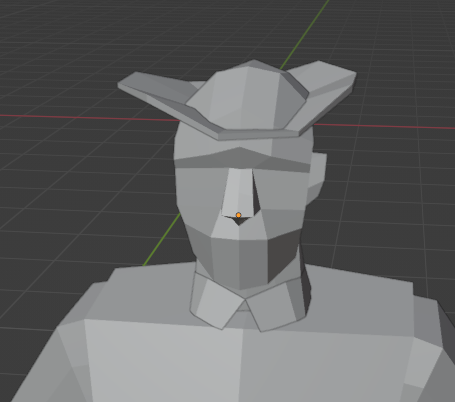
The hardest clothing item to model for either character was the sheriff’s hat. Since it is such a crucial item towards making him recognisable, I knew I had to make it perfect.
Sadly, there were limited tutorials for making sheriff hats within Blender, and none for low poly versions. Therefore, I looked at references and decided that the hat should be broken into two pieces – the brim and the crown.
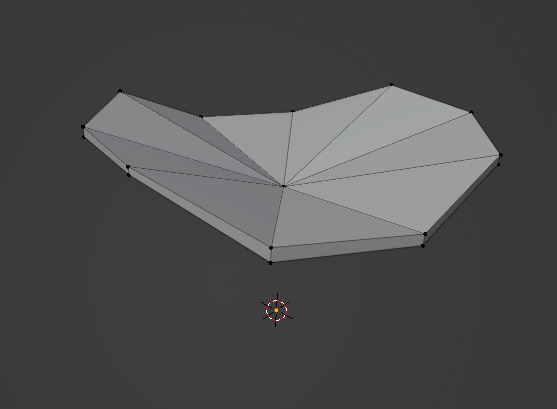
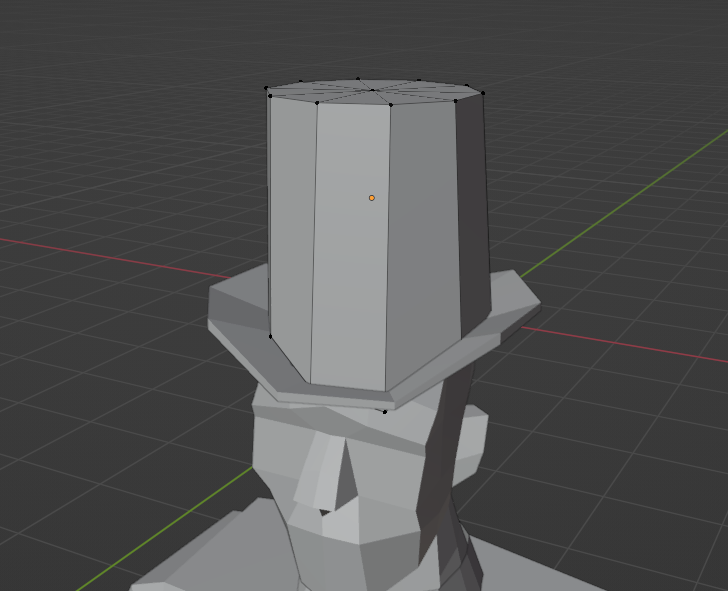
I started modelling the brim by flattening a cylinder and manipulating the vertices in a way that replicated the references I used. Then, by placing and manipulating another cylinder on top of the brim, the hat was formed.
To save time, I opened the detective model document and copied the tie over to the sheriff’s document. Due to the sheriff being slightly larger I had to somewhat adjust the tie.
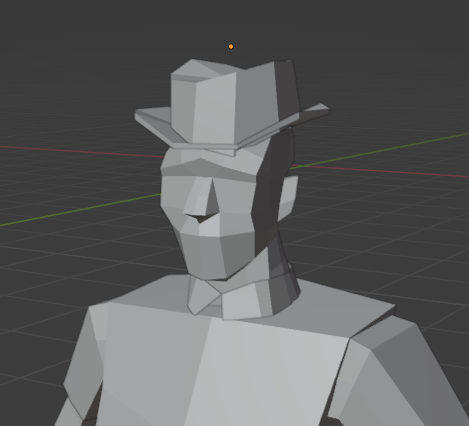
Overall, due to the experience of modelling clothes I gained from the detective model, the sheriff was completed extremally quickly, The only difficult clothing item was the sheriff’s hat, but that proved to be doable once I thought about how the object should be broken down into separate pieces.
Conclusion:
Before modelling either character, I was debating whether to use Maya or Blender. I had more experience with Maya, however I decided on using Blender due to its ability to also easily UV and texture models. Maya has these capabilities as well, but from my past experience I found texturing tedious. This is due to other programs, such as Substance Painter, usually having to be used in unison with Maya.
Therefore, whilst the controls and modelling itself may have taken awhile to get used to in Blender, hopefully it will pay off long term as UV mapping and texturing should be much simpler.
To conclude, I am happy with the choice of Blender, the modelling of both characters and the approach of creating a base model first due to the time-saving benefits.
References:
- Artist B (2022) 3 Ways to convert Cube to Sphere in Blender I Basic for Beginners [Video]. Available online: https://www.youtube.com/watch?v=_O_KRh3HL_0 [Accessed 01/03/2024].
- CroftGeneration (2024) Lara Croft. Available online: https://croftgeneration.fandom.com/wiki/Lara_Croft [Accessed 13/02/2024].
- Garbaj (2021) So I Learned To Make PS1 Graphics In Less Than 24 Hours [Video]. Available online: https://www.youtube.com/watch?v=vubxL52NlAY [Accessed 13/02/2024].
- JordanN (2017) How did artists rig/animate PS1 era characters? Polycount. January. Available online: https://polycount.com/discussion/182247/how-did-artists-rig-animate-ps1-era-characters [Accessed 20/02/2024].
- Spellfist-3d (2020) Guide to that elusive « PS1-pixelated-lowpoly” (but not really) [Blog post]. Tumblr. 20 April. Available online: https://www.tumblr.com/spellfist-3d/615902900826390528/guide-to-that-elusive-ps1-pixelated-lowpolybut [Accessed 14/02/2024].