Modelling (1st – 7th April):

I once again started with the basic human model that was created prior. However, this time the character’s facial and body features differed largely from a basic human.
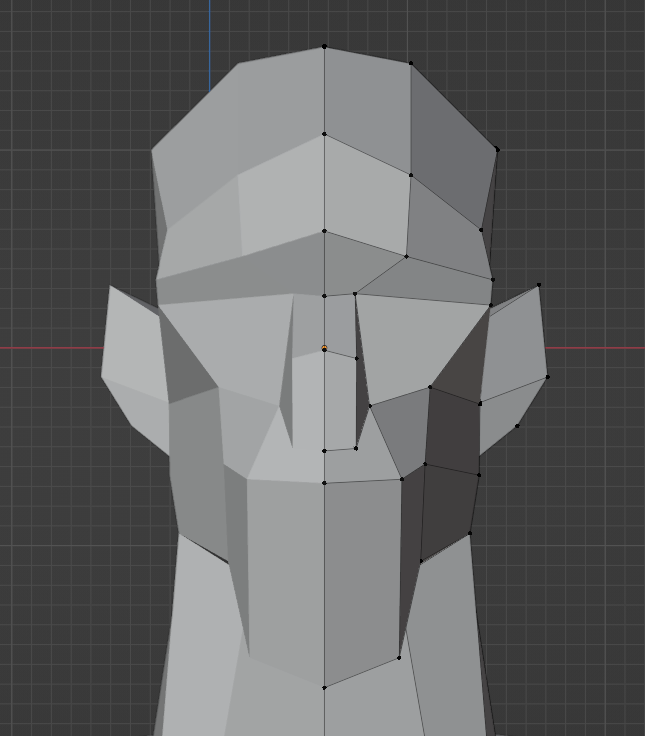
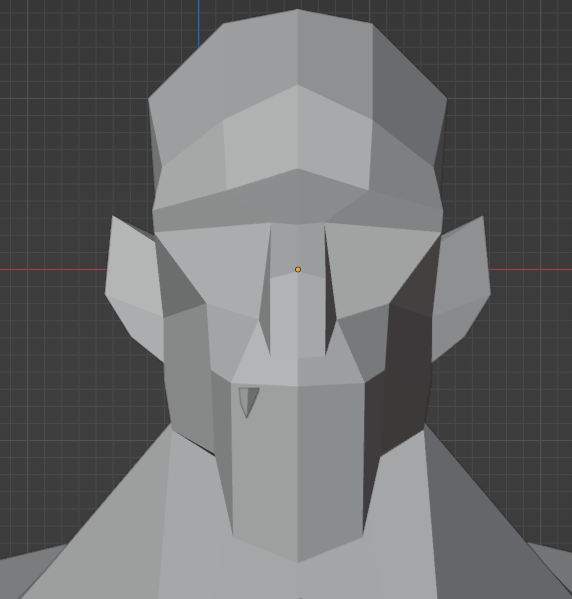
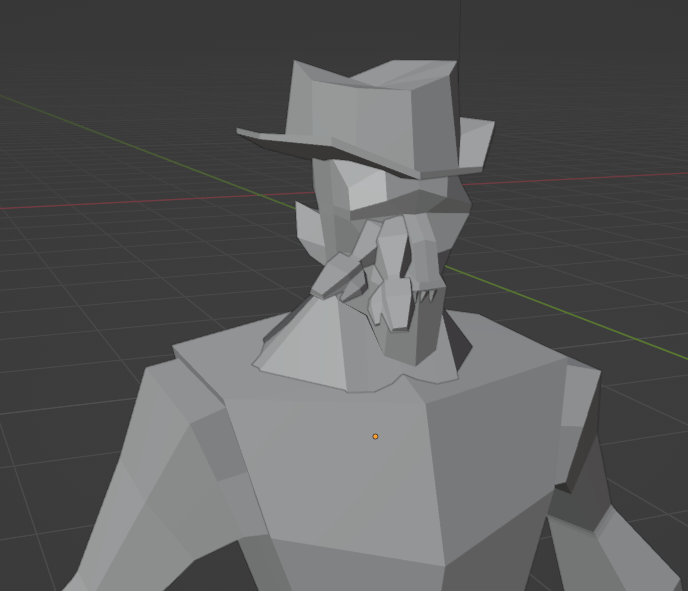
The monster’s face was much longer than both the detective’s and sheriff’s. Additionally certain features, such as the nose and ears, were changed to match the concept art.
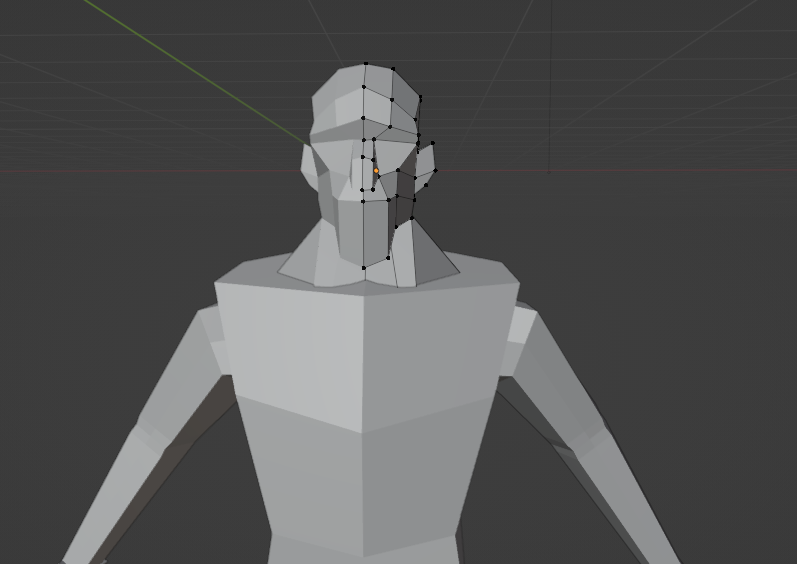
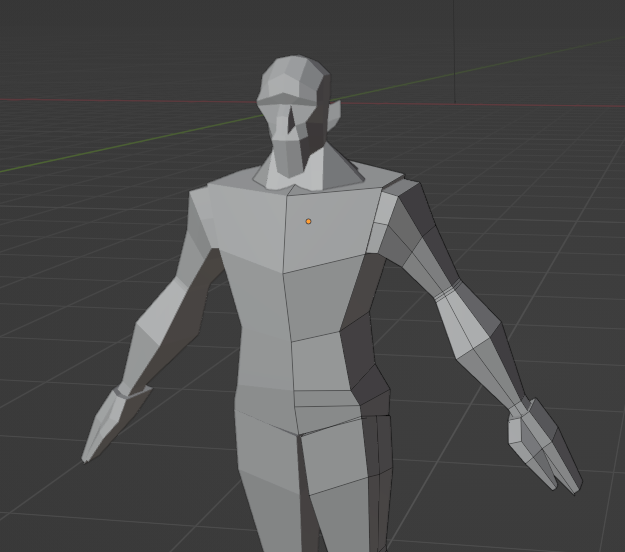
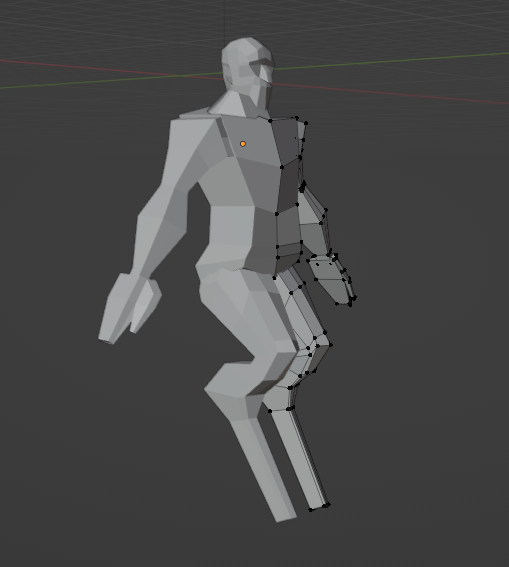
The monster’s body also varied heavily from the base human. He is much larger and so I started by enlarging the neck, that would then act as a guide for body proportions. I wasn’t totally happy with how the body looked at this stage, but it was just a rough attempt that could be adjusted later.

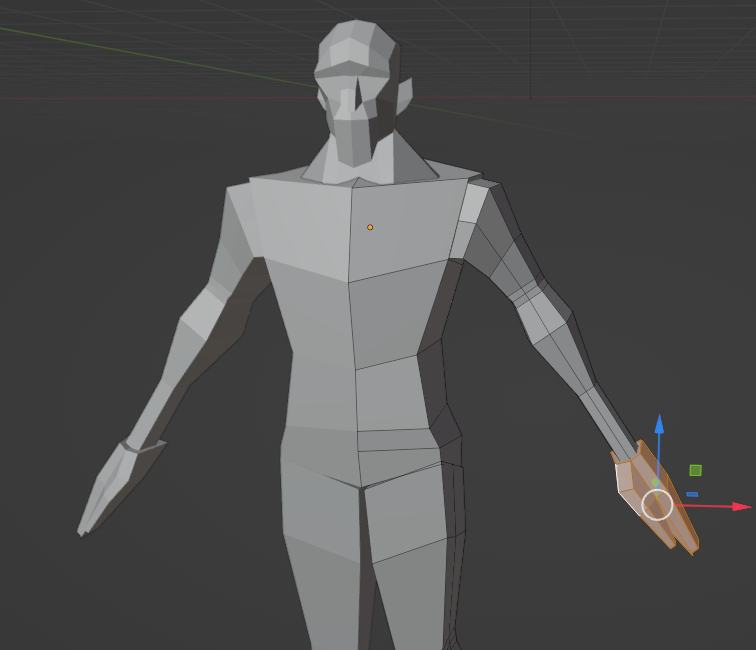
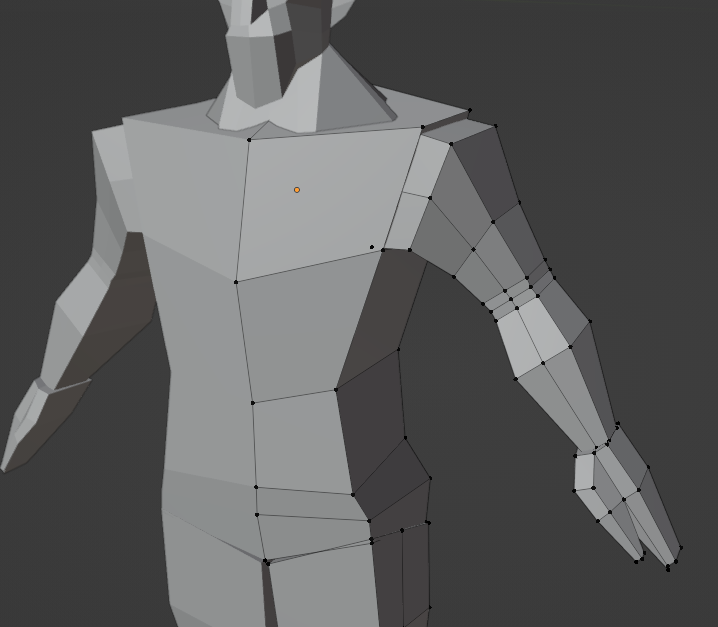
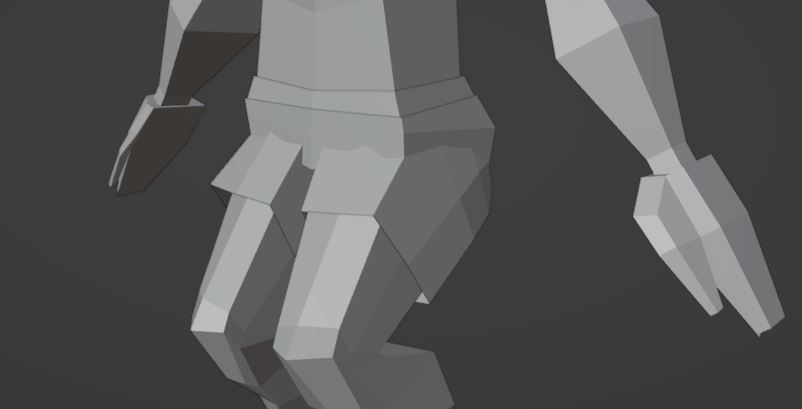
I made a conscious decision to make the monster’s arms much longer than a regular human’s. This change makes him look more deformed and threatening, due to his long reach.
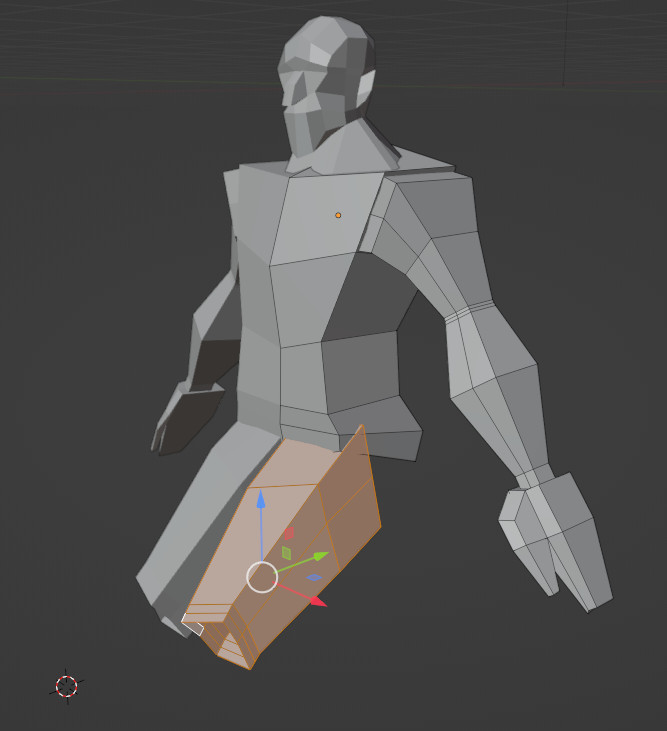
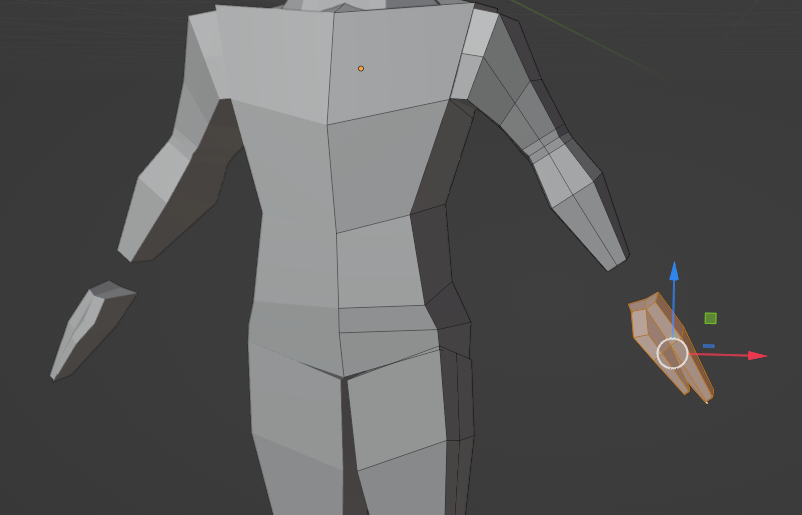
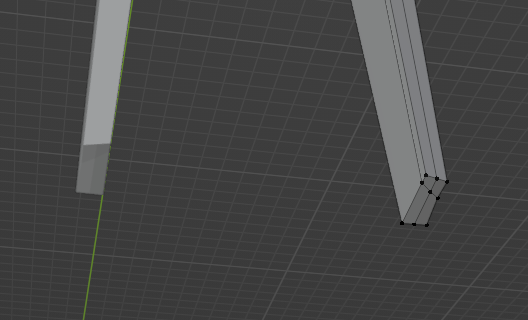
I deleted the majority of the base human’s legs and rotated the remaining part to begin modelling my monster’s animal-esque legs.
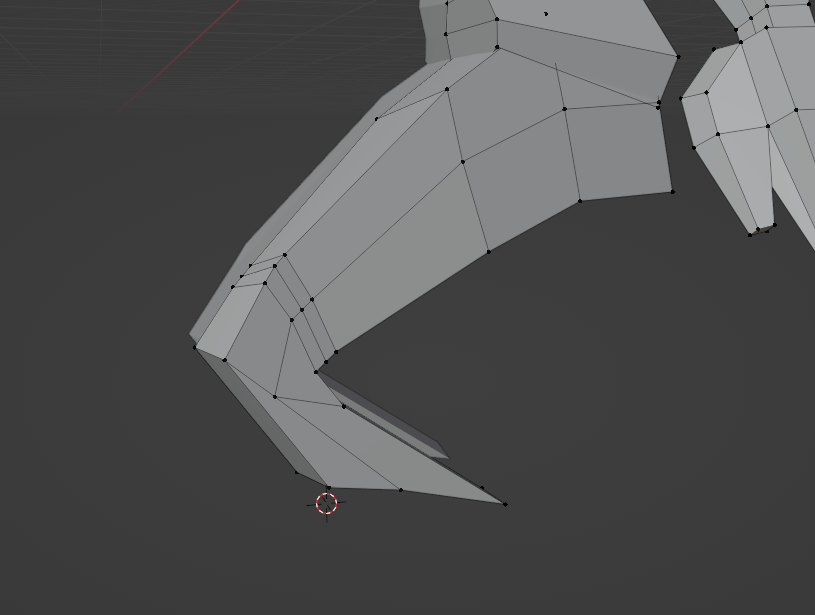
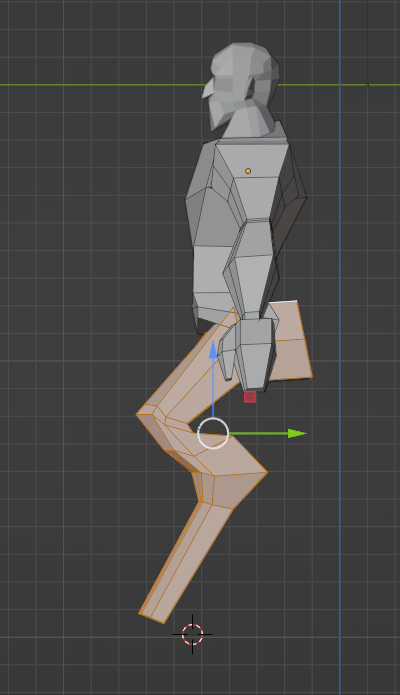
Manipulating the vertices was difficult during the creation of the legs, due to the multiple sharp bends.
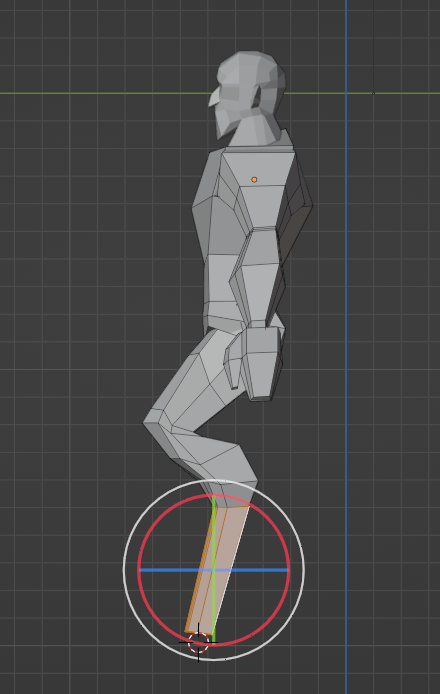
Initially the legs were too forward facing and so it made the character look unstable and unnatural. By selecting the necessary faces and rotating them, however, this was an easy fix.
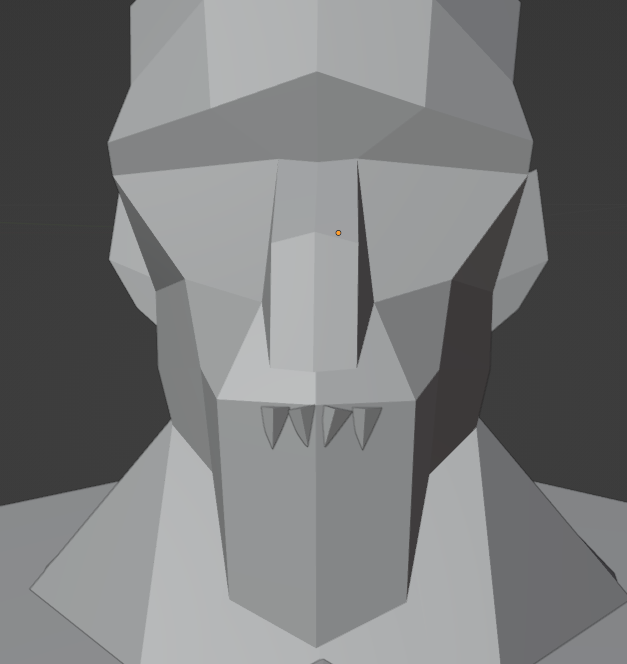
Now that I was happy with the overall shape of the body, I could focus on the character’s smaller details. Initially, I was unsure how to approach the teeth – undecided on if they should be painted or modelled. I decided to try modelling them first, as if it failed I could then resort to making them a texture.
Surprisingly, the teeth looked great as individual 3D objects. I was afraid of them looking goofy due to them sticking out of the monster’s face, but I loved the end result.
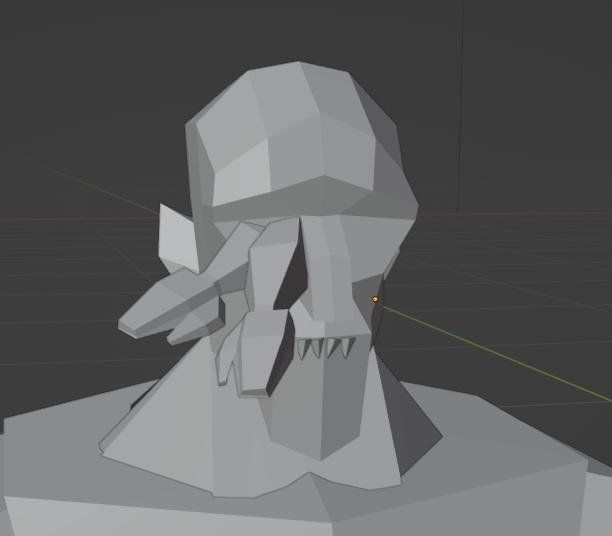
To quickly model the arms sticking out of the monster’s eyes, I duplicated one of his arms twice and shrunk them.
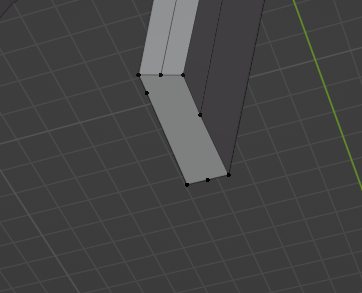
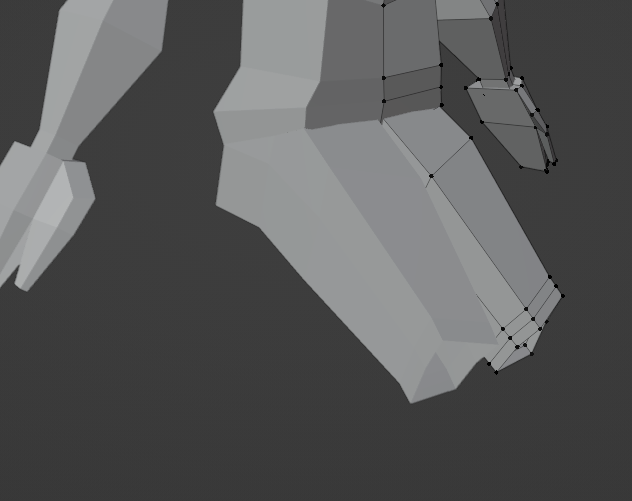
I used the face fill tool to fill the bottom of the monster feet. To correct the geometry I then used the knife tool, which connected the edge loops.
Although the model is low poly, good topology is still important for render times and frame rate, as well as making the animator’s job much easier (Kshitij Vivan, 2019). Bad topology can make animations look stretched and ugly, hence why I put extra edge loops around bends – such as the knees and elbows.
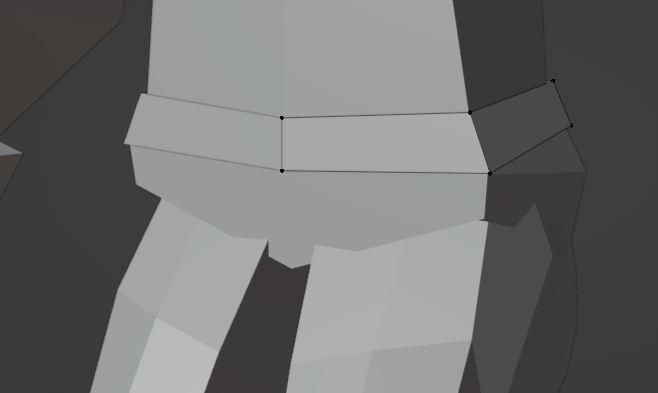
Finally, I modelled the monster’s clothes. For this character I only had to model one piece of clothing as I copied the sheriff’s hat from the other document to save time.
The shorts followed a similar process to prior character’s trousers. Due to the low poly nature of the model, it was difficult to create the ripped look I was aiming to achieve without the shorts looking bad. Therefore, I decided to settle on an un-ripped pair of shorts, although I believe a ripped pair would have fit the character better.
Conclusion:
Overall, modelling the monster was a fairly quick and smooth process due to my previous experience with the other two characters. I was able to save time by starting with the basic human model again, as well as copying certain aspects from the sheriff – such as his hat.
References:
Kshitij Vivan (2019) Importance of Topology in 3D Modeling [Blog post]. Kshitij Vivan. Available online: https://www.animationcoursesahmedabad.com/blog/ahmedabad/3d-animation/importance-of-topology-in-3d-modeling/16/details#:~:text=A%20model%20with%20good%20topology,organized%20topology%20in%203D%20modeling [Accessed 28/04/2024].