Detective (8th – 14th April):
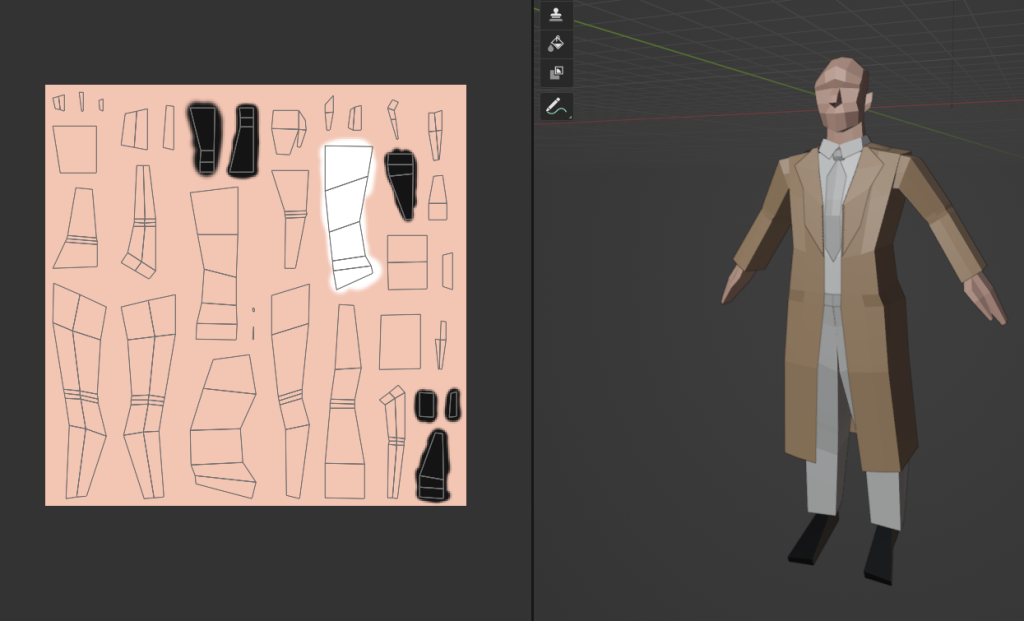
UV Mapping:
Having modelled characters before, albeit using Maya, I was familiar with the preparation process before texturing can occur.
UV mapping is essential for 3D models to avoid texture distortions, whilst also reducing a game’s load time by making the model more efficient (Irajdoost, 2024).
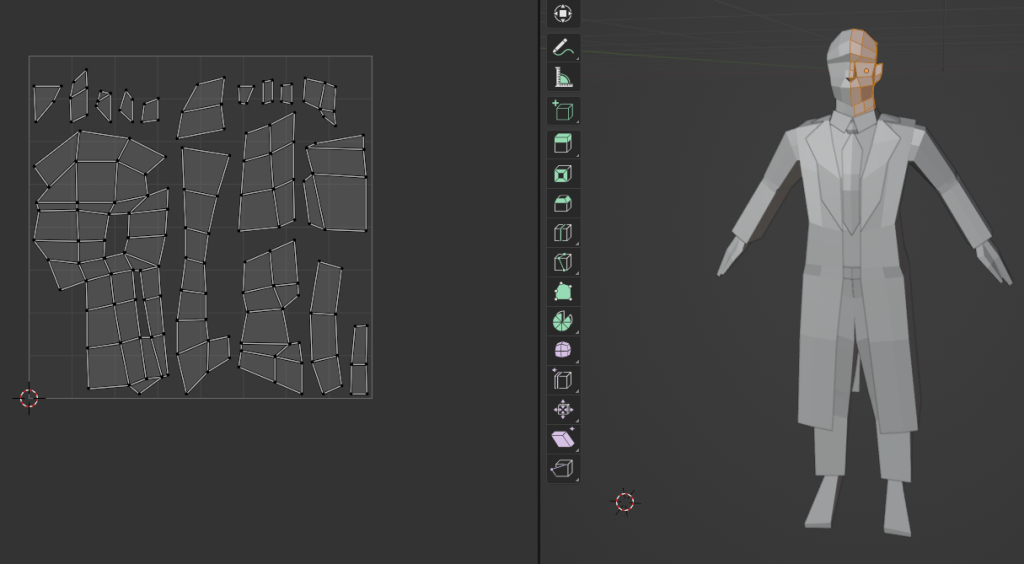
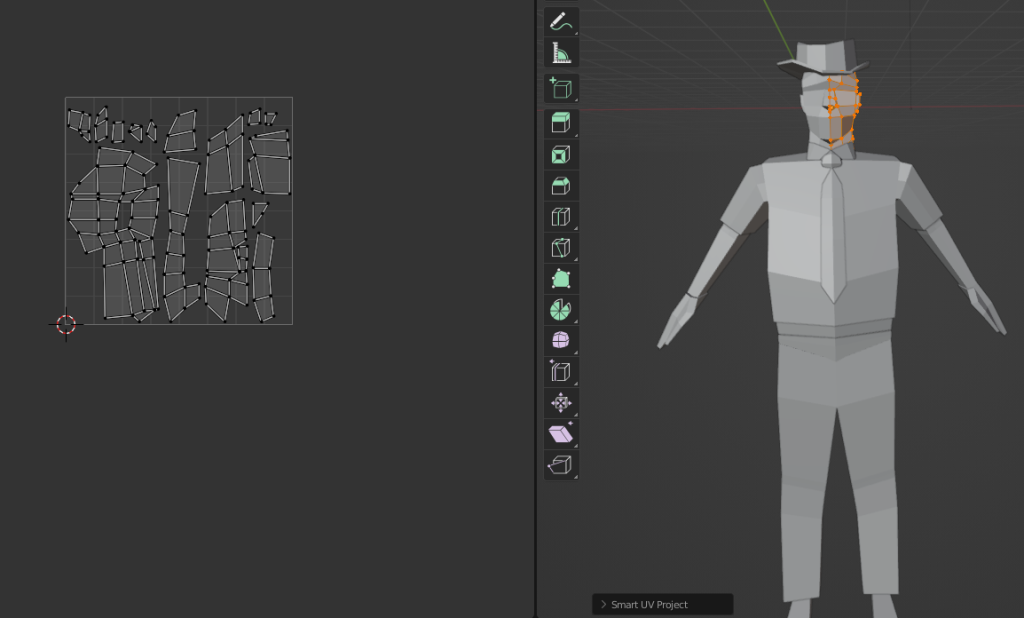
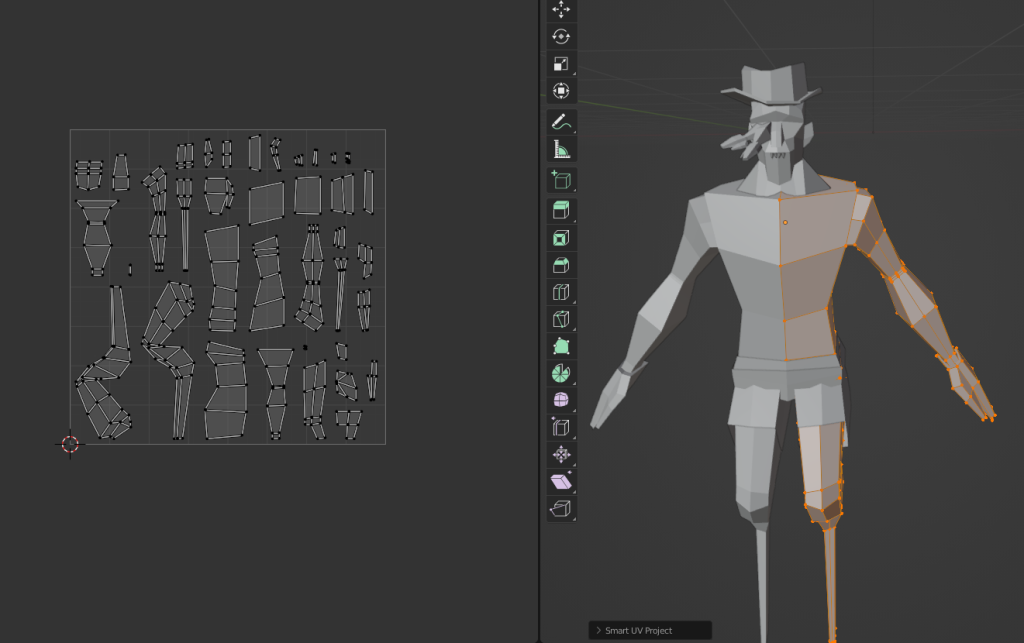
In the past, I have manually cut seams on the model to tell the program exactly where it should unwrap – a tedious process. Luckily, Blender had a feature called “Smart UV”. It automatically unwraps the model and allows the user to specify important features – such as how much spacing between the pieces there should be.
Whilst manually unwrapping the model produces better results, this feature saved a lot of time. The UVs are still usable and since my models are all low poly, there was less room for the program to get confused whilst unwrapping.
Painting:
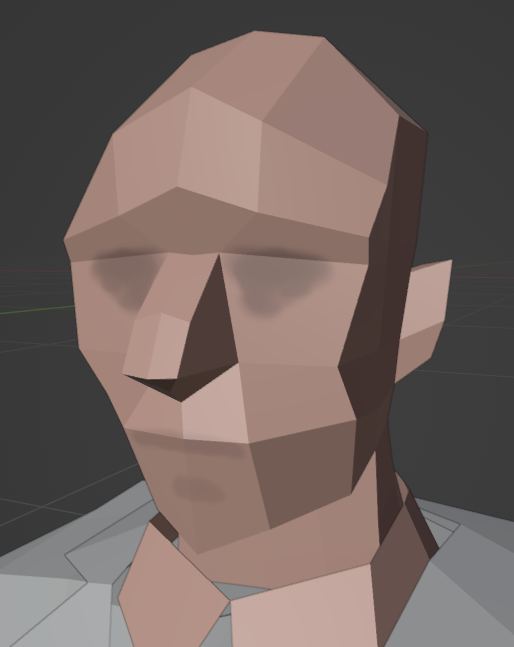
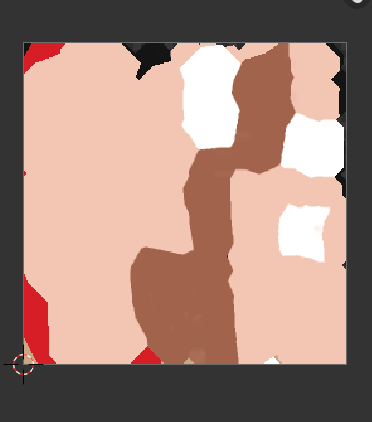
My first attempt at painting the model went very poorly. Whilst the eyes and hair painted made the model look strange, that wasn’t the biggest issue. For some reason the detective’s collar was linked to his head and when I painted in a certain area, such as the top of his head, that same colour would then be painted on his collar.
Furthermore, at this stage I discovered that there was no erase brush whilst painting in Blender. The only option was to undo your previous action and so any adjustments to prior actions past the last few strokes would be impossible without restarting completely. After some research I found that there is eraser tool, but for some reason it deletes the models mesh as well as the paint – rendering it a useless option.
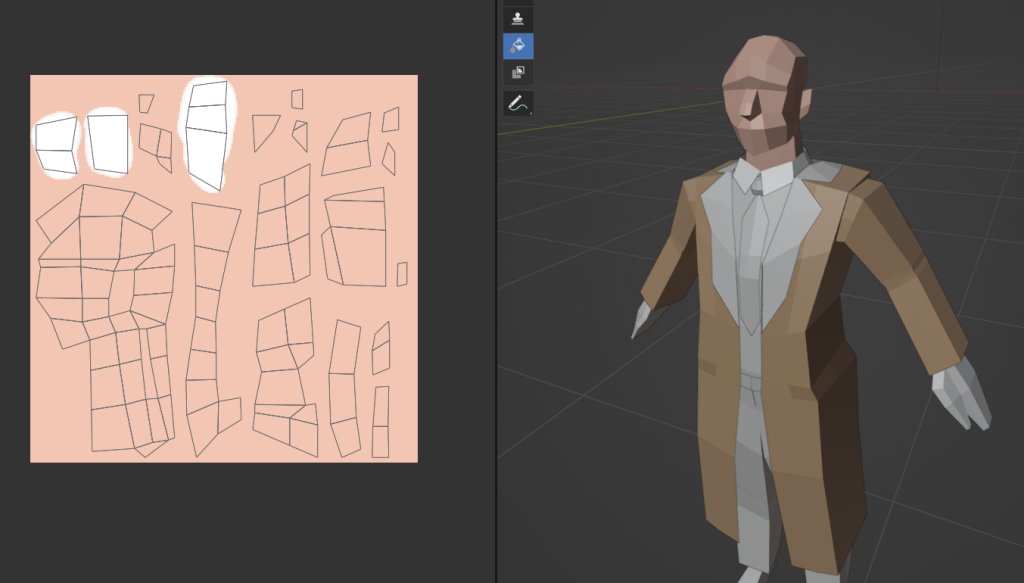
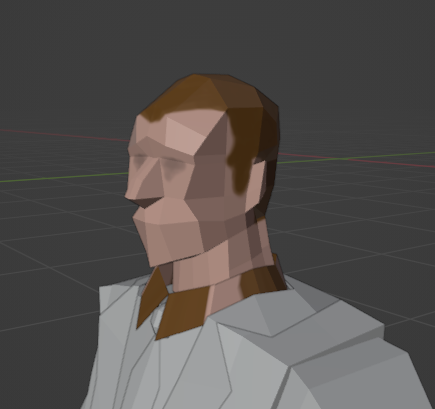
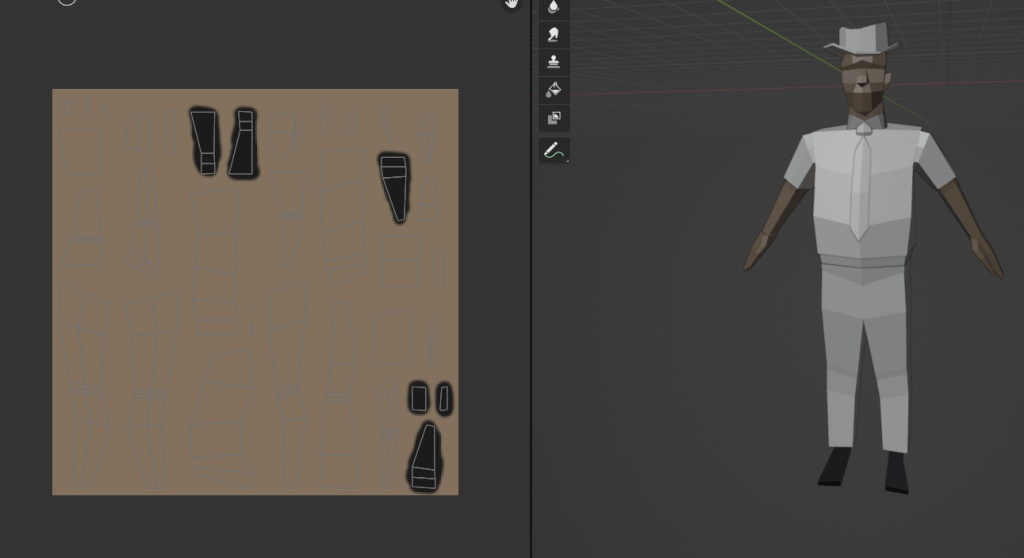
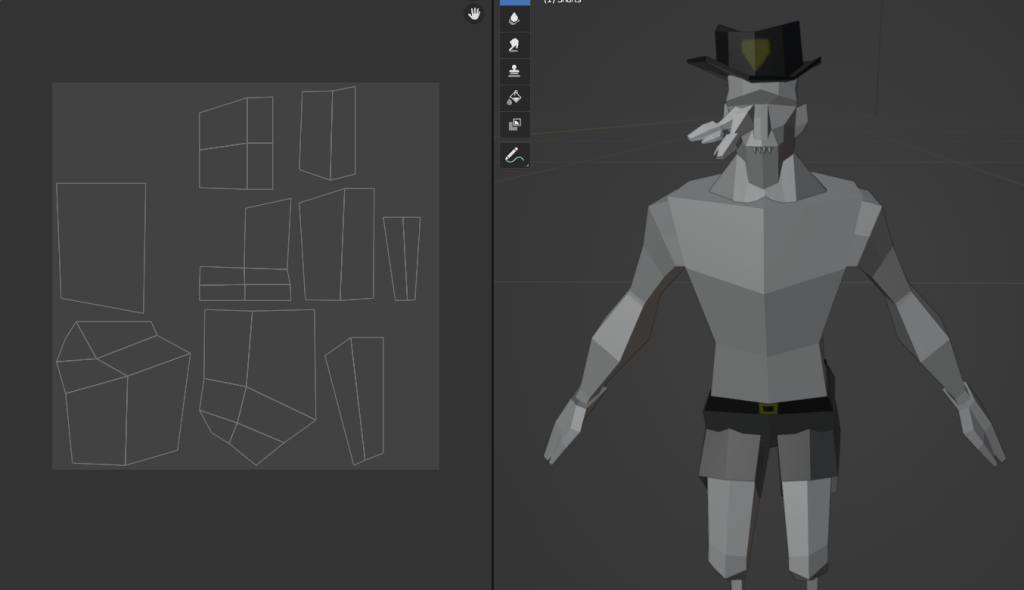
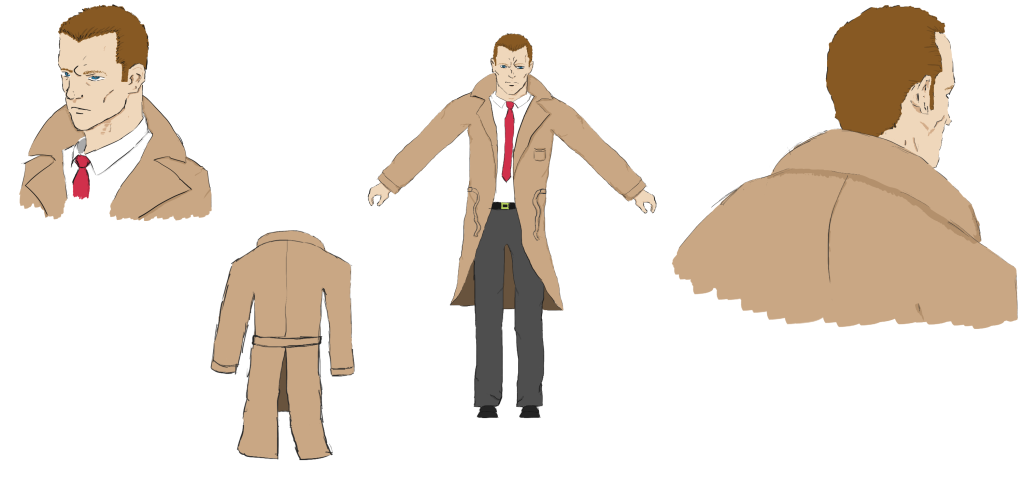
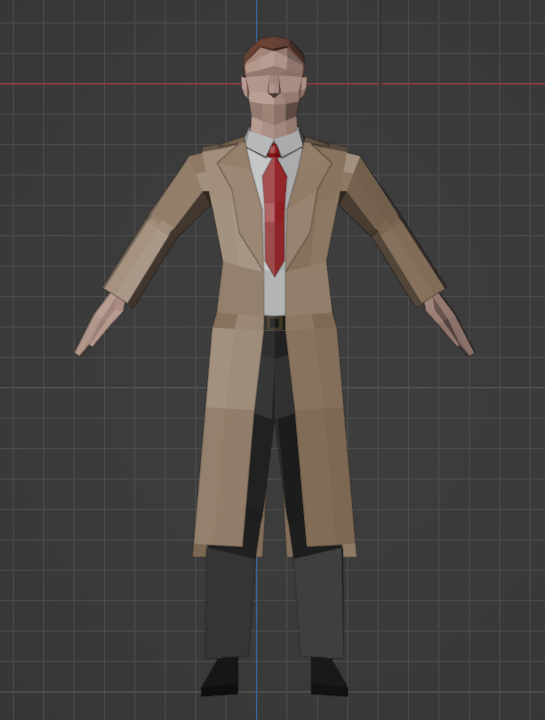
I decided to restart, and thankfully the collar issue went away. In order to obtain the correct colours for the character, I colour picked from the concept art I drew earlier.
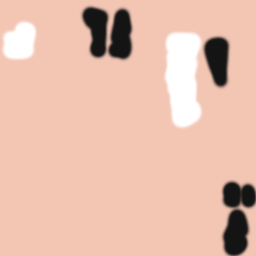
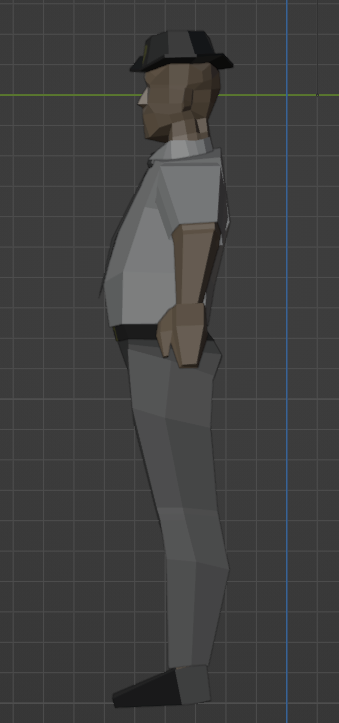
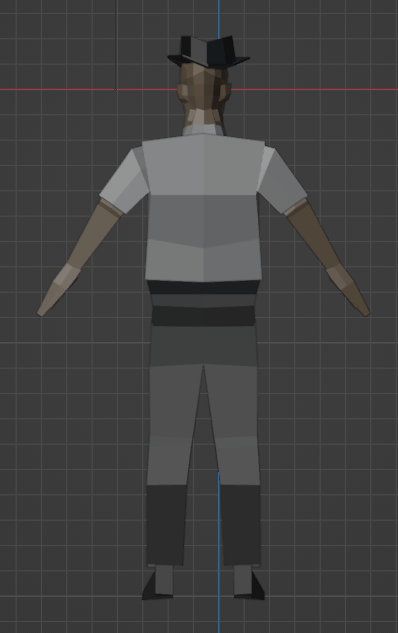
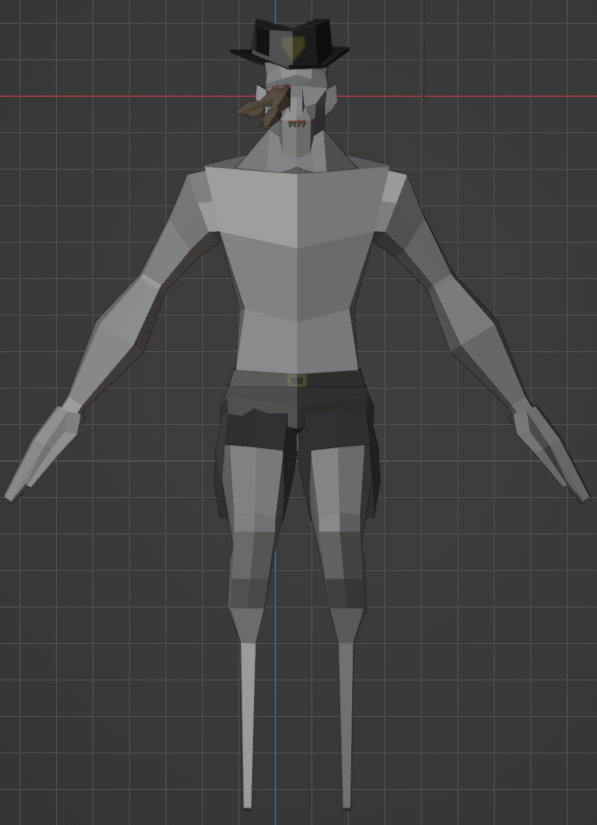
During the modelling phase I decided to not give the detective a shirt in order to save polygons. Instead, I painted his body white in certain areas to give the illusion of wearing one. The same process was carried out for the shoes.
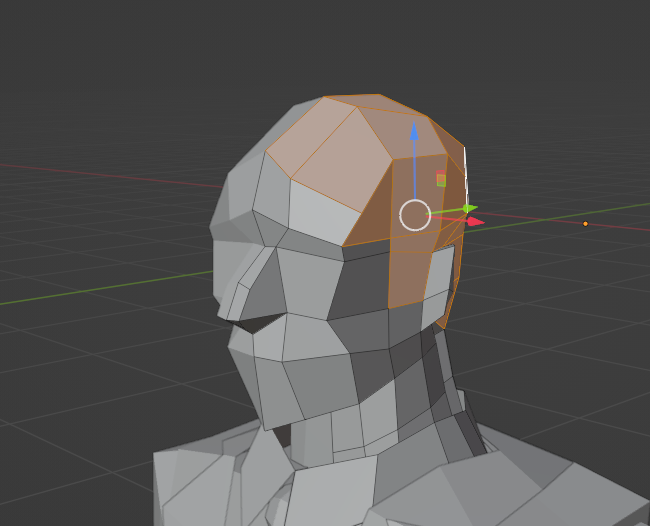
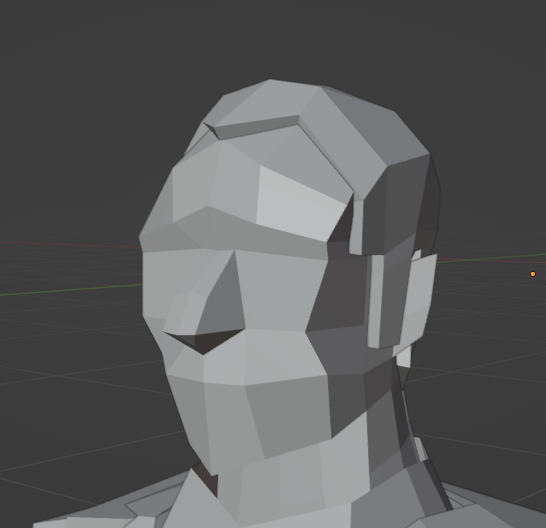
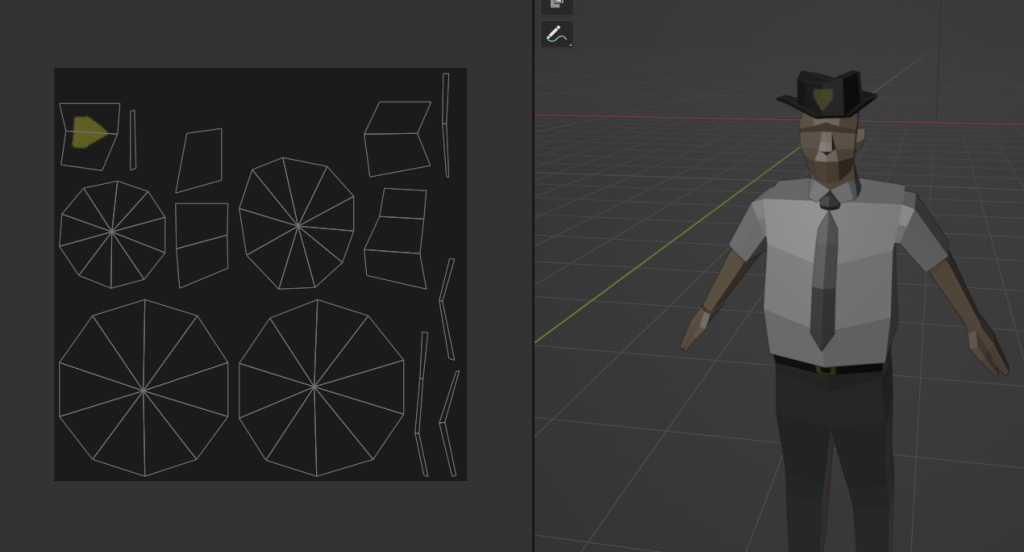
Painting the detective’s hair looked strange in my first attempt, and so I decided to quickly go back and model physical hair by extruding a selected section of his head.
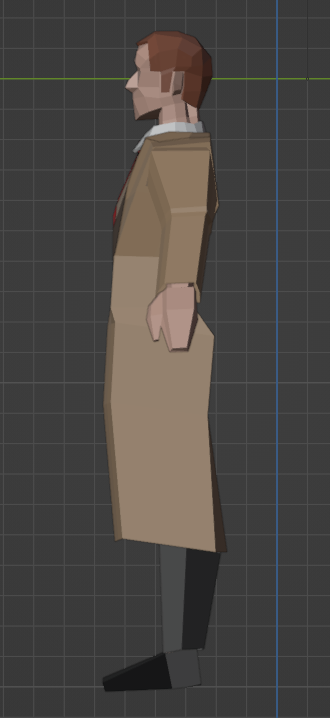
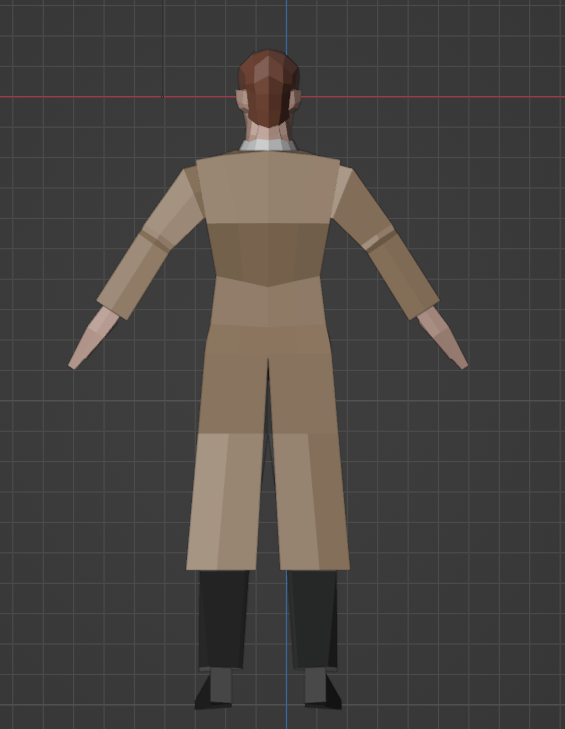

Overall, I was pleased with how the texturing phase turned out. The simplistic colour scheme of the detective translated really well from the concept stage to the 3D model.
Baking:
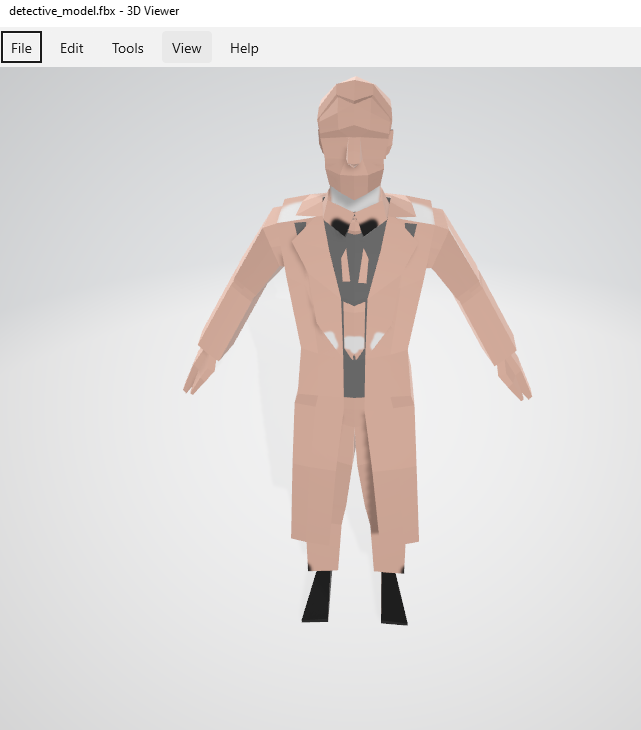
I tried to export my model without baking the textures and was abruptly reminded about how important that final stage is when I opened up the 3D viewer.
I followed a tutorial on how to bake multiple materials onto one texture map (Ryan King Art, 2022). Unfortunately, when I tested the model in Unreal Engine, the textures were incorrectly covering the model – much like the previous unbaked attempt.


Instead, I baked each texture map individually and then applied them to the correct parts of the model in Unreal engine. Thankfully this worked, and I sent the model to Lennox to animate.
Sheriff (8th – 14th April):

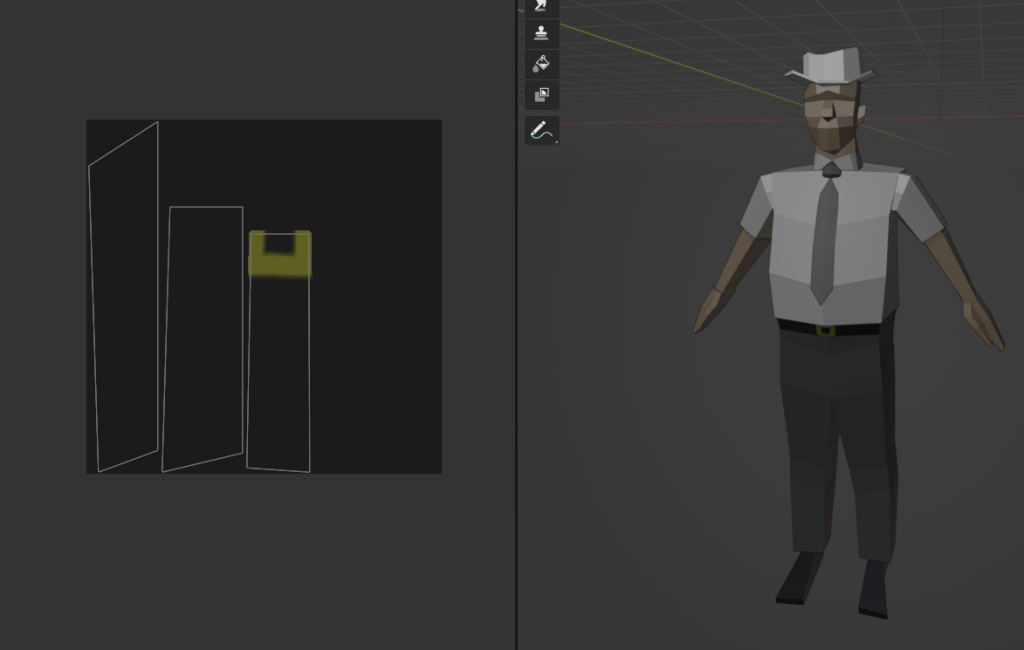
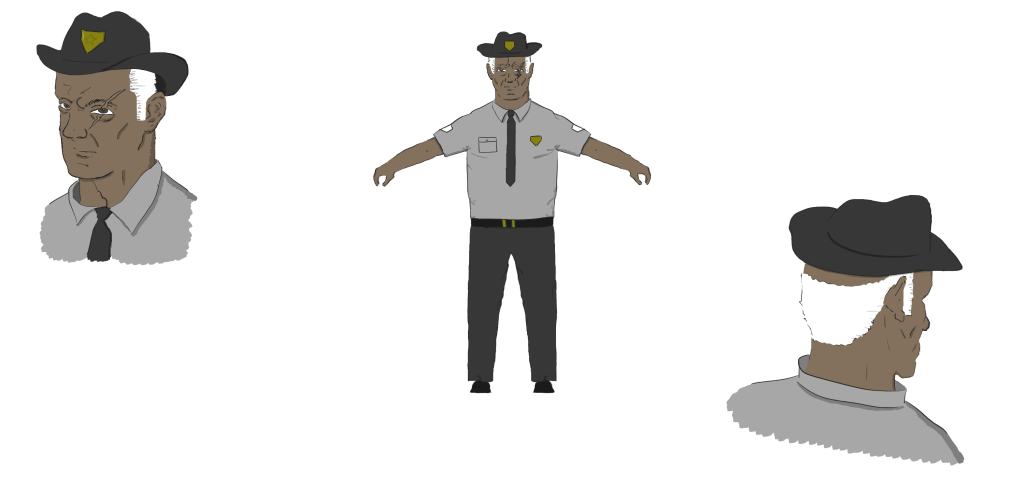
Texturing the sheriff was much less time consuming due to the knowledge and experience I gained from the detective.
I automatically UV unwrapped each section of the sheriff – creating a separate texture map for them all.

The sheriff’s colour scheme translated just as well as the detective’s, achieving that sinister feeling I was aiming for.
Monster (8th – 14th April):
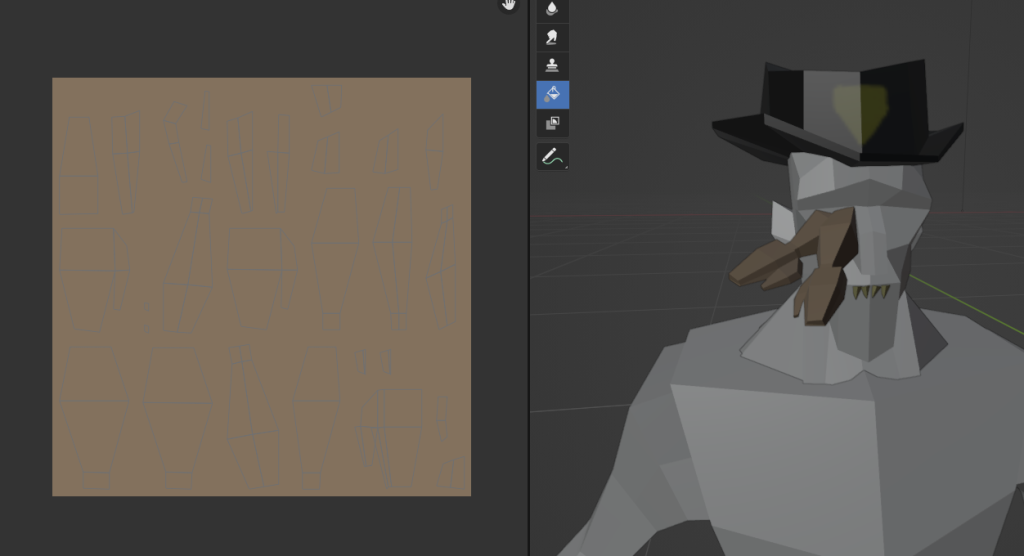
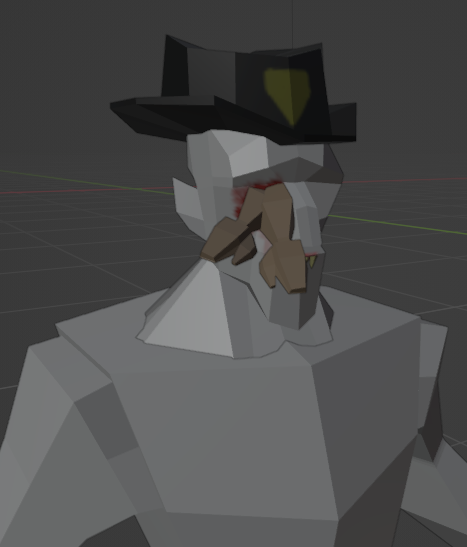
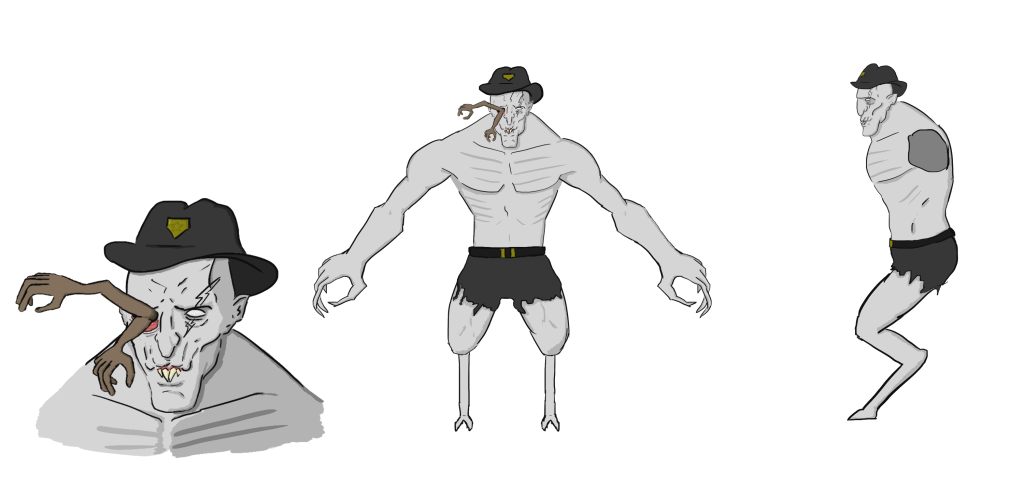
I began the same process for the monster, automatically unwrapping and creating separate texture maps. At this point, the process was extremally quick and the monster took less than an hour to fully texture.
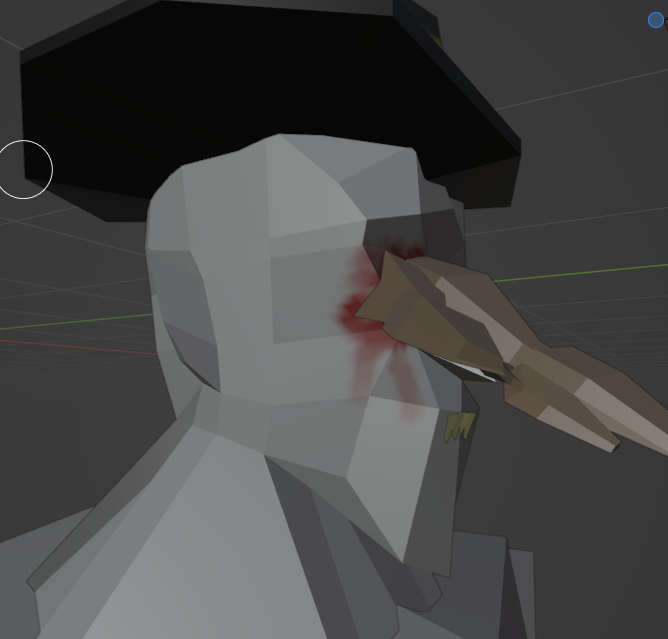
To paint blood around one of the monster’s eye sockets I had to turn off the mirror modifier and redo the UV mapping for his face. Before turning off the modifier, blood was being drawn around both eyes instead of just the one with arms sticking out of the sockets.
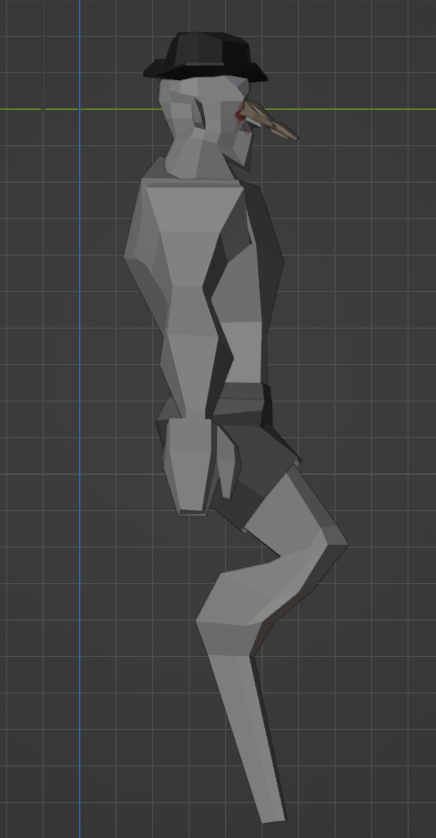

I decided against drawing on details such as the ribcage and a six-pack as I thought it might look tacky and cheap – like my first attempt at the detective’s hair.
Concept Art VS 3D Model:
Detective:
Sheriff:

Monster:
Conclusion:
To conclude, my experience of texturing in Blender was much more enjoyable than past experiences with Maya and Substance Painter. The automatic UV unwrapping saved a lot of time and the painting tools, whilst limited compared to Substance Painter, were perfect for PS1-style models.
That being said, painting in Blender would be rather difficult for more complex models due to a lack of an eraser brush. A quite simplistic feature missing means that Substance Painter would still be the most valid option for models that require a lot of detail.
References:
- Irajdoost, I. (2024) Unraveling UV Mapping in 3D Modeling: A Key to Lifelike Textures [Blog post]. LinkedIn. Available online: https://www.linkedin.com/pulse/unraveling-uv-mapping-3d-modeling-key-lifelike-iman-irajdoost-qtuze#:~:text=Realism%3A%20Proper%20UV%20mapping%20is,model%20gets%20more%20texture%20detail [Accessed 30/04/2024].
- Ryan King Art (2022) Bake Multiple Materials to One Texture Map (Blender Tutorial) [Video]. Available online: https://www.youtube.com/watch?v=wG6ON8wZYLc [Accessed 12/04/2024].