Keycard Doors (8th – 14th April):
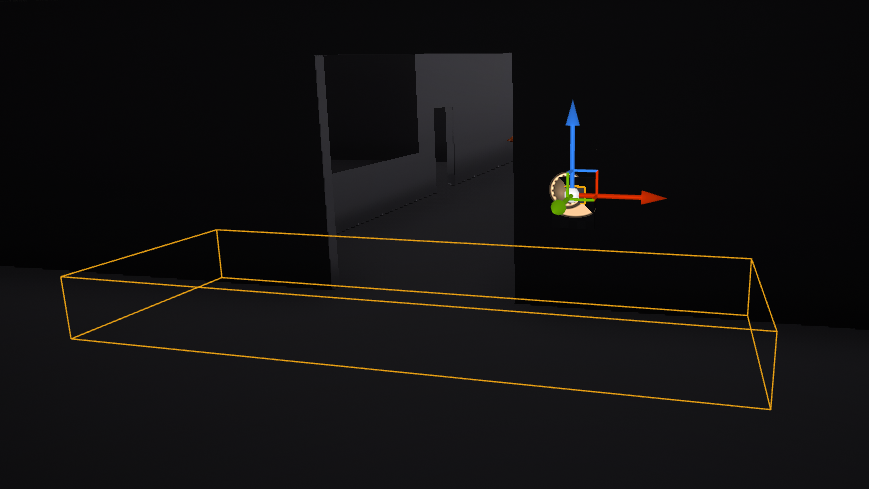
I wanted a keypad to tell the player if the door could be opened – green if it could and red if not.
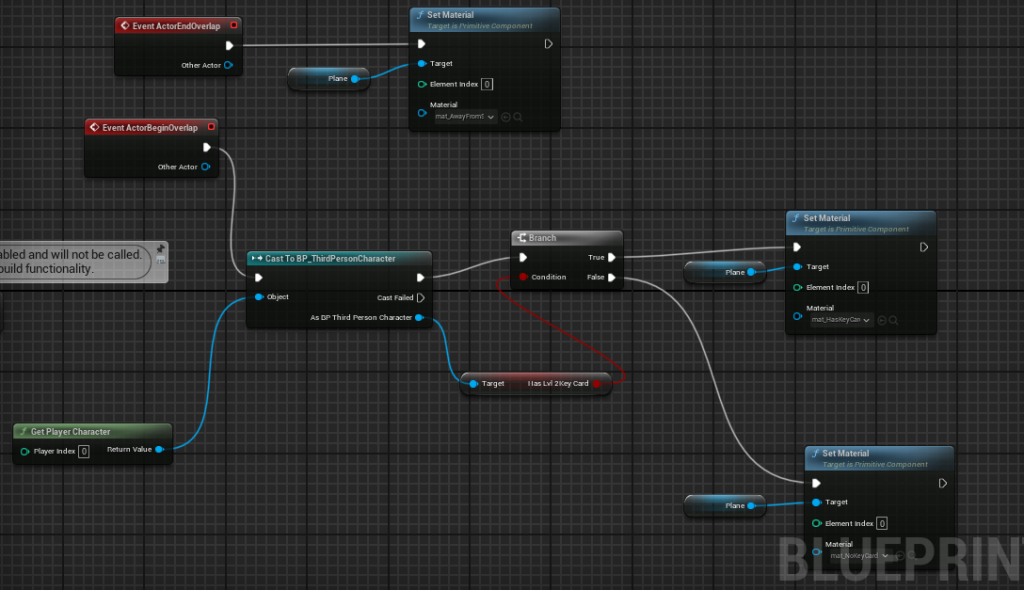
This was my first time using Unreal’s blueprint system, however the basic coding logic which I had learnt in C# still applied. Once the player enters the collision box, it checks if they have the necessary keycard whilst setting the appropriately coloured material.
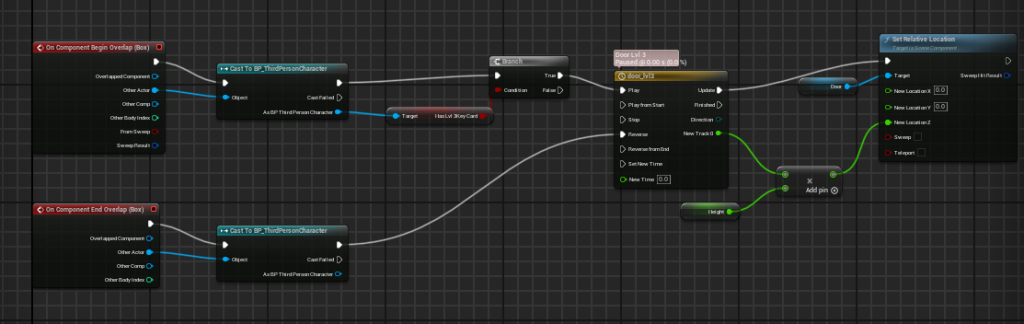
To animate the door opening I used the timeline feature. A useful attribute of the timeline node is the reverse component, which automatically reverses the animation. In this case, it was closing the door when the player exited the collision box.
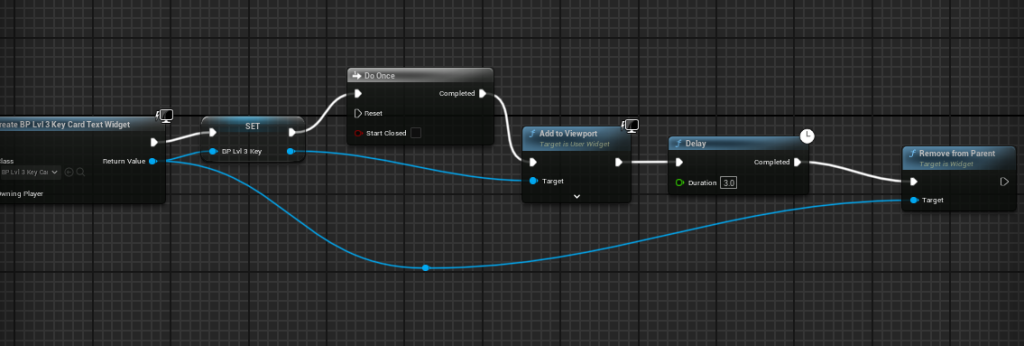
Widgets are used to show UI elements in the game. I utilised them to tell the player that they have acquired a new item – such as a level 3 keycard.
Safe Puzzle (15th – 21st April):
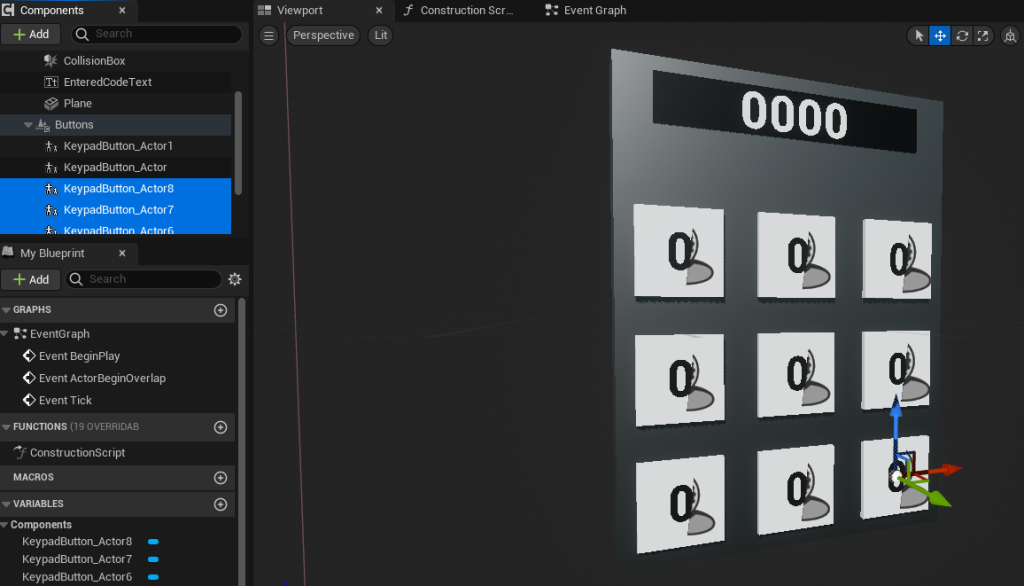
To create the keypad for the safe puzzle I followed a extremally useful tutorial (UE4 Poseidon, 2023). The first step was to create all of the interactable buttons on the keypad.
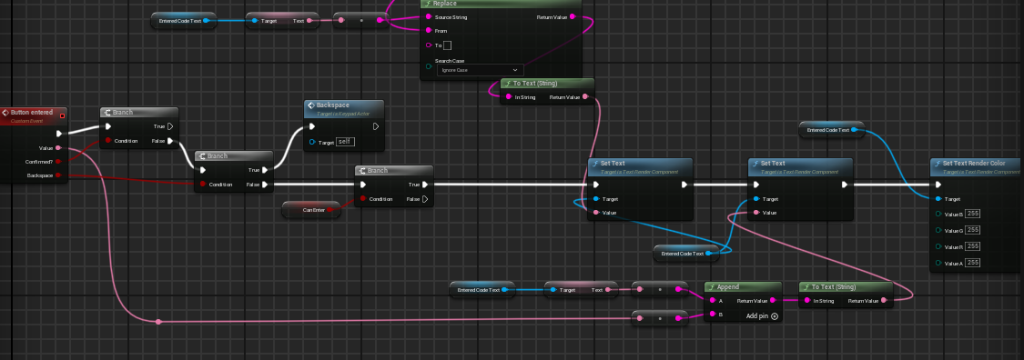
When a button is pressed it amends the text box at the top of the keypad – displaying the correct number.
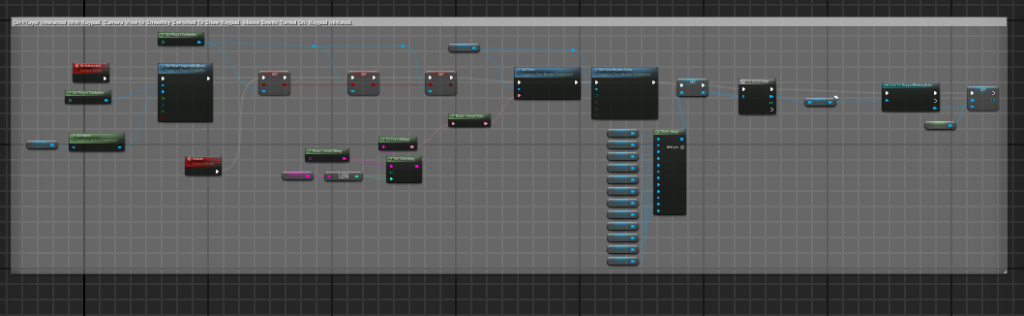
My favourite aspect of this mechanic is the smooth transition from the first-person camera to the fixed camera viewing the keypad when the player interacts with it.
The keypad had a collision box that, when inside, allowed the player to interact with it. The camera component added via the blueprints is what the first-person camera transitions to.
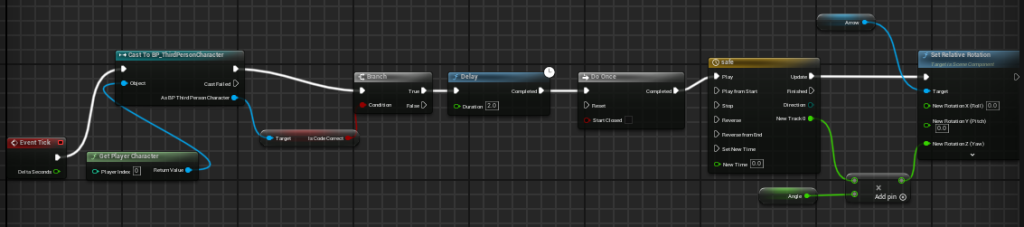
Now that the keypad was fully functional, I made the safe play an open animation when the correct code was entered. After some playtesting, I realised that a slight delay should be added whilst the player transitions back to the first-person camera so that they do not miss the safe opening.
Power Off CCTV Puzzle (22nd – 28th April):
Lights Off:
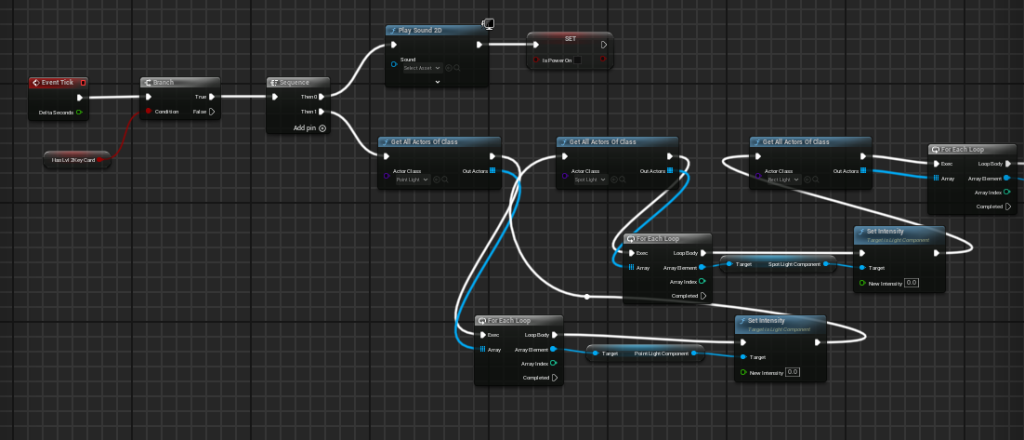
Initially, I coded all of the lights in the level to turn off when the player enters a collision box and has collected the level 2 keycard. However, whilst this code did work, the game started to lag when it activated. This is because there are roughly 200 lights in the game and so it is extremally intensive on the user’s computer.
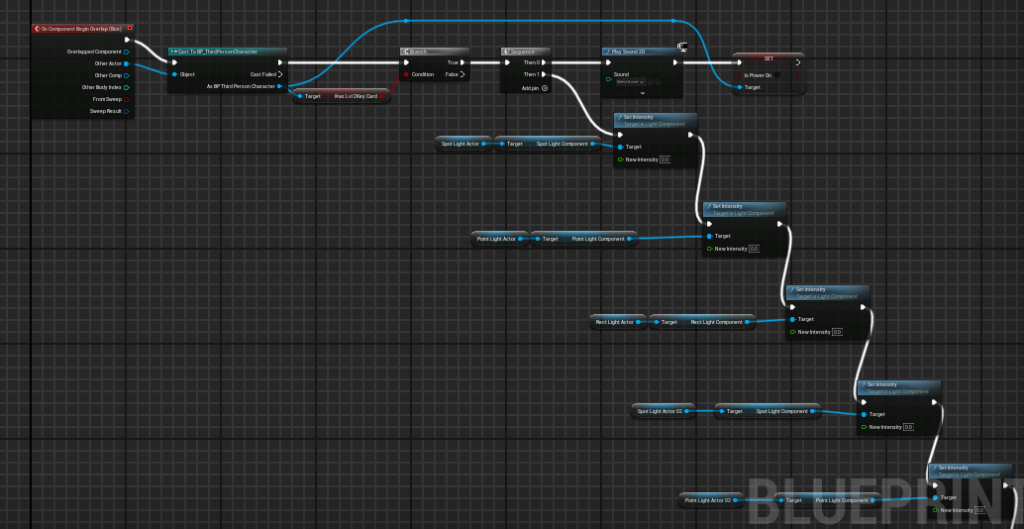
A much more efficient way of coding this section was to just turn the lights in the office off to give the illusion of the entire building’s power turning off. Since the doors lock when the power is off, the player would never see the lights outside of their current room.
Thankfully, only coding a few lights doesn’t cause the framerate to drop – unlike the initial attempt.
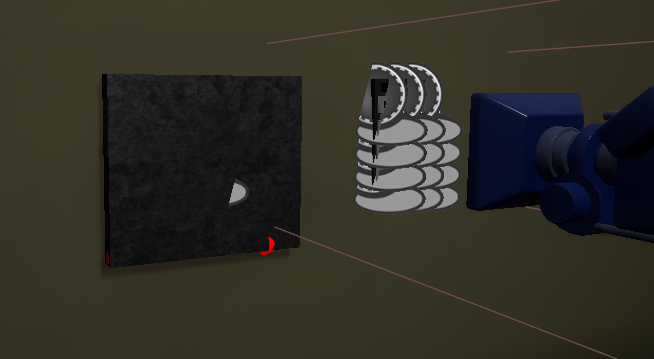
Accessing CCTV:
To get the CCTV mechanic to work in level 2 I had to go through my teammate’s code and make some changes. Whilst reading and understanding someone else’s code was difficult, I managed to locate the CCTV mechanic code and add some Booleans to make it work.
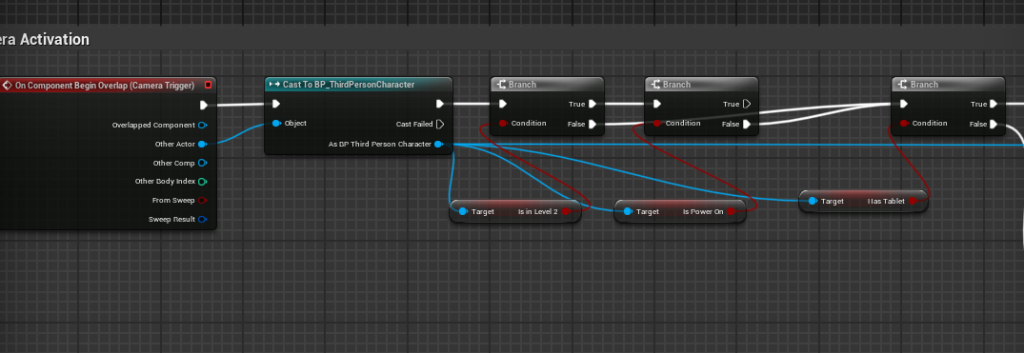
The CCTV footage works by opening a separate level that looks identical to the first-person character’s level. Therefore, initially when I set up the CCTV mechanic it was taking me back to level one, as it was hard-coded in to do so.
To fix this issue I made the blueprint check if the player is in level 2 and if the power is off. If they are, a tablet notification will appear and they will now be transported to a CCTV version of the second level.
Setting up the cameras were relatively easy thanks to Lennox’s code. All that was required was to tell the collision box which camera it is linked to so that when the player enters it, the camera correctly switches.
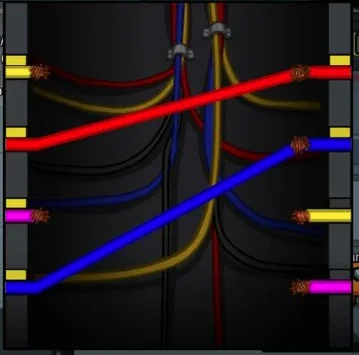
Initially, I had planned to make the player complete an Among Us (Innersloth, 2018) style wire puzzle to get the power back on. However, due to time constraints I altered my plan and decided on a much simpler version that still got the point across to the player. The sheriff now just had to walk up to the generator and turn it on rather than completing a wire puzzle. If we continue this game, I will add this feature.
Adding Textures & 3D Models (29th April – 3rd May):
Originally I had planned to hand the level over to Lennox when the coding was completed, however my team asked me to also add the textures and 3D models to the level.
Adding the textures that my teammates had created really started to bring life to the level. Through constant communication with my team, I was able to ask for certain textures to be made. During the blockout stage we made a list of all possible textures and assets that would be needed for the level so that they were ready when I got to this part of the process.
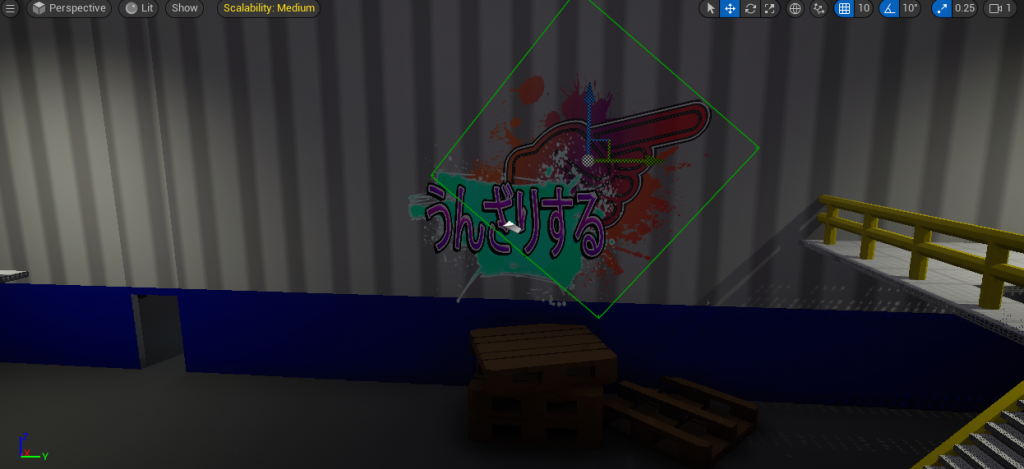
Unreal’s decal system allows for textures to be projected onto static meshes. They are often useful for blood, graffiti and signs. I used some decals throughout the level to help guide the player – such as a pointing finger graffiti and directional arrows.
If I were to redo the directional arrows decal, I would probably make the right hand side more faded to hint to the player that left is the way to the objective.
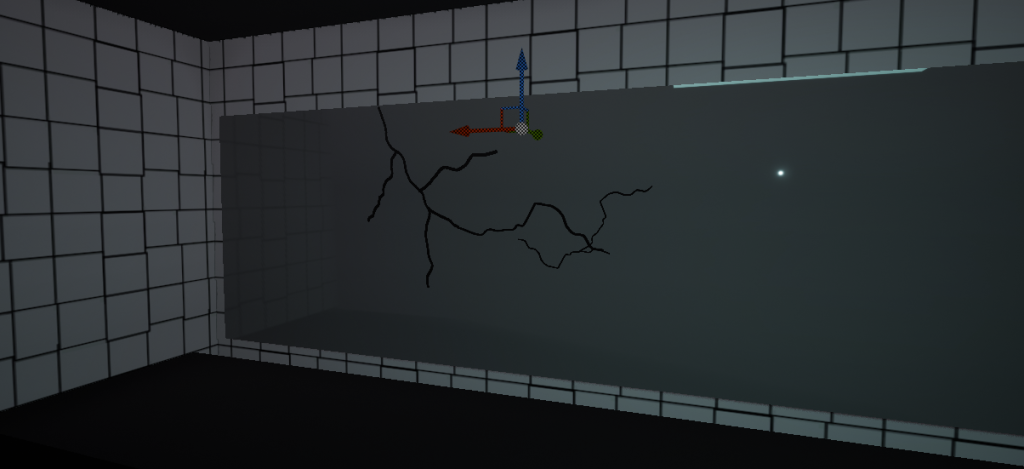
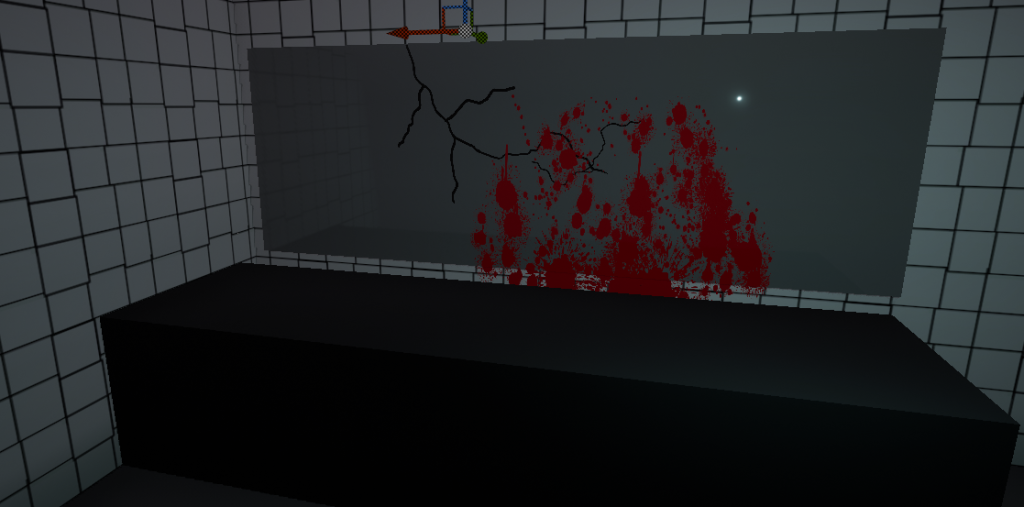
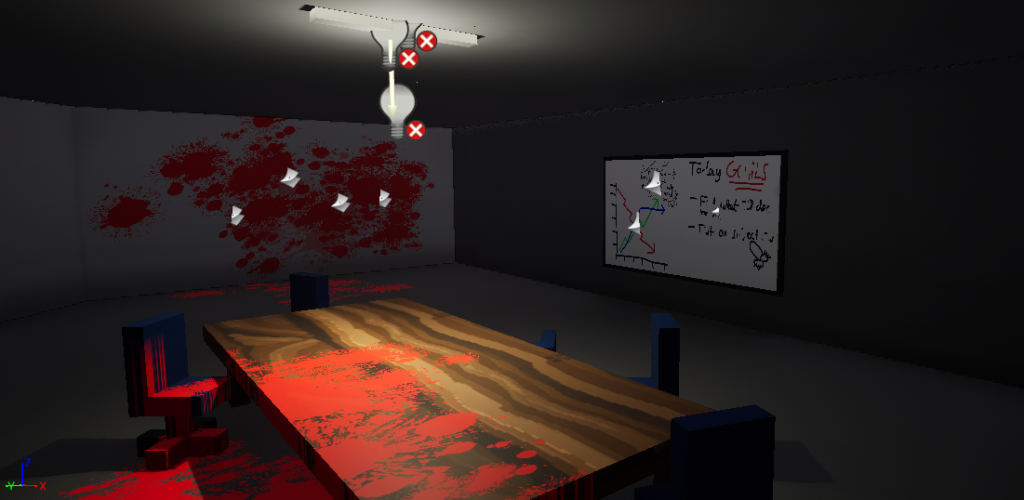
The blood and crack decals all had various versions to avoid the player noticing any patterns. Resizing and rotating the decals was also another way to stop repetition. These decals added a much darker tone to the level and allowed for some interesting instances of environmental storytelling.
I tried to place the blood in ways that warns the player about how dangerous the monster is, putting it in rooms that people would be – such as the manager’s office and meeting rooms.
Another example of environmental storytelling is only placing litter and graffiti around the entrance of the abandoned factory. Since the rest of the factory is blocked by a level 3 security door, vandals would not be able to access any further than the opening section.
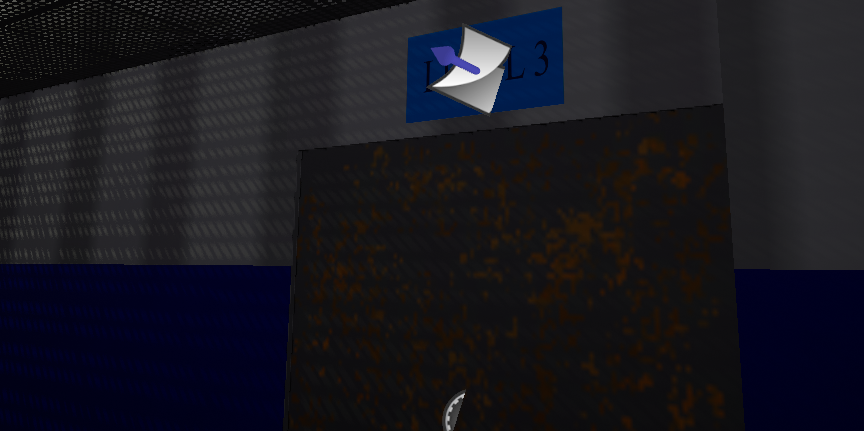
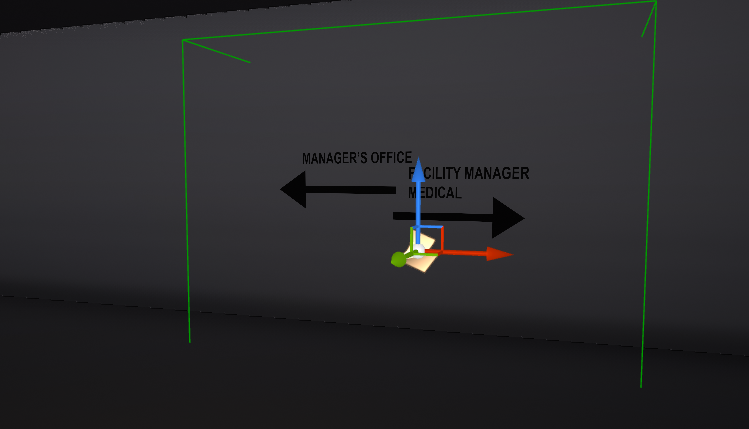
I noticed that the player would be unable to tell which doors each keycard accesses and so I requested a sign to be made for both level 2 and 3 doors.


Unfortunately some models had issues initially, however after speaking to Maks and asking for a replacement, he quickly remade them.
Level 2 – Abandoned Factory Playthrough:
Link: https://www.youtube.com/watch?v=iQ7ZUlfxPaY
Conclusion:
The second level of the game was now fully completed on my end. I handed the level over to Lennox to add in the notes necessary to finalise the level.
Overall, whilst I was not expecting to texture the level initially, I am glad that I have gained the experience from it. Using decals for environmental storytelling is a useful skill that is hard to convey during the blockout phase and so I am happy that I was given that responsibility.
Coding the level, whilst stressful, taught me how to use blueprints and how they can be utilised to give the level life. Although I enjoyed the responsibility, if I were to redo the project I would suggest to split the tasks across every member due to the huge amount of time it took to complete just one level.
References:
- Innersloth (2018) Among Us [Video game]. Available online: https://store.steampowered.com/app/945360/Among_Us/ [Accessed 03/05/2024].
- UE4 Poseidon (2023) UE5: 3D Keypad (Tutorial) [Video]. Available online: https://www.youtube.com/watch?v=UAlMBsN7BG8&t=860s [Accessed 15/04/2024].